After my previous attempts to build my own node to take control of my slowly growing podcast streaming income didn’t go so well I decided to bite the bullet and build my own Lightning Node with new hardware. The criteria was:
- Minimise expenditure and transaction fees (host my own node)
- Must be always connected (via home internet is fine)
- Use low-cost hardware and open-source software with minimal command-line work
Because of the above, I couldn’t use my Macbook Pro since that comes with me regularly when I leave the house. I tried to use my Synology, but that didn’t work out. The next best option was a Raspberry Pi, and two of the most popular options out there are the RaspiBolt and RaspiBlitz. Note: Umbrel is coming along but not quite as far as the other two.
The Blitz was my choice as it seems to be more popular and I could build it easily enough myself. The GitHub Repo is very detailed and extremely helpful. This article is not intended to just repeat those instructions, but rather describe my own experiences in building my own Blitz.
Parts
The GitHub instructions suggest Amazon links, but in Australia Amazon isn’t what it is in the States or even Europe. So instead I sourced the parts from a local importer of Rasperry Pi parts. I picked from the “Standard” list:
- $92.50 / Raspberry Pi 4 Model B 4GB
- $16.45 / Raspberry Pi 4 Power Supply (Official) - USB-C 5.1V 15.3W (White)
- $23.50 / Aluminium Heatsink Case for Raspberry Pi 4 Black (Passive Cooling, Silent)
- $34.65 / Waveshare 3.5inch LCD 480x320 (The LCD referred to was a 3.5" RPi Display, GPIO connection, XPT2046 Touch Controller but they had either no stock on Amazon or wouldn’t ship to Australia)
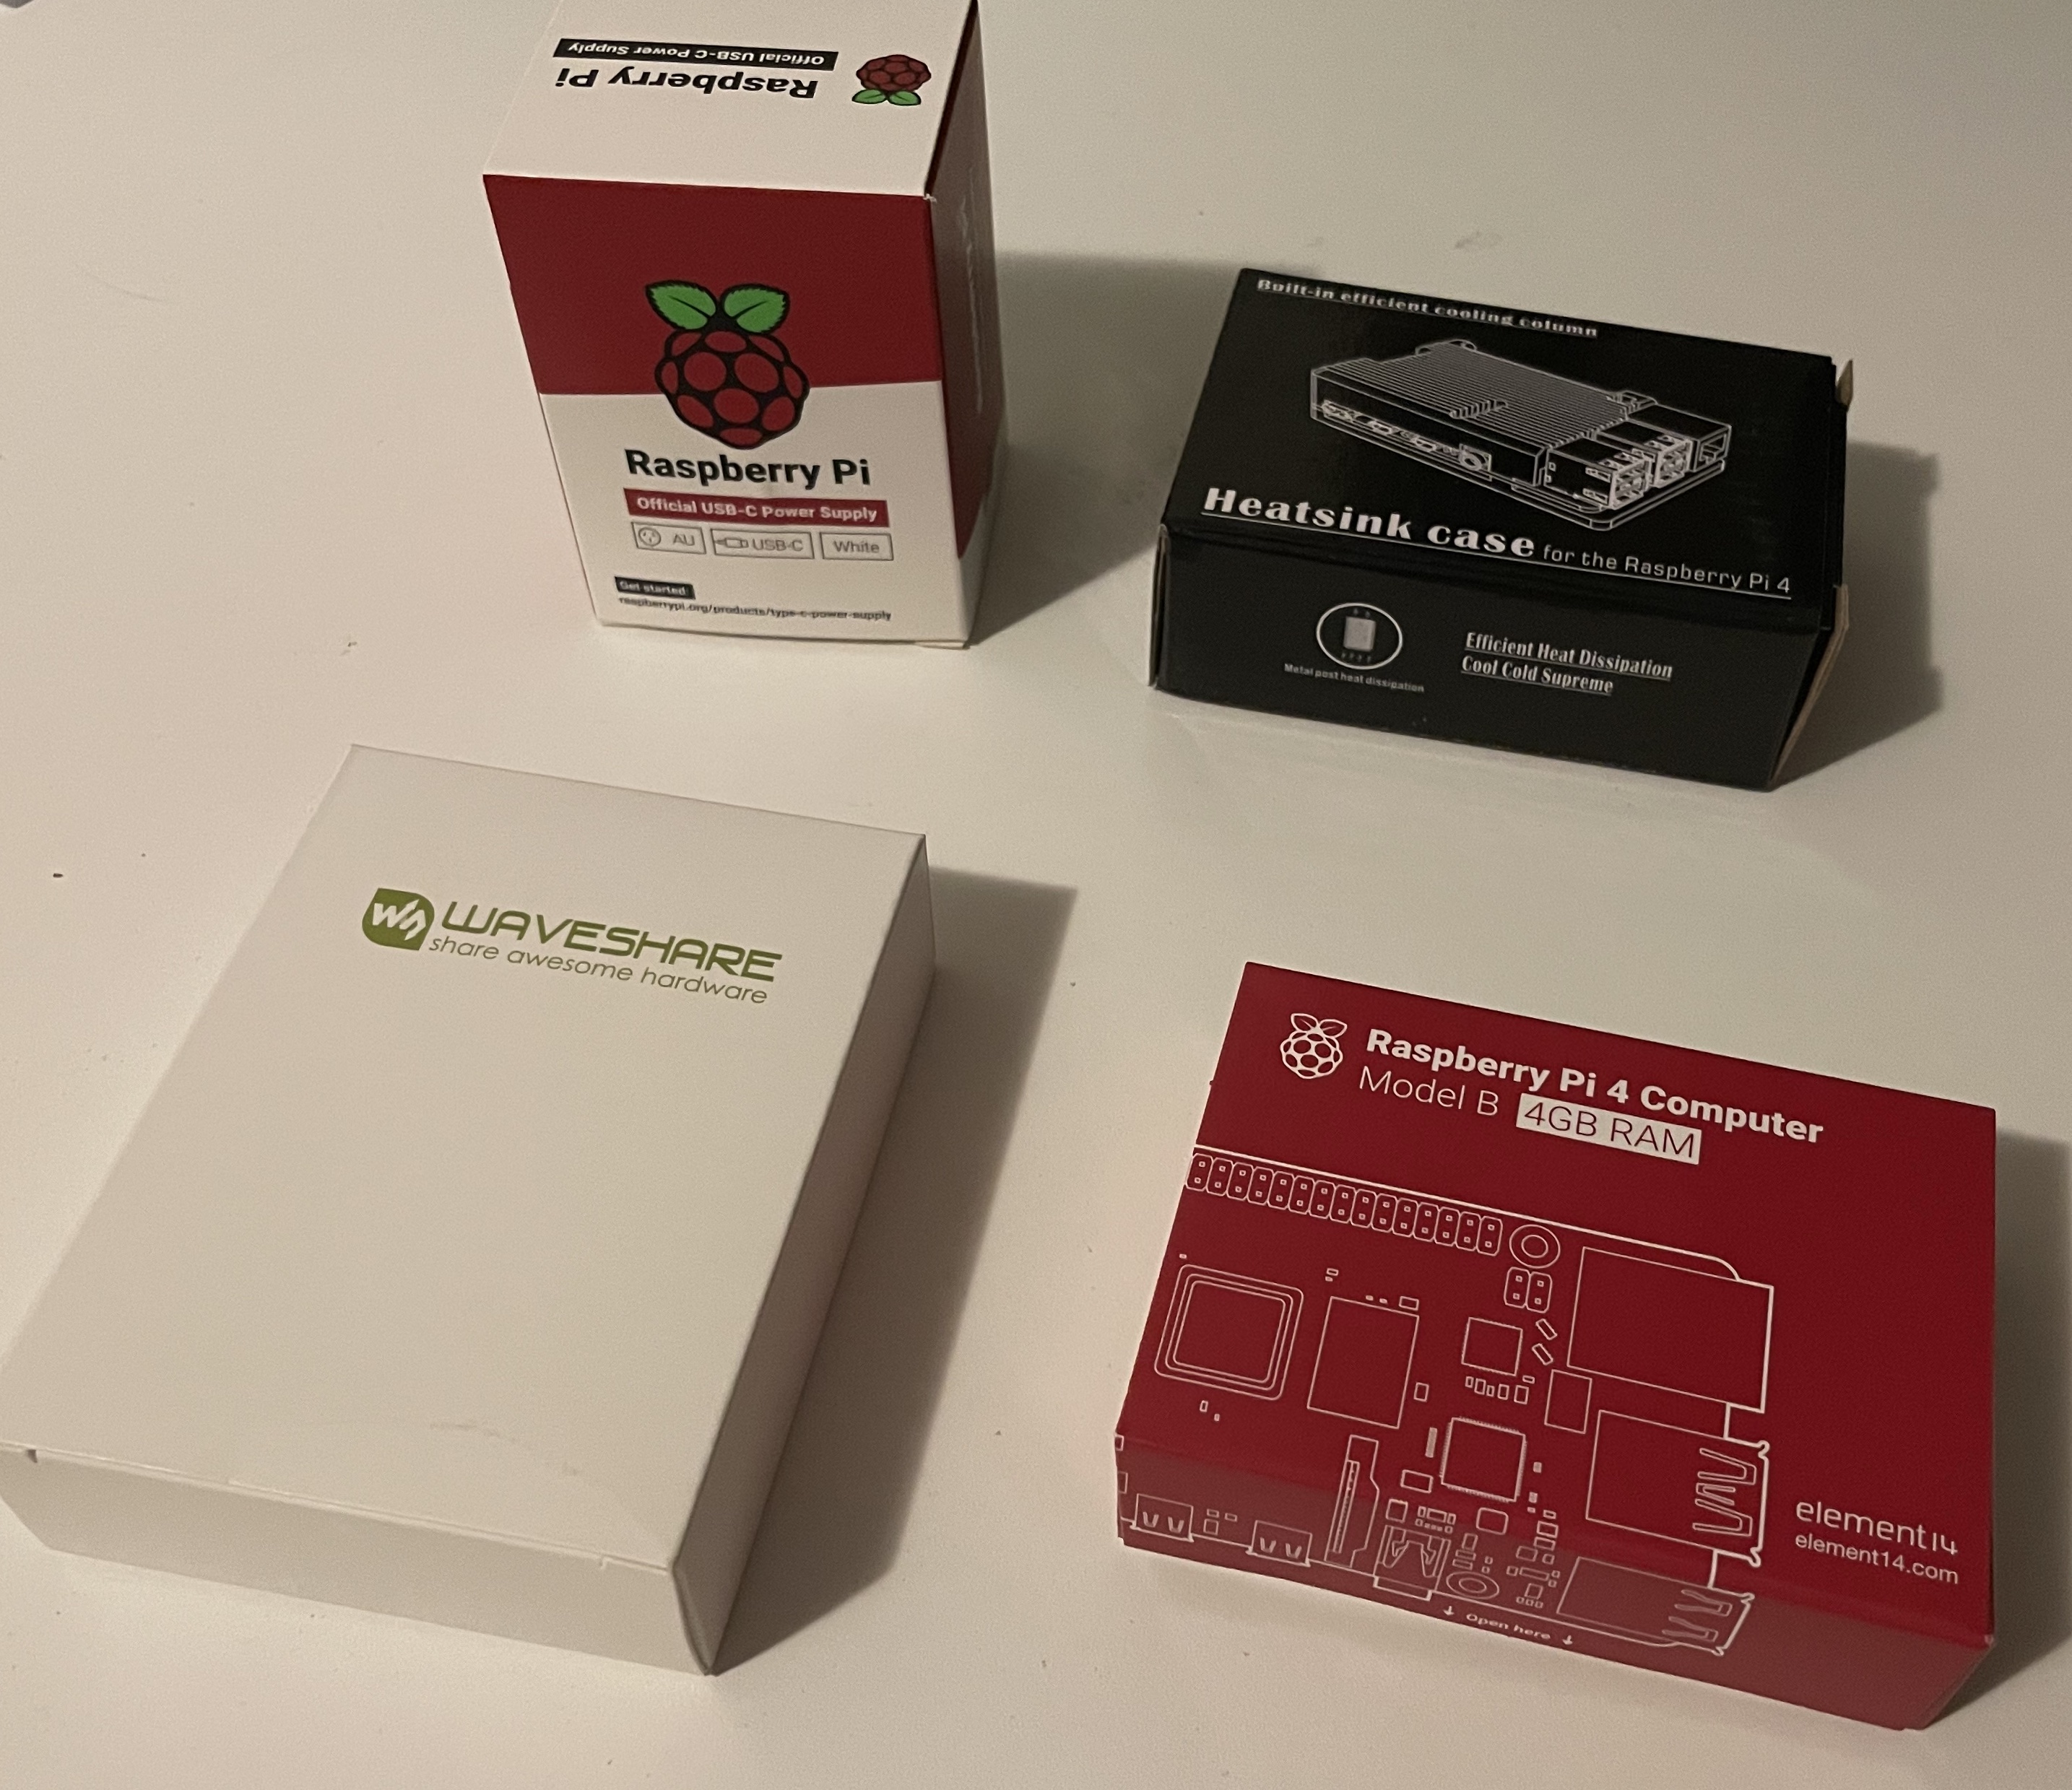 All the parts from Core Electronics
- $14 / Samsung 32GB Micro SDHC Evo Plus W90MB Class 10 with SD Adapter
On Hand
Admittedly a 1TB SSD and Case would’ve cost an additional $160 AUD, which in future I will extend probably to a fully future-proof 2TB SSD but at this point the Bitcoin Blockchain uses about 82% of that so a bigger SSD is on the cards for me, in the next 6-9 months time for sure.
Total cost: $181.10 AUD (about $139 USD or 300k Sats at time of writing)
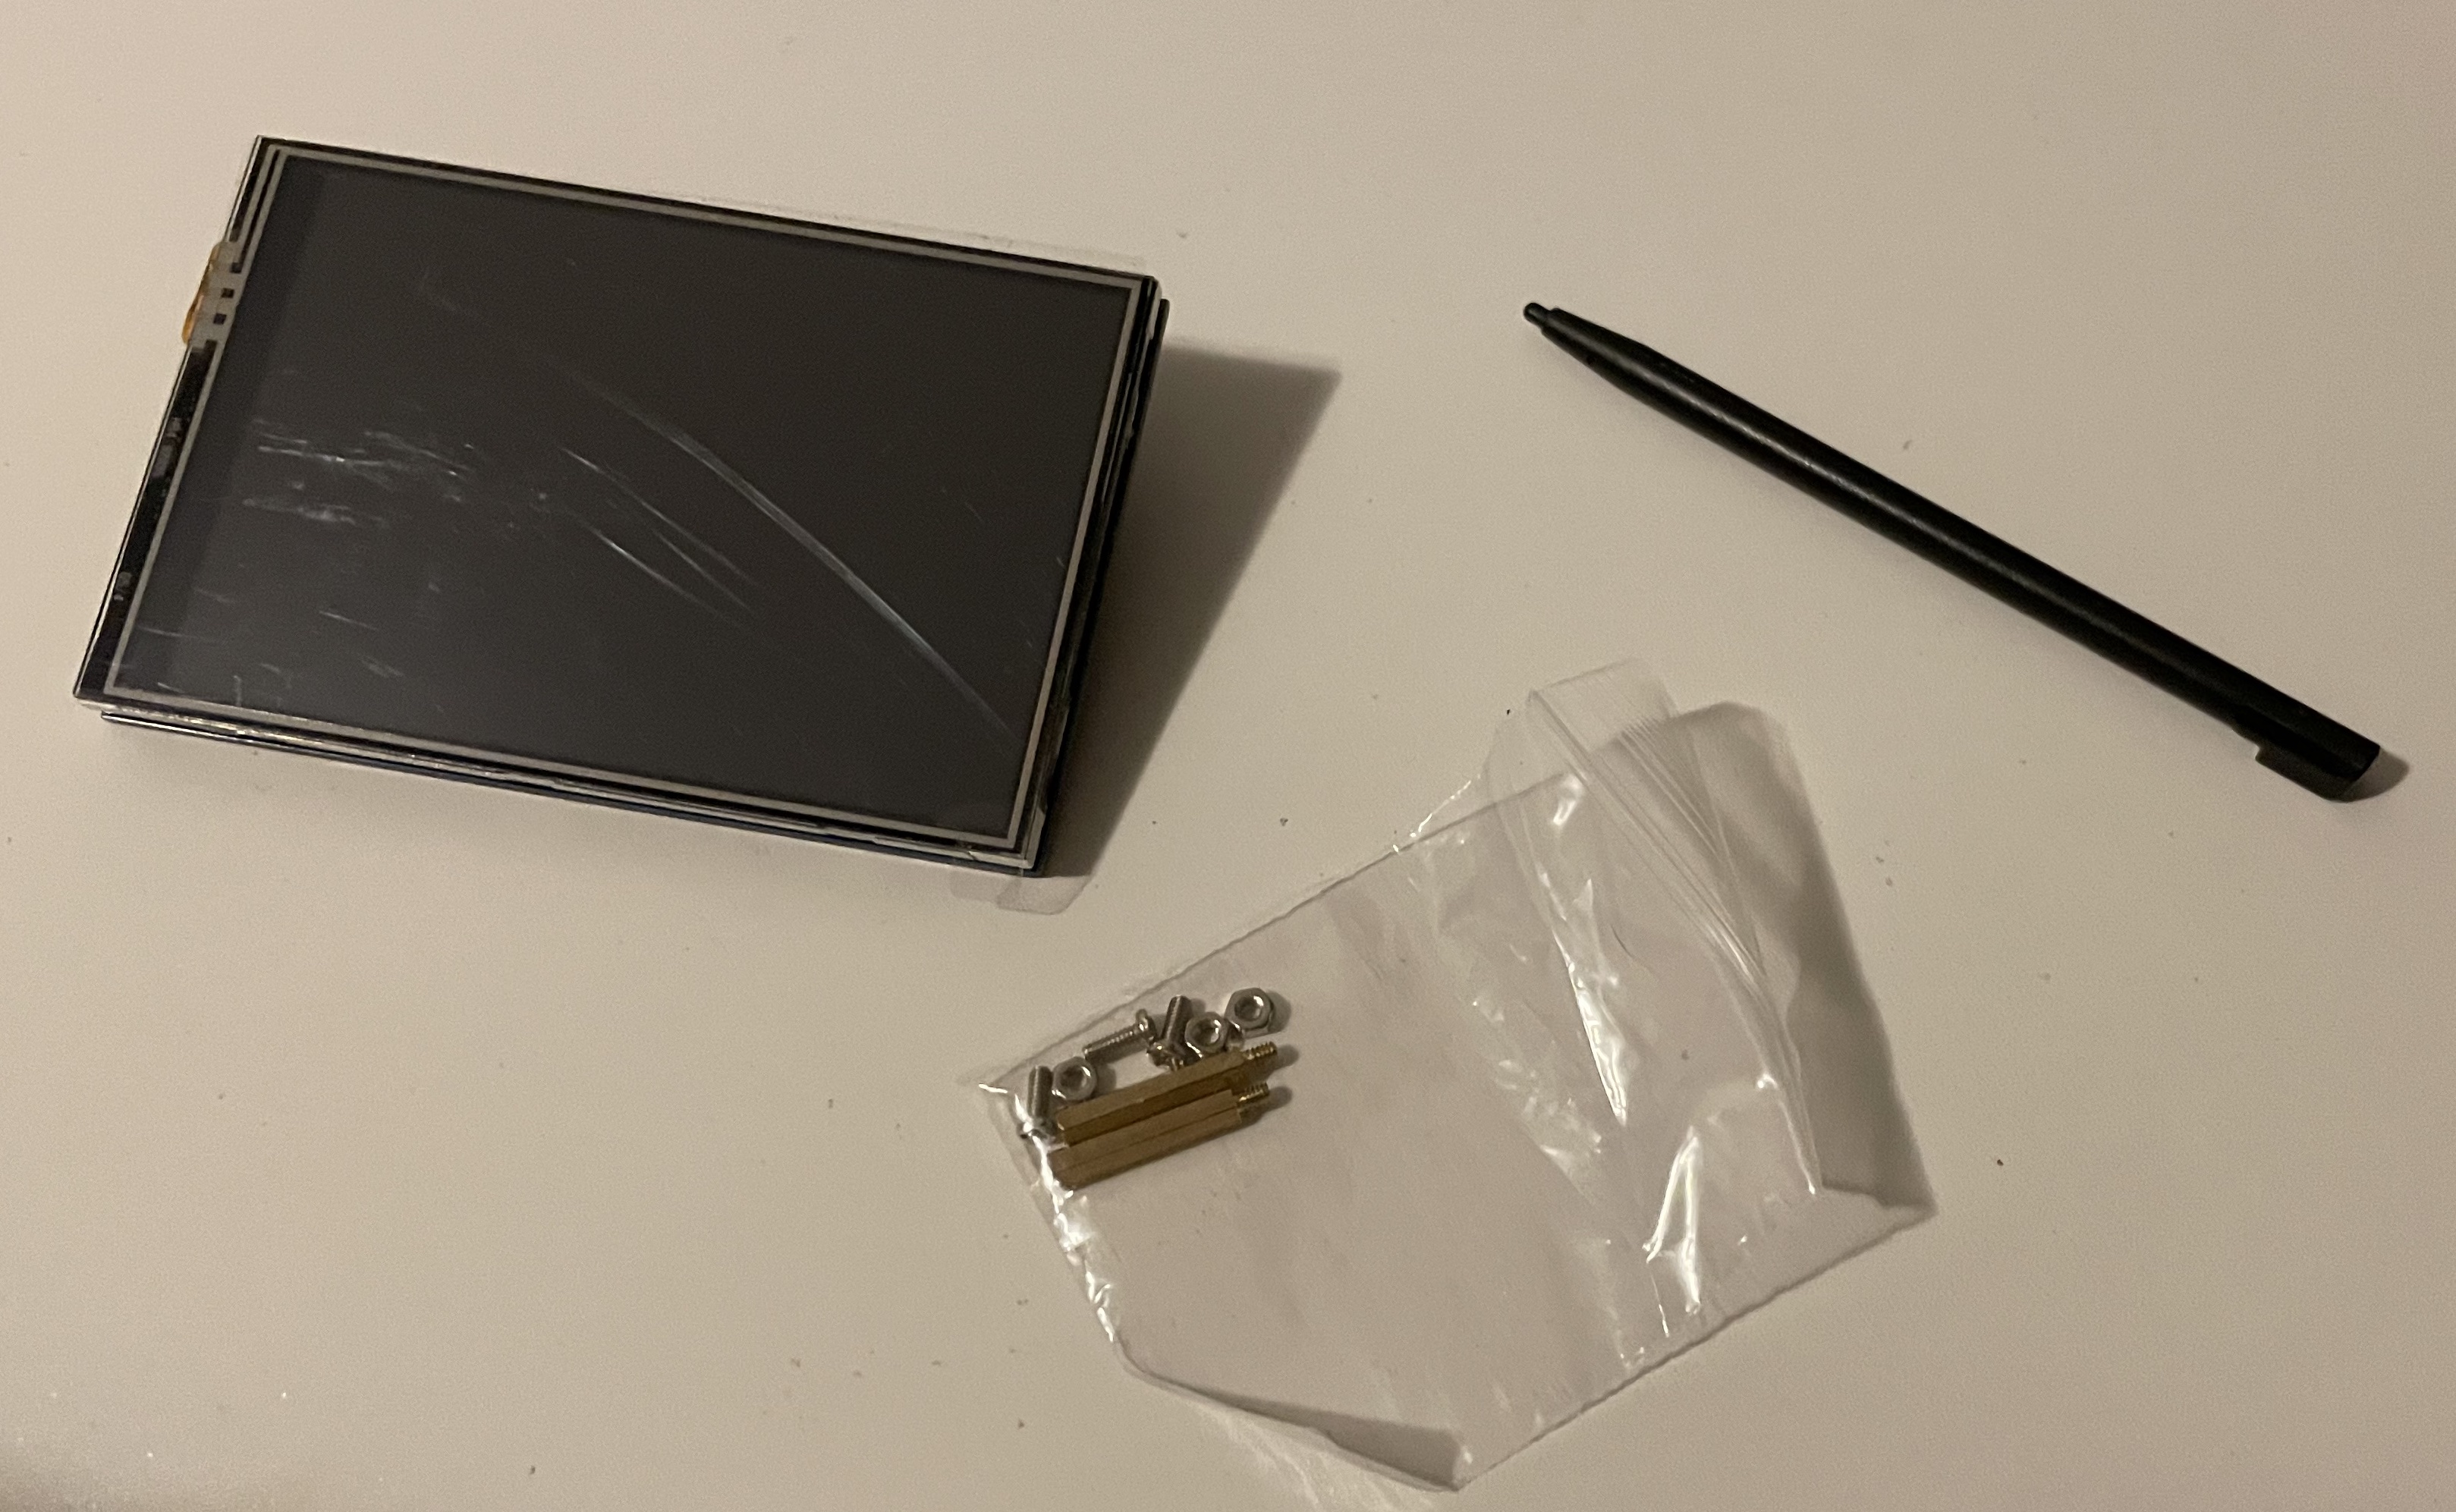 The WaveShare LCD Front View
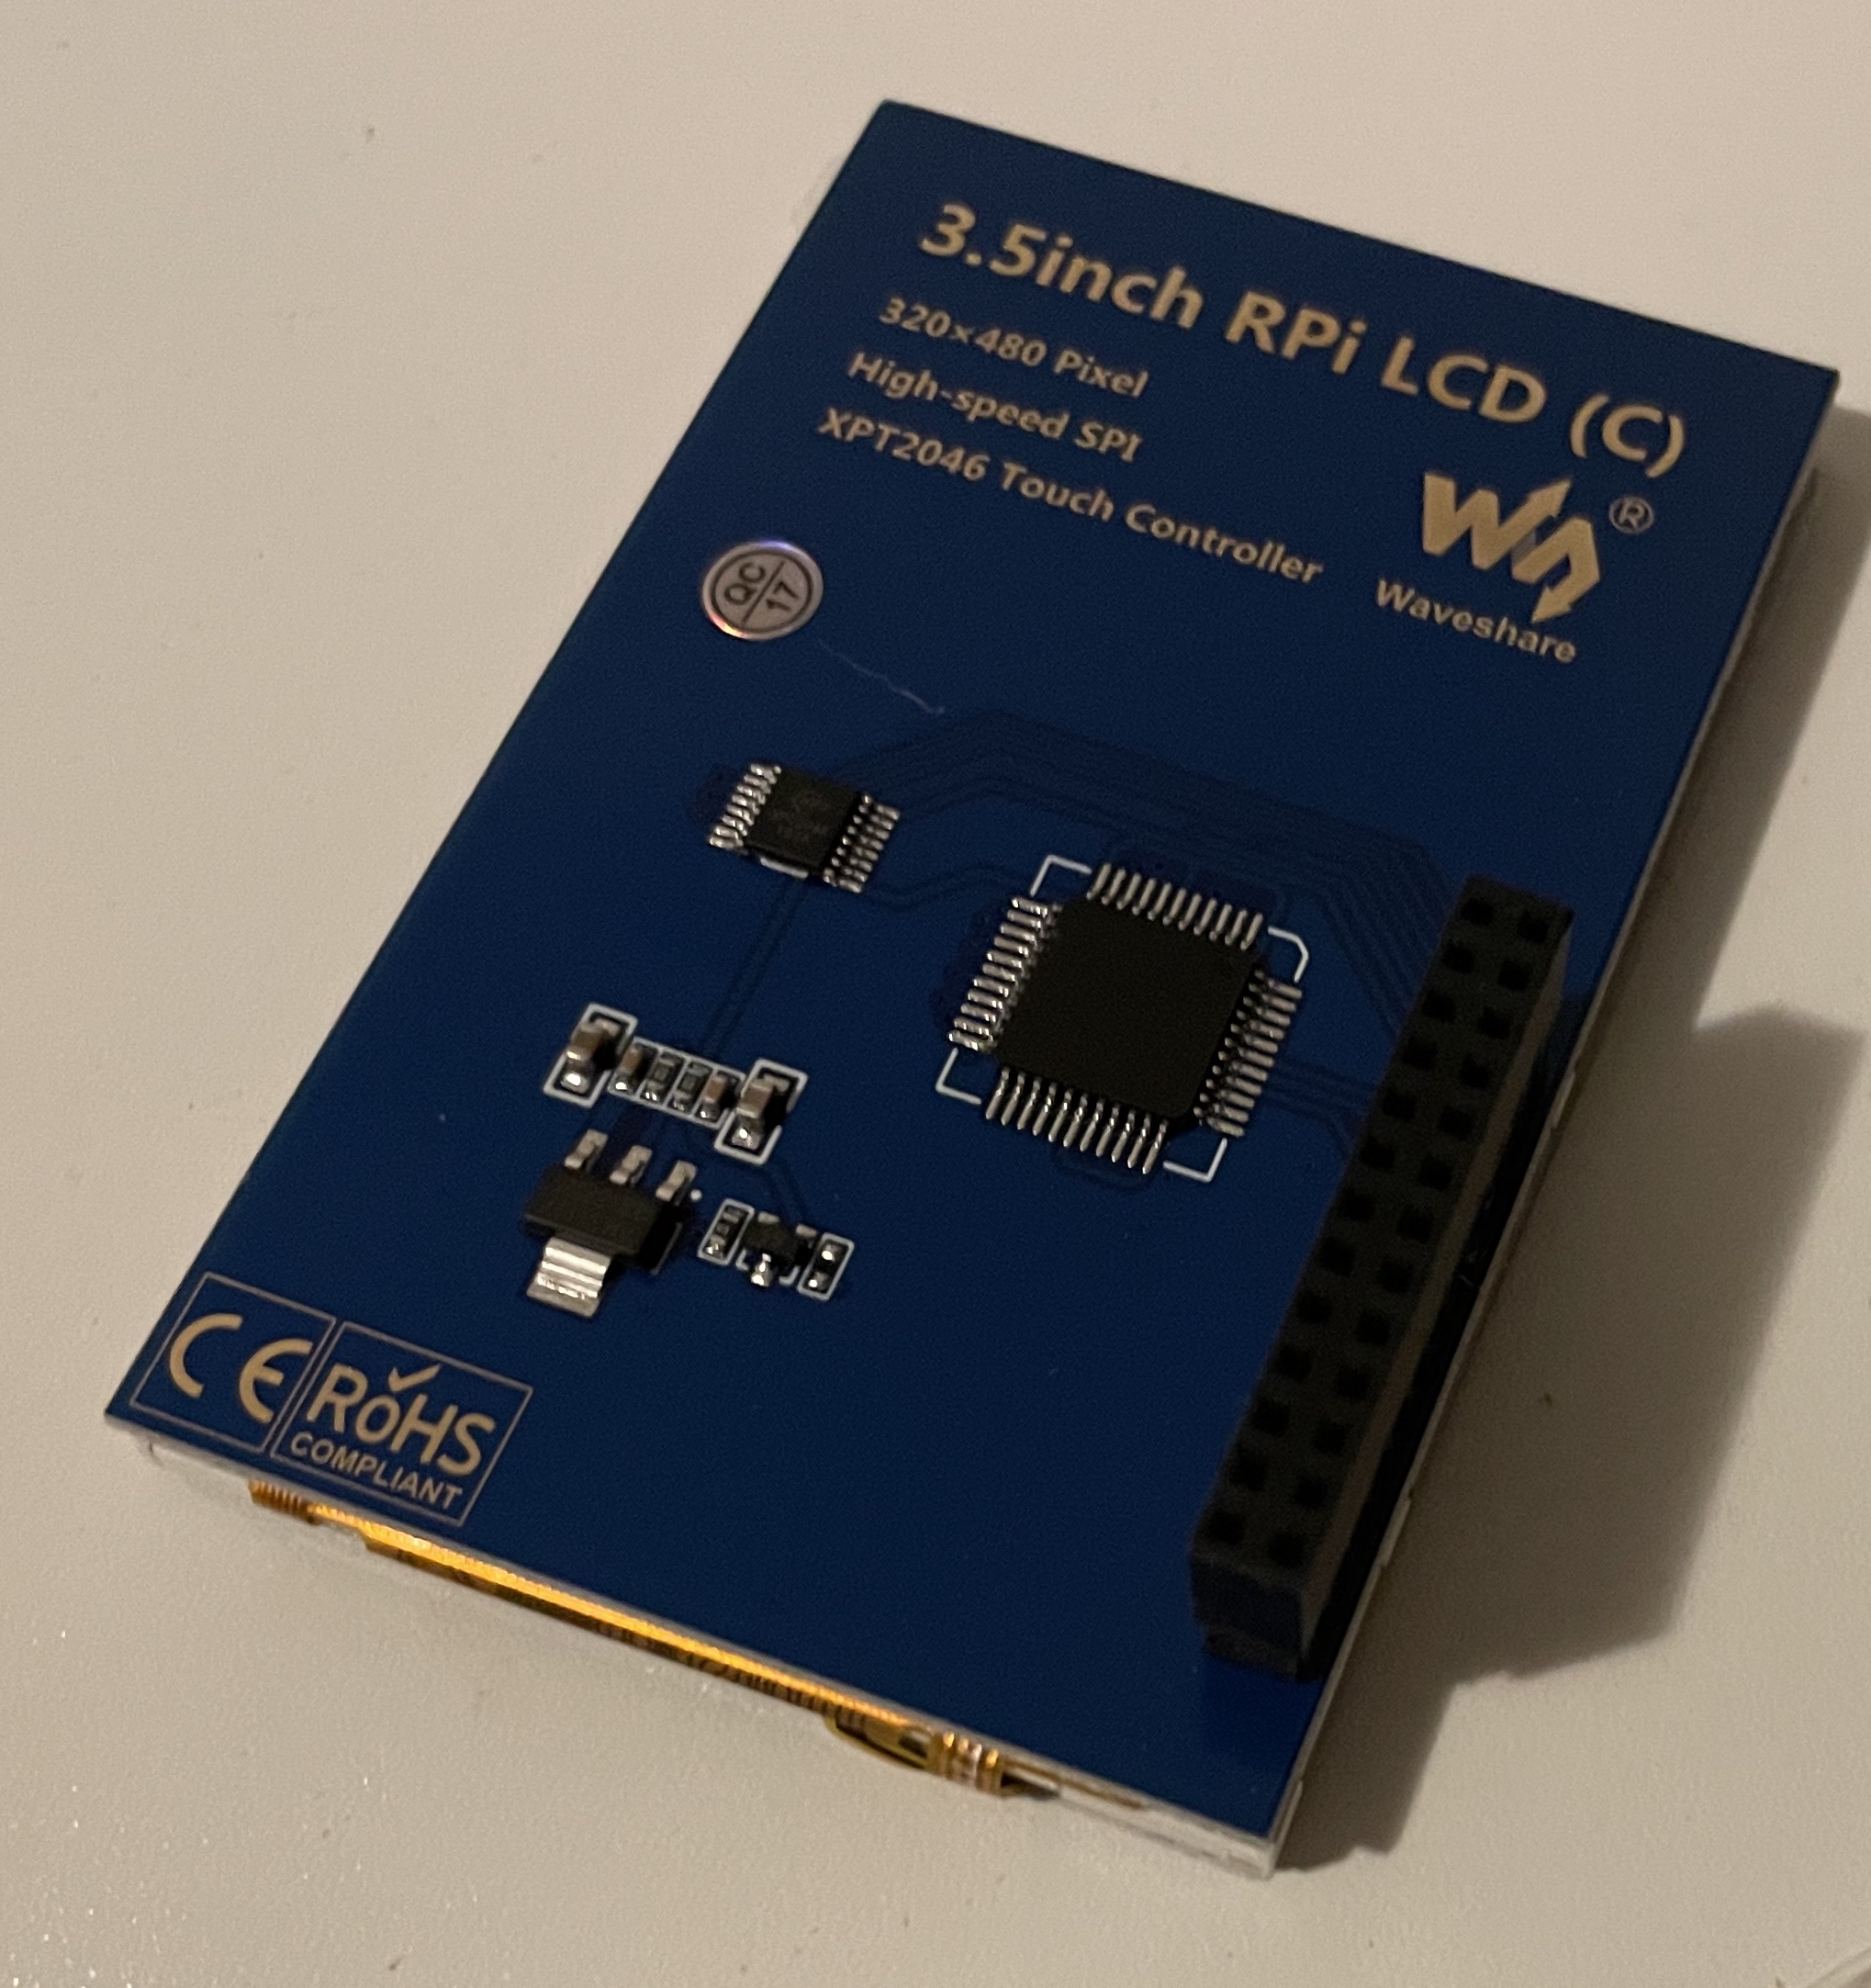 The WaveShare LCD Rear View
Assembly
The power supply is simple: unwrap, plug in to the USB-C Power Port and done. The Heatsink comes with some different sized thermal pads to sandwich between the heatsink and the key components on the Pi motherboard and four screws to clamp the two pieces together around the motherboard. Finally lining up the screen with the outer-most pins on the I/O Header and gently pressing them together. They won’t sit flat against the HeatSink/case but they don’t have to, to connect well.
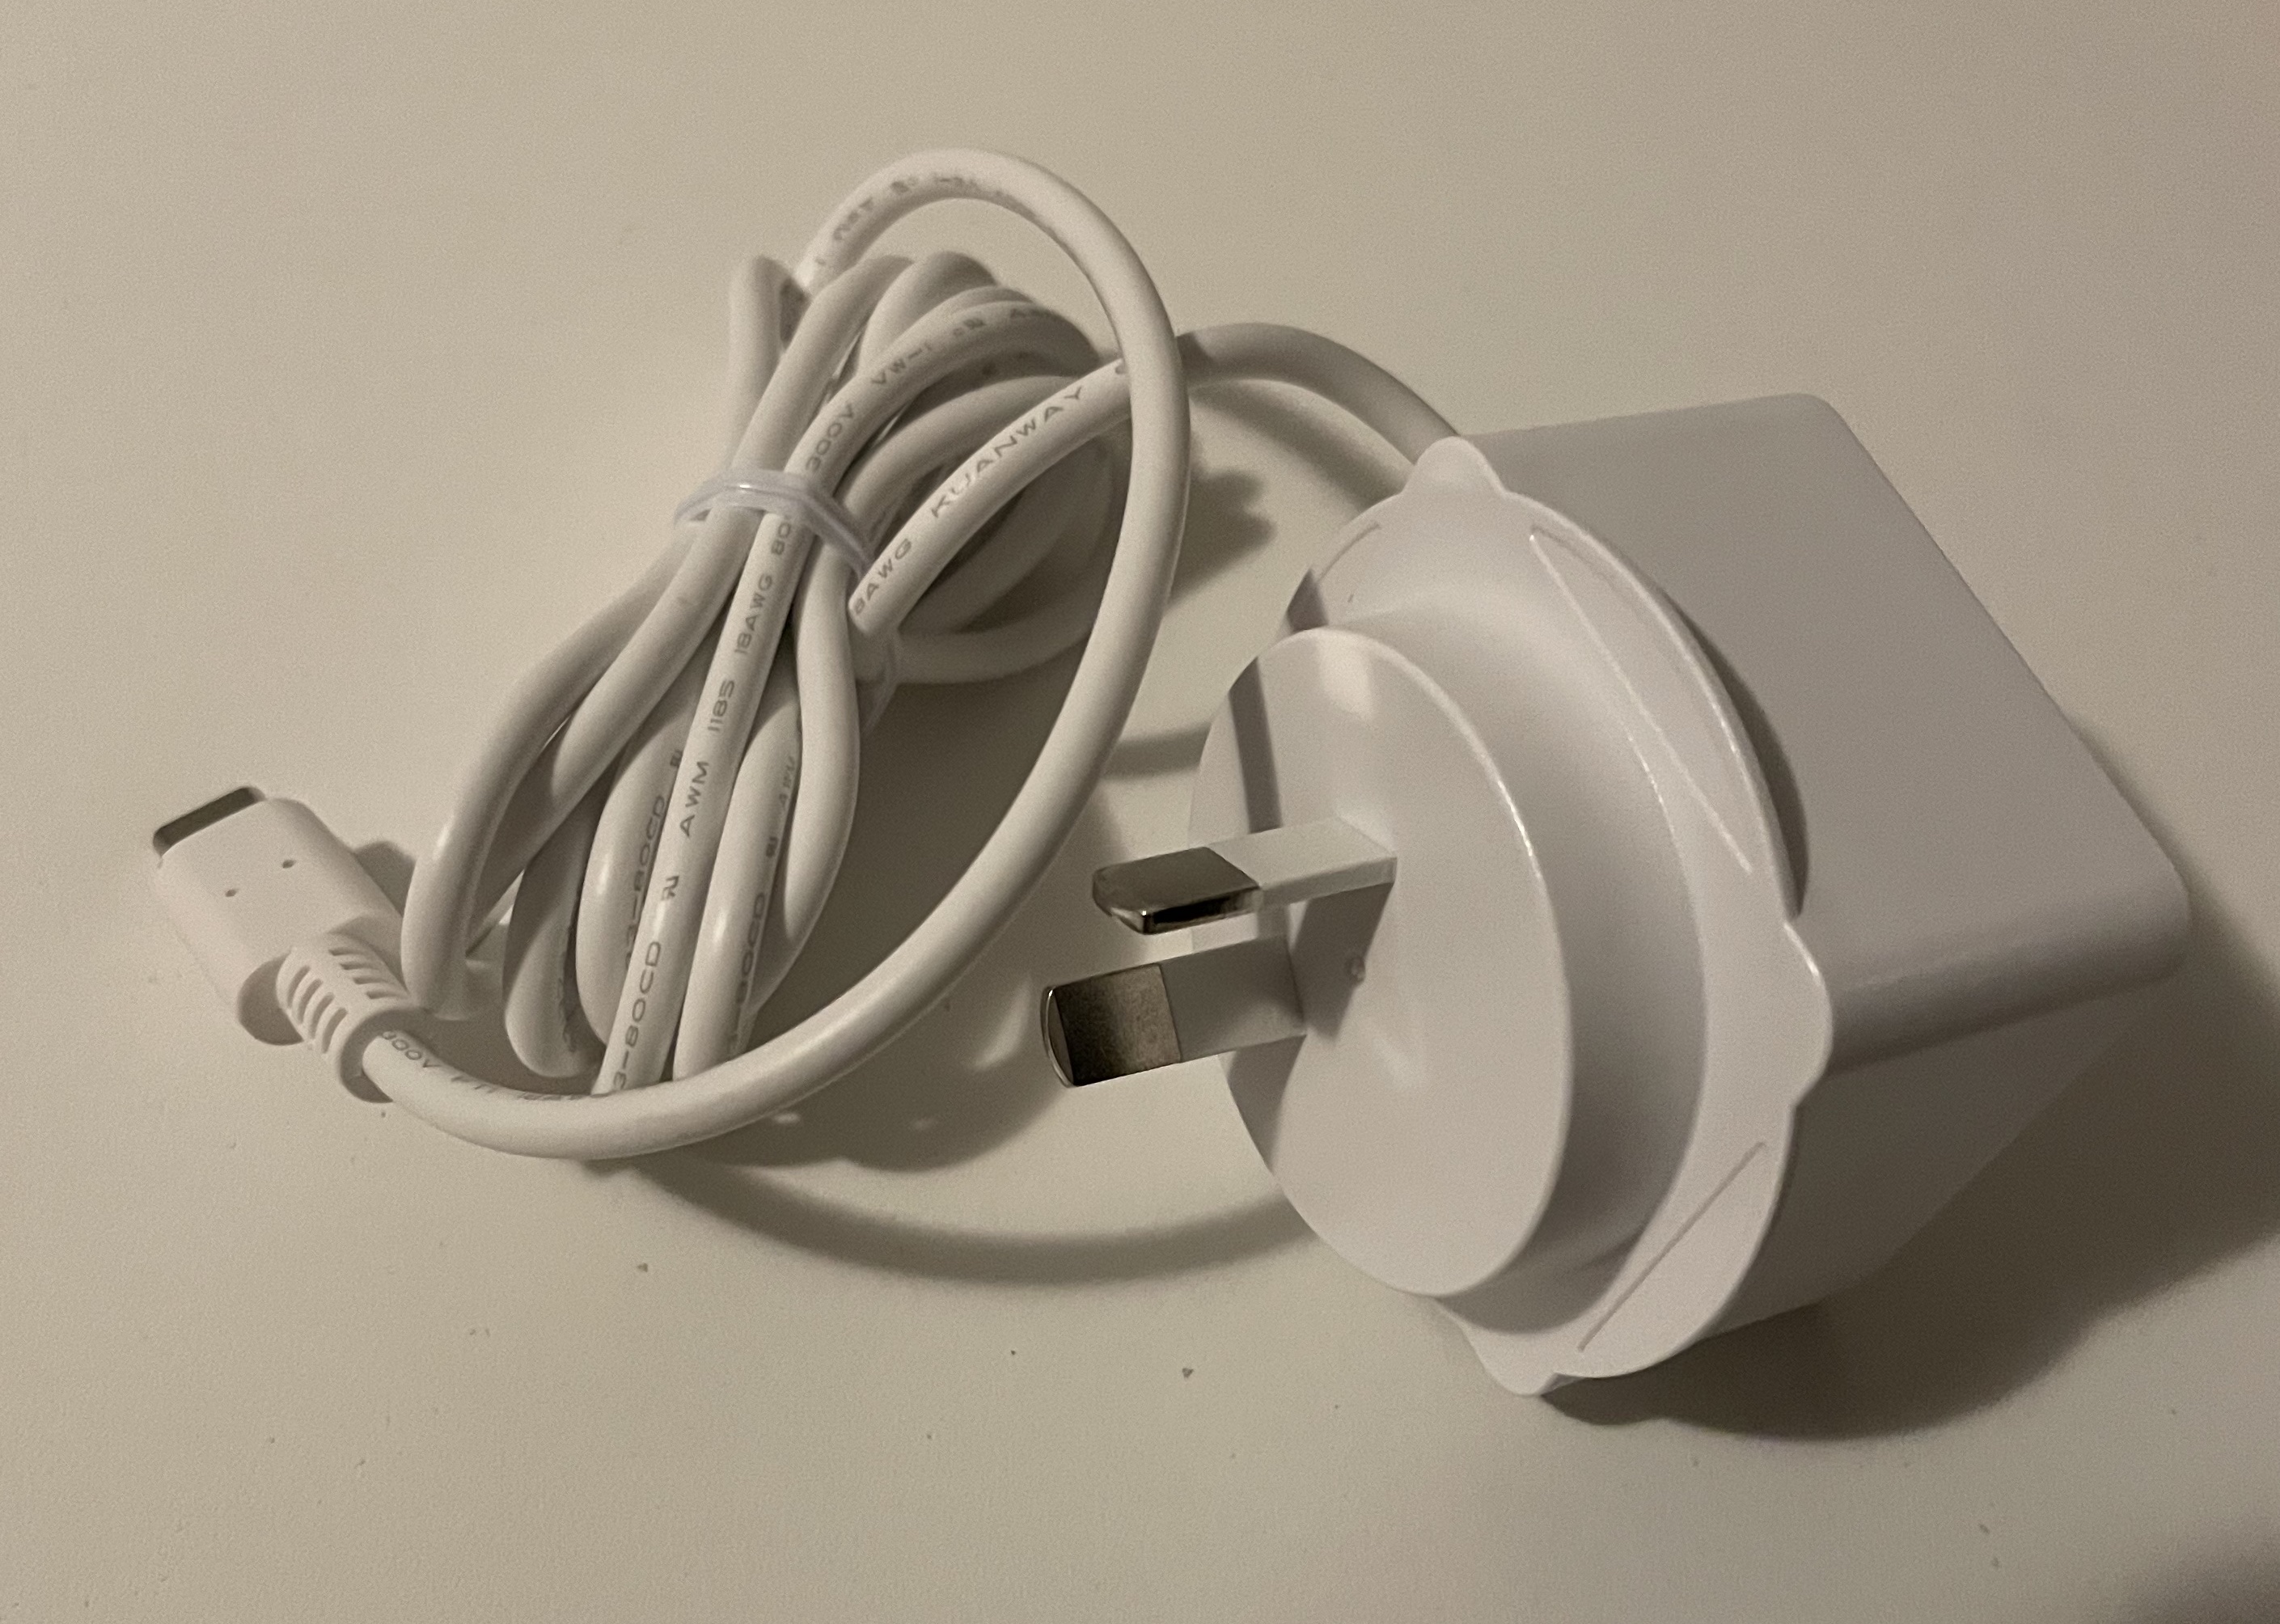 The Power Supply
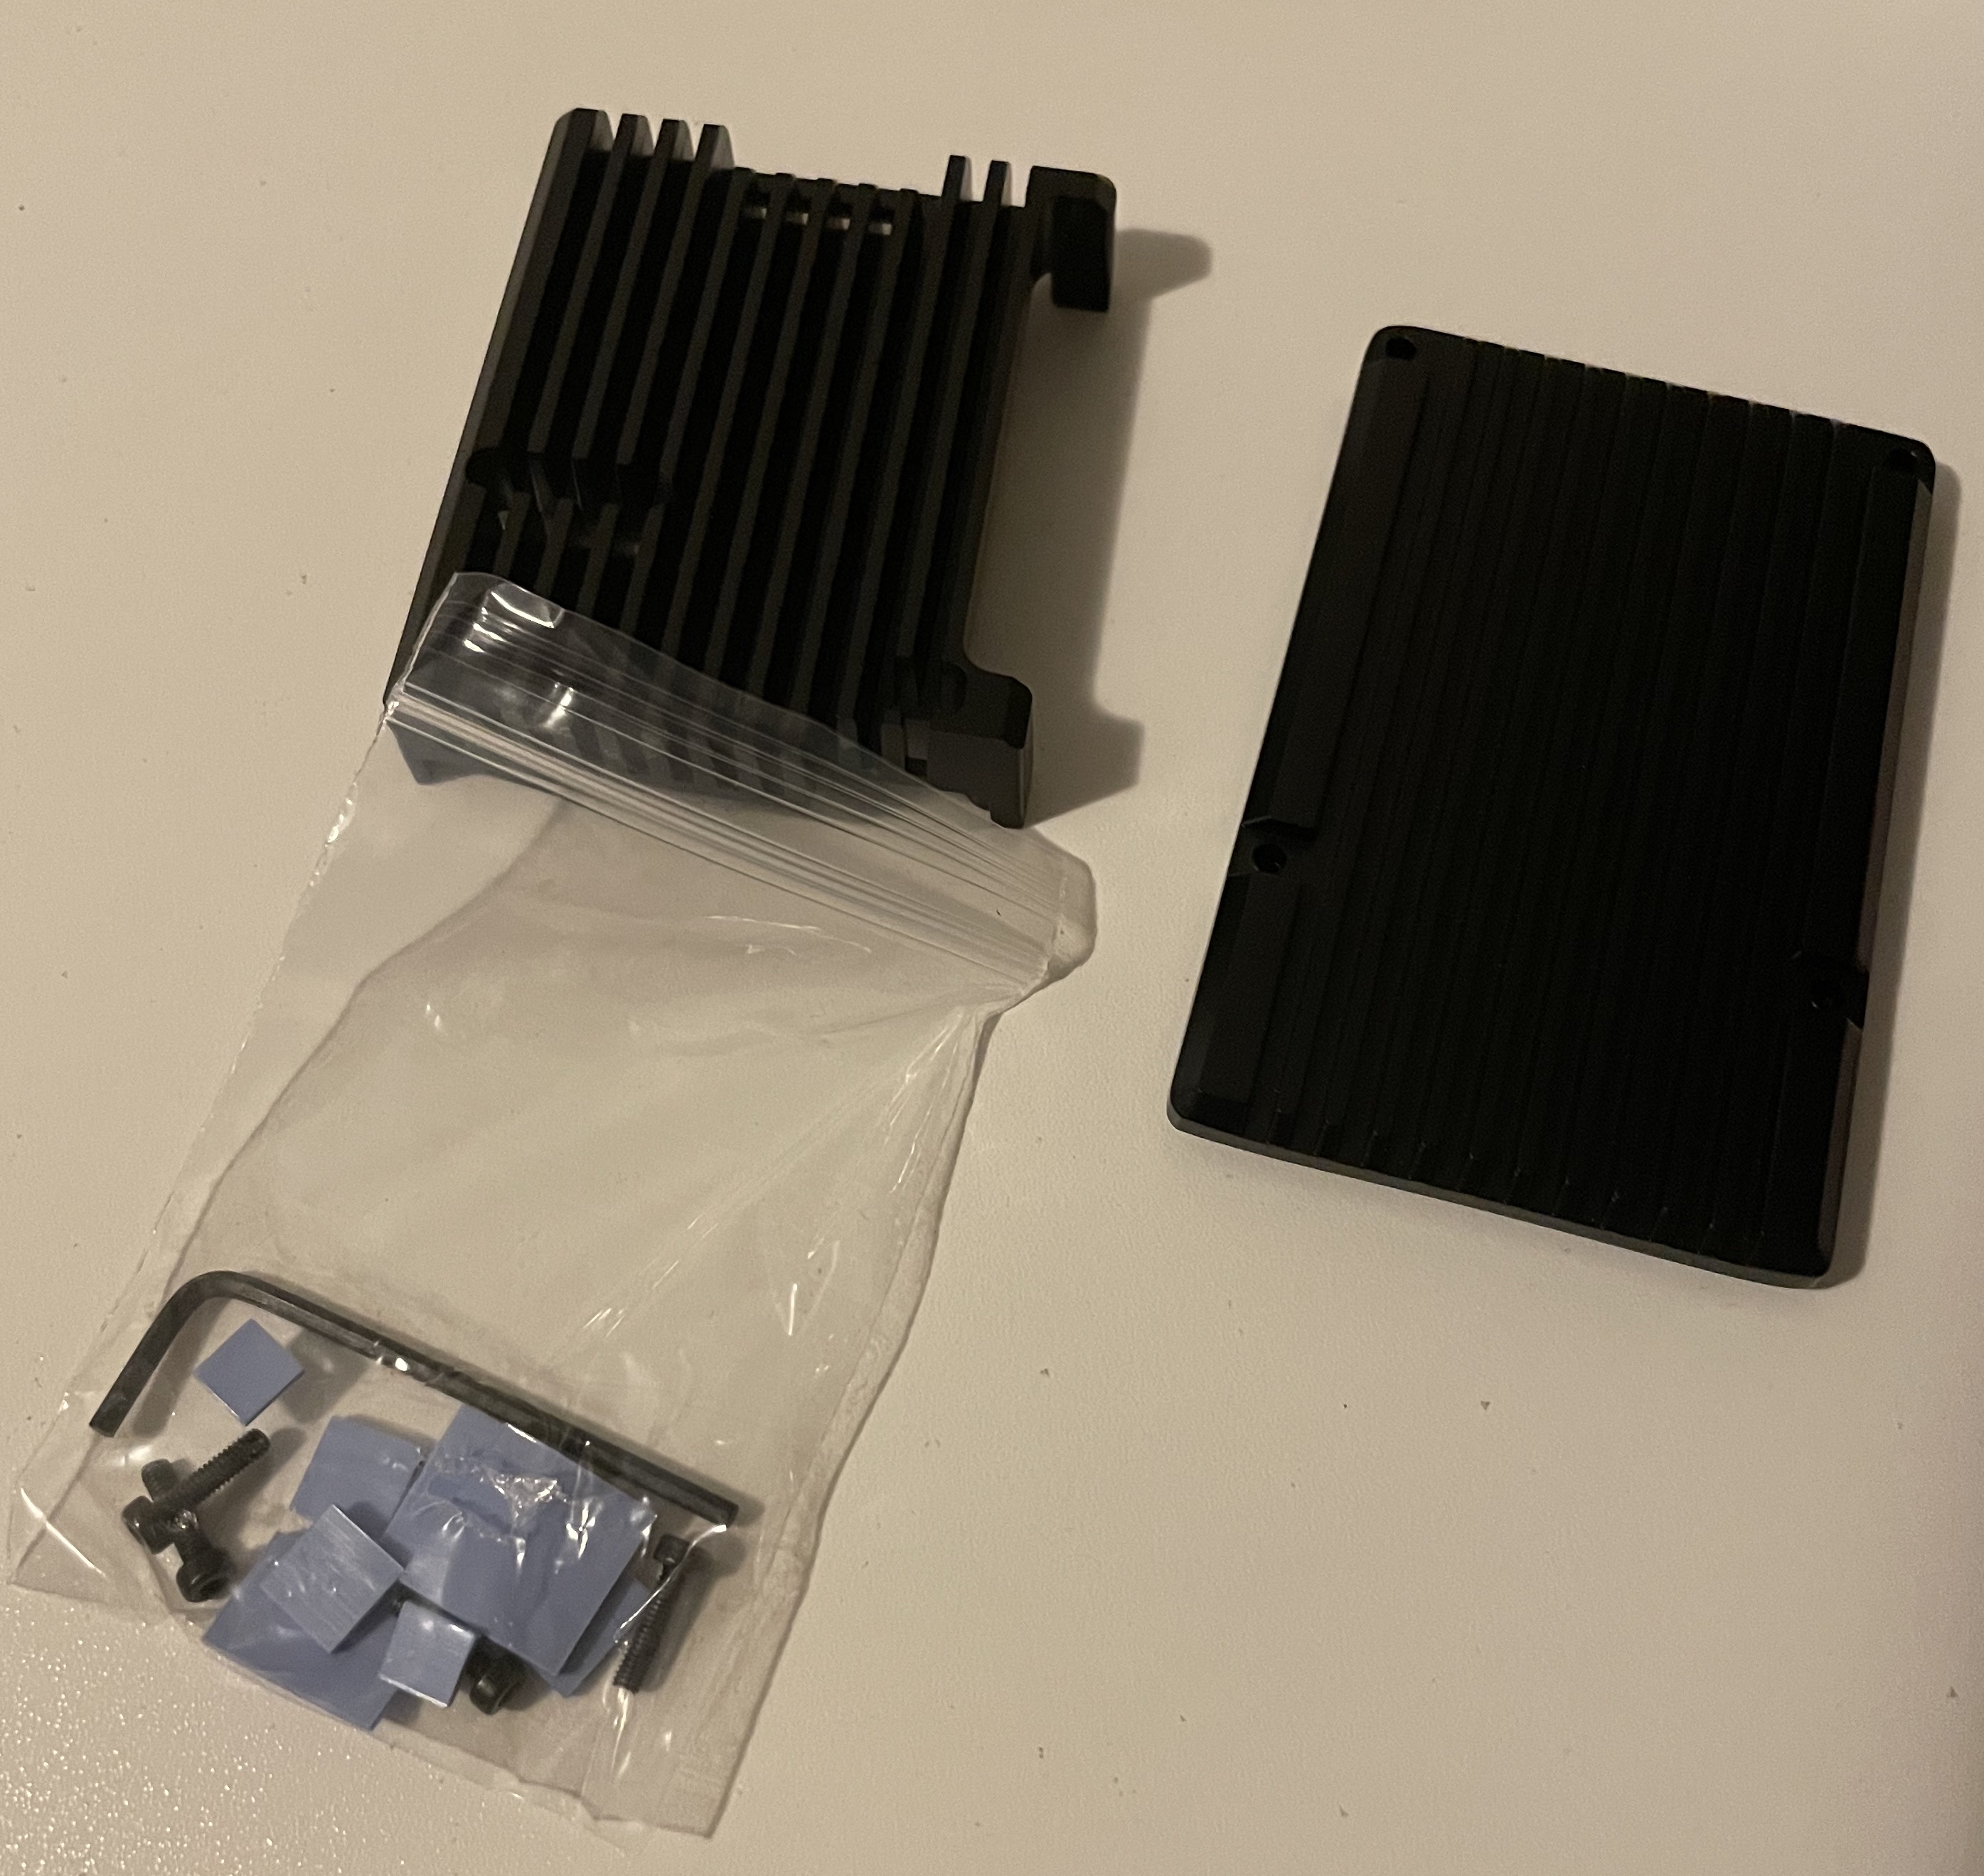 The HeatSink
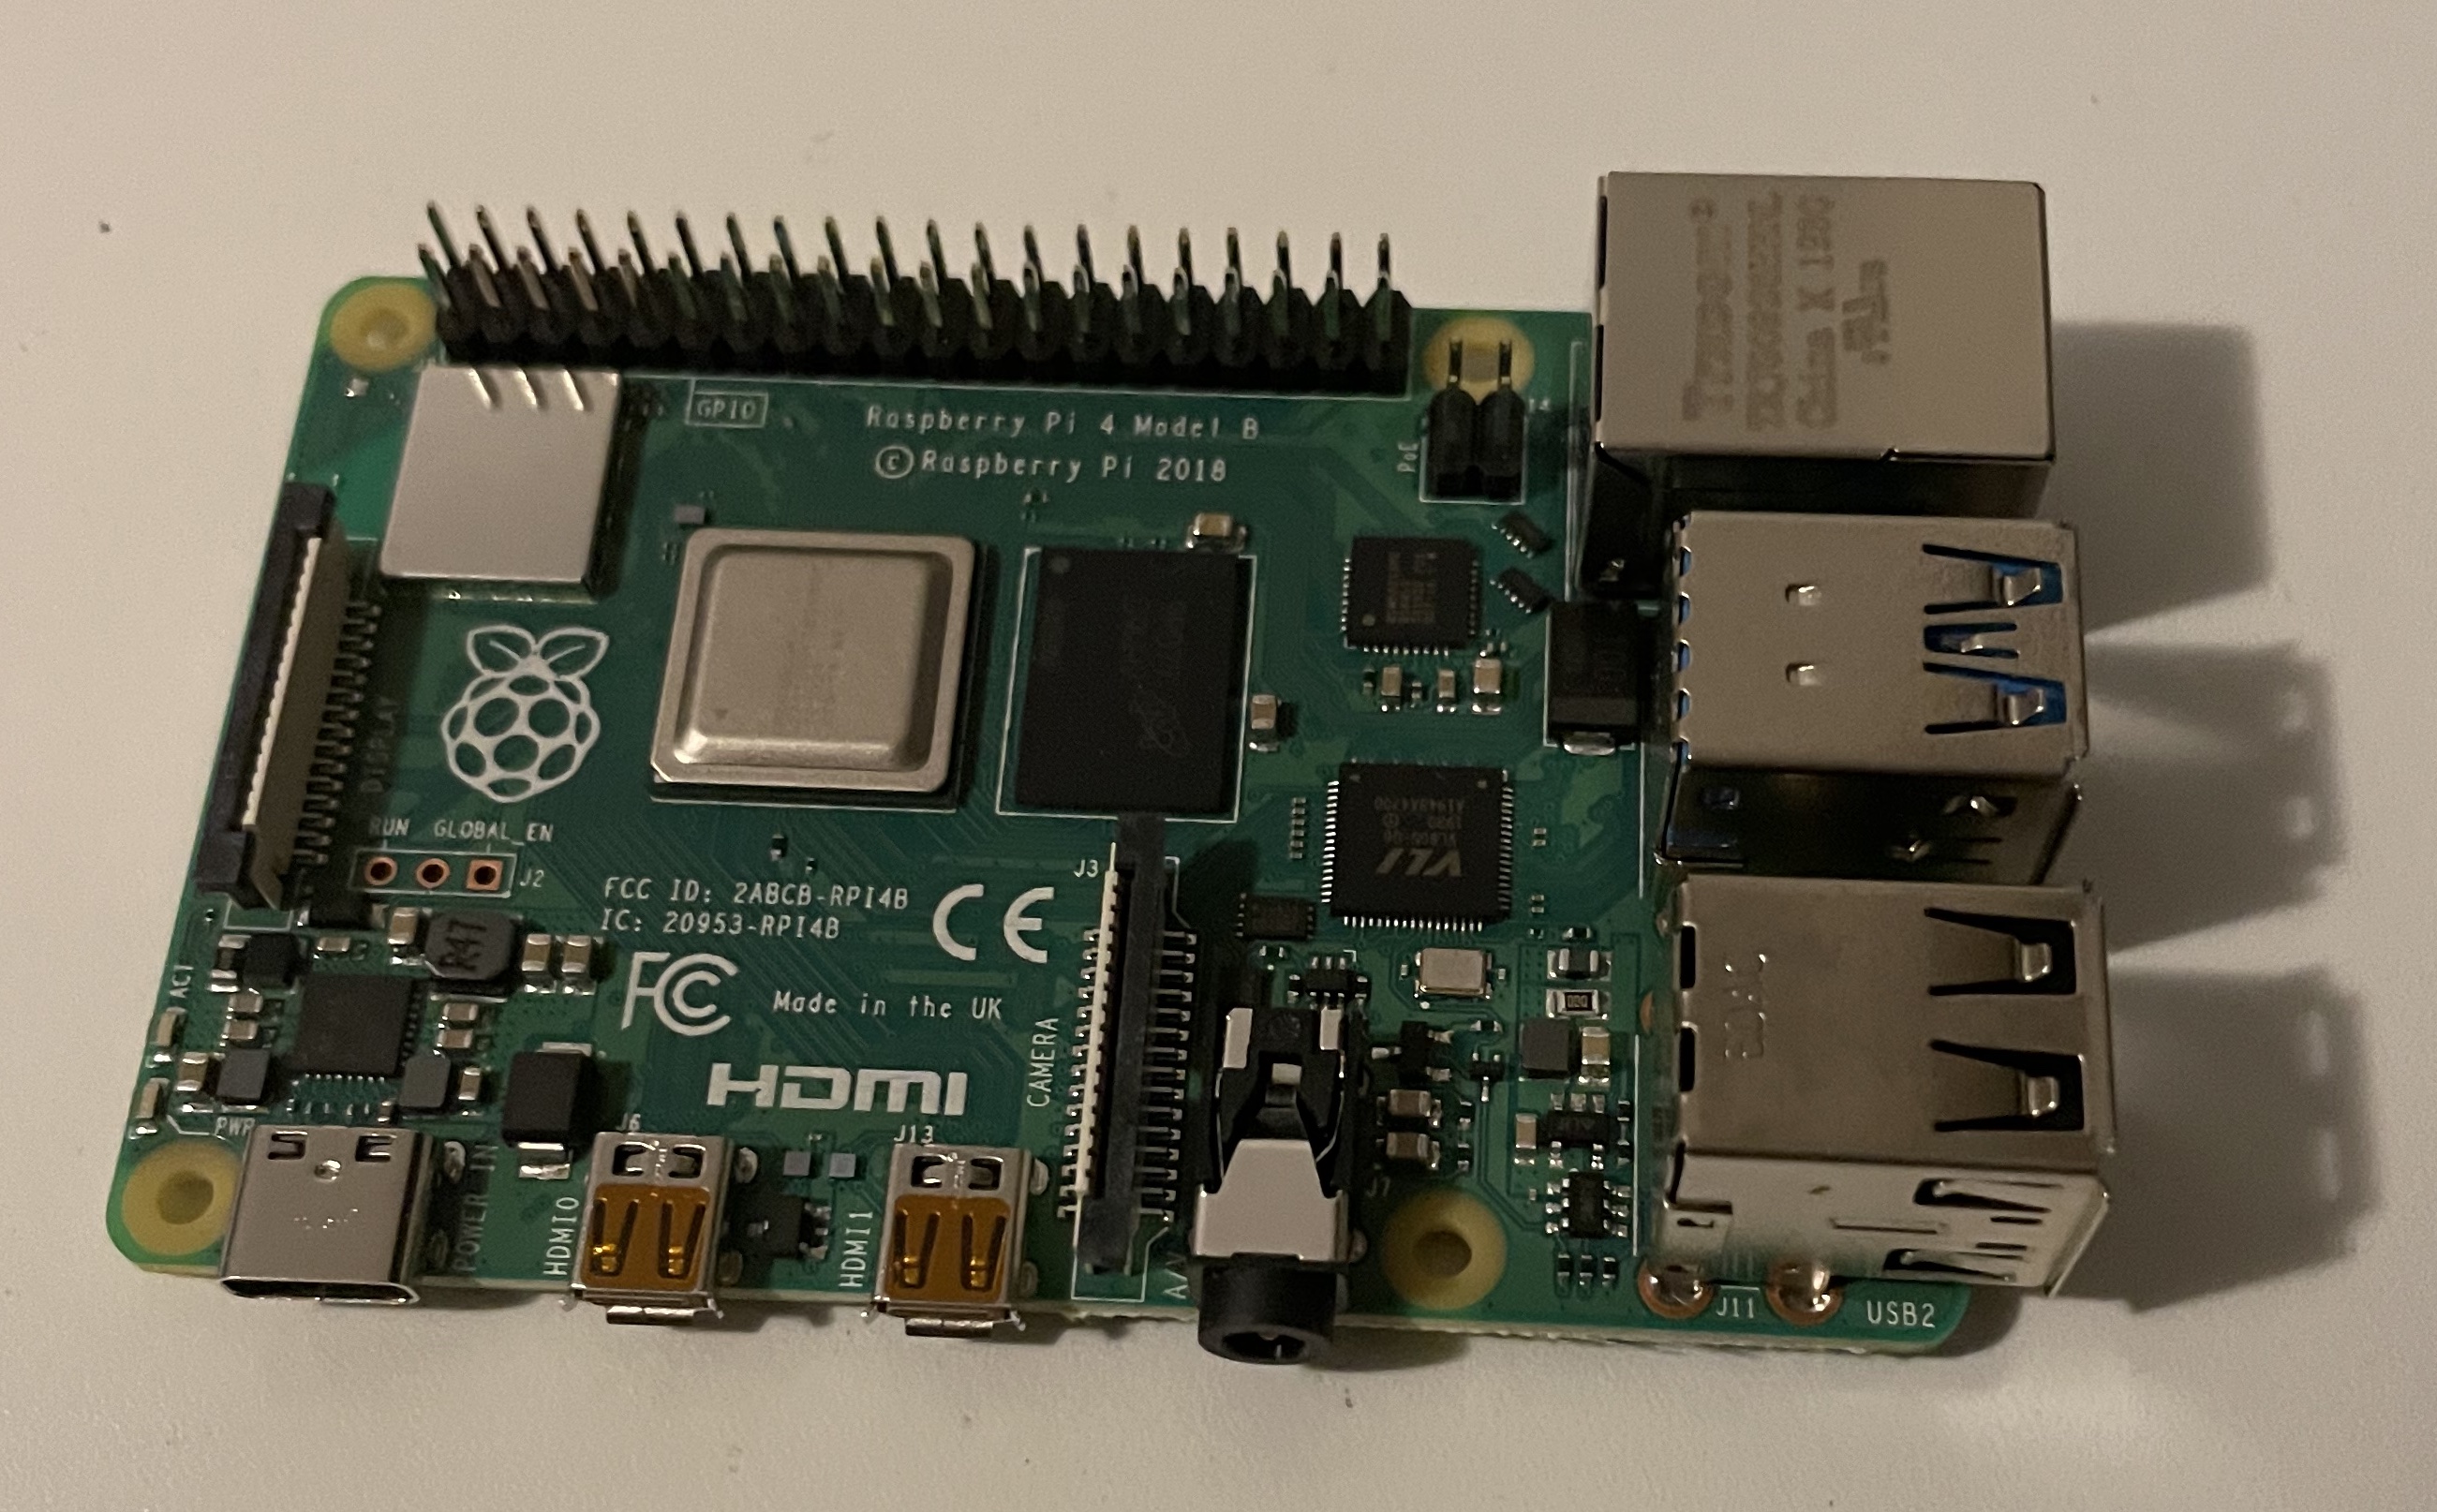 The Raspberry Pi 4B Motherboard
Burning the Image
I downloaded the boot image from the GitHub repo, and used Balena Etcher to write it on my Macbook Pro. Afterward you insert that into the Raspberry Pi, connected up the SSD to the motherboard side USB3.0 port, connect up an Ethernet cable and then power it up!
Installing the System
If everything is hooked up correctly (and you have a router/DHCP server on your hardwired ethernet you just connected it to) the screen should light up with the DHCP allocated IP Address you can reach it on with instructions on how to SSH via the terminal, like “ssh [email protected]” or similar. Open up Terminal, enter that and you’ll get a nice neat blue-screen with the same information on it. From here everything is done via the menu installer.
If you get kicked out of that interface just enter ‘raspiblitz’ and it will restart the menu.
Getting the Order Right
- Pick Your Poison For me I chose BitCoin and Lightning which is the default. There are other Crypto-currencies if that’s your choice then set your passwords and please use a Password manager with at least 32 characters - make it as secure as you can from Day One!
- TOR vs Public IP Some privacy nuts run behind TOR to obscure their identity and location. I’ve done both and can tell you that TOR takes a lot longer to sync and access and will kill off a lot of apps and makes opening channels to some other nodes and services difficult or impossible. For me, I just wanted a working node that was as interoperable as possible so I chose Public IP.
- Let the BlockChain Sync Once your SSD is formatted, if you have the patience then I recommend syncing the Blockchain from scratch. I already had a copy of it that I SCP’d across from my Synology and it saved me about 36 hours but it also caused my installer to ungracefully exit and it took me another day of messing with the command line to get it to start again and complete the installation. In retrospect, not a time saver end to end but your mileage may vary.
- Set up a New Node Or in my case, I recovered my old node at this point by copying the channel.backup over but for most others it’s a New Node and a new Wallet and for goodness sake when you make a new wallet; KEEP A COPY OF YOUR SEED WORDS!!!
- Let Lightning “Sync” It’s actually validating blocks technically but this also takes a while. For me it took nearly 6 hours for both Lightning and Bitcoin blocks to sync.
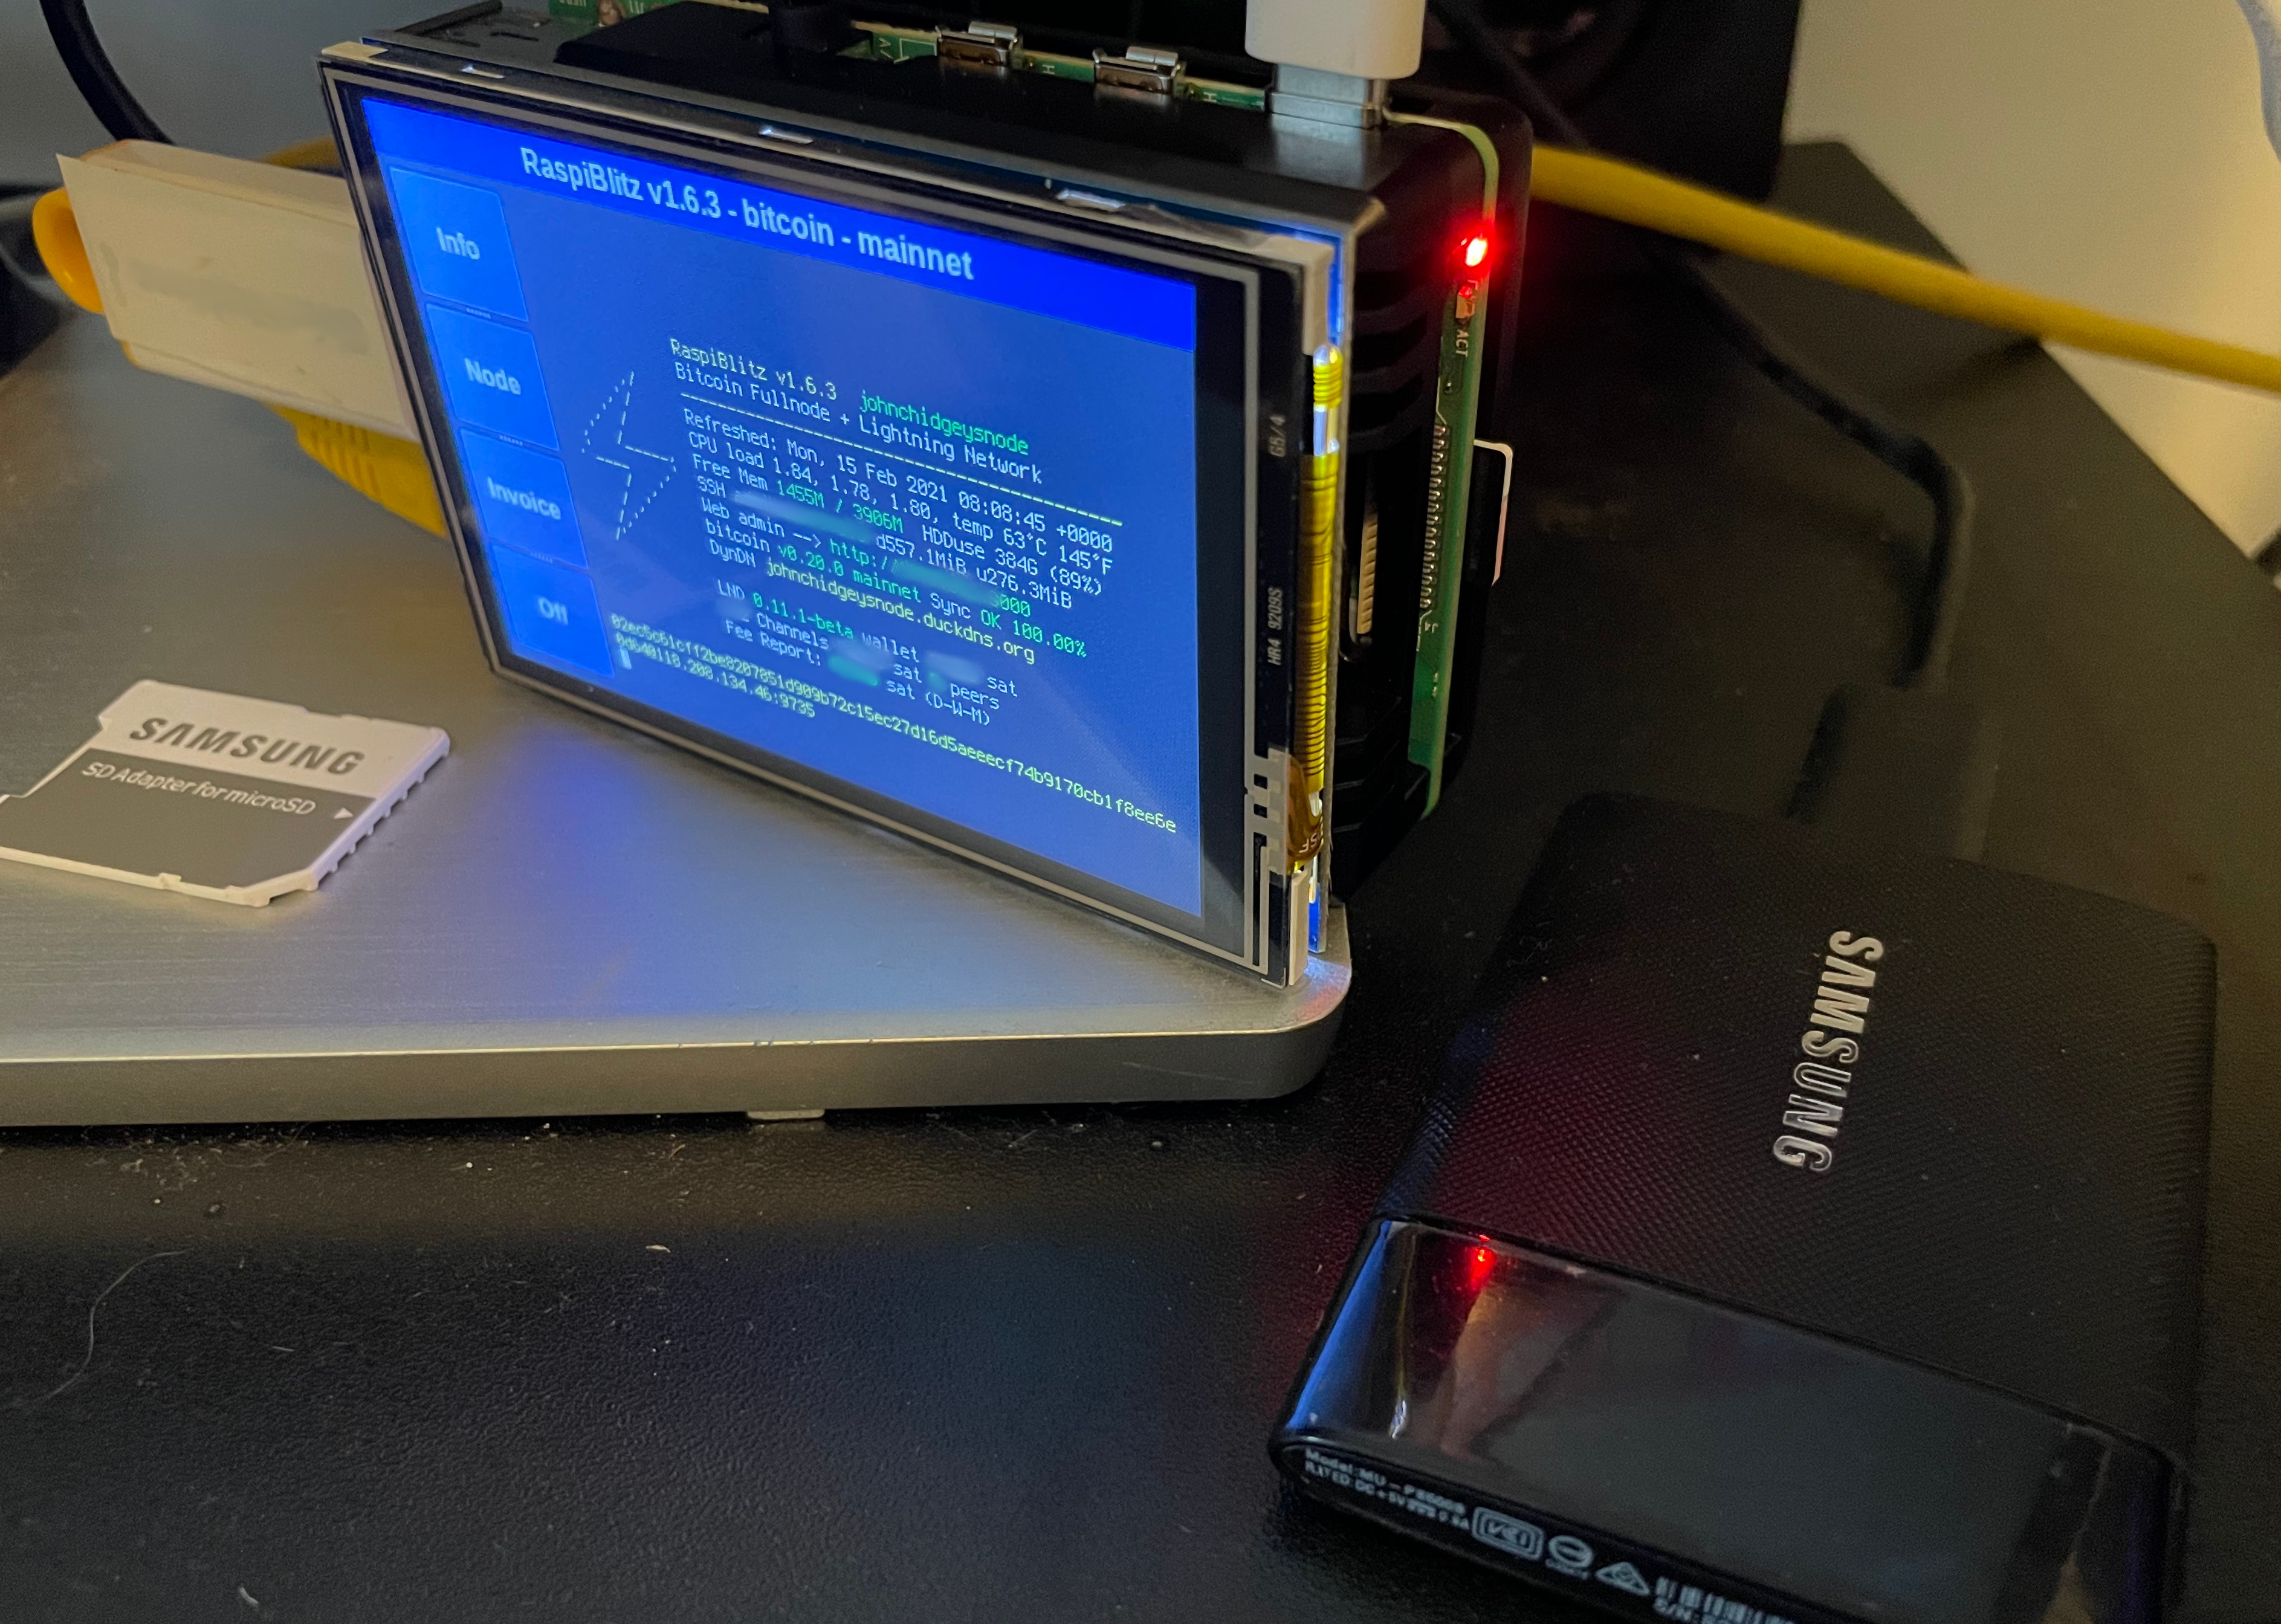 The Final Assembled Node up and Running
My Money from Attempt 2 on the Synology Recovered!
I was able to copy the channel.backup and wallet.dat files from the Synology and was able to successfully recover my $60 AUD investment from my previous attempts, so that’s good! (And it worked pretty easily actually)
In order to prevent any loss of wallet, I’ve also added a USB3.0 Thumb Drive to the other USB3.0 port and set up “Static Channel Backup on USB Drive” which required a brief format to EXT4 but worked without any real drama.
Conclusion
Building the node using a salvaged SSD cost under $200 AUD and took about 2 days to sync and set up. Installing the software and setting up all the services is another story for another post, but it’s working great!