Herein you’ll find articles on a very wide variety of topics about technology in the consumer space (mostly) and items of personal interest to me. I have also participated in and created several podcasts most notably Pragmatic and Causality and all of my podcasts can be found at The Engineered Network.
Podcasting 2.0 Addendum
I recently wrote about Podcasting 2.0 and thought I should add a further amendment regarding their goals. I previously wrote:
To solve the problems above there are a few key angles being tackled: Search, Discoverability and Monetisation.
I’d like to add a fourth key angle to that, which I didn’t think at the time should be listed as it’s own however having listened more to Episodes 16 and 17 and their intention to add XML tags for IRC/Chat Room integration I think I should add the fourth key angle: Interactivity.
Interactivity
The problem with broadcast historically is that audience participation is difficult given the tools and effort required. Pick up the phone, make a call, you need a big incentive (think cash prizes, competitions, discounts, something!) or audiences just don’t participate. It’s less personal and with less of a personal connection the desire for listeners to connect is much less.
In podcasting as an internet-first application and being far more personal, the bar is set differently and we can think of real-time feedback methods as verbal via a dial-in/patch-through to the live show or written via messaging, like a chat room. There are also non-real-time methods predominantly via webforms and EMail. With contact EMails already in the RSS XML specification, adding a webform submission entry might be of some use (perhaps < podcast:contactform > with a url=“https://contact.me/form"), but real-time is far more interesting.
Real Time Interactivity
In podcasting initially (like so many internet-first technology applications) geeks that understood how it works, led the way. That is to say with podcasts originally there was a way for a percentage of the listeners to use IRC as a Chat Room (Pragmatic did this for the better part of a year in 2014, as well as other far more popular shows like ATP, Back To Work etc.) to get real-time listener interaction during a podcast recording, albeit with a slight delay between audio out and listener response in the chat room.
YouTube introduced live streaming and live chat with playback that integrated the chat room with the video content to lower the barrier of entry for their platform. For equivalent podcast functionality to go beyond the geek-% of the podcast listeners, podcast clients will need to do the same. In order for podcast clients to be pressured to support it, standardisation of the XML tags and backend infrastructure is a must.
The problem with interactivity is that whilst it starts with the tag, it must end with the client applications otherwise only the geek-% of listeners will use it as they do now.
From my own experiences with live chat rooms during my own and other podcasts, people that are able to tune in to a live show and be present (lots of people just “sit” in a channel and aren’t actually present) is about 1-2% of your overall downloads and that’s for a technical podcast with a high geek-%. I’ve also found there are timezone-effects such that if you podcast live during different times of the day or night directly impacts those percentages even further (it’s 1am somewhere in the world right now, so if your listeners live in that timezone chances are they won’t be listening live).
The final concern is that chat rooms only work for a certain kind of podcast. For me, it could only potentially work with Pragmatic and in my experience I wanted Pragmatic to be focussed and chat rooms turned out to be a huge distraction. Over and again my listeners reiterated that one of the main attractions of podcasts was their ability to time-shift and listen to them when they wanted to listen to them. Being live to them was a minus not a plus.
For these reasons I don’t see that this kind of interactivity will uplift the podcasting ecosystem for the vast majority of podcasters, though it’s certainly nice to have and attempt to standardise.
Crowd-sourced Chapters
Previously I wrote:
The interesting opportunity that Adam puts forward with chapters is he wants the audience to be able to participate with crowd-sourced chapters as a new vector of audience participation and interaction with podcast creators.
Whilst I looked at this last time from a practical standpoint of “how would I as a podcaster use this?” concluding that I wouldn’t use it since I’m a self-confessed control-freak, but I didn’t fully appreciate the angle of audience interaction. I think for podcasts that have a truly significant audience with listeners that really want to help out (but can’t help financially) this feature provides a potential avenue to assist in a non-financial aspect, which is a great idea.
Crowd-source Everything?
(Except recording the show!)
From pre-production to post-production any task in the podcast creation chain could be outsourced to an extent. The pre-production dilemma could look like a feed level XML Tag < podcast:proposedtopics > to a planned topic list (popular podcasts currently use Twitter #Tags like #AskTheBobbyMcBobShow), to cut-out centralised platforms like Twitter from the creation chain in the long term. Again, only useful for certain kinds of shows, but could also include a URL Link to a shared document (probably a JSON file), an episode index reference (i.e. Currently released episode is 85, proposed topics for Episode 86, could also be an array for multiple episodes.)
The post-production dilemma generally consists of show notes, chapters (solution in progress) and audio editing. Perhaps a similar system to crowd-sourced chapters could be used for show notes that could include useful/relevant links for the current episode that aren’t/can’t be easily embedded as Chapter markers.
In either case there’s no reason why it couldn’t work the same way as crowd-sourced chapter markers. The podcaster could also have (with sufficient privileges) the administrative access to add/modify remove content from either of these, with guests also having read/write access. With an appropriate client tool this would then eliminate the plethora of different methods in use today: shared google documents being quite popular with many podcasters today, will not be around indefinitely.
All In One App?
Of course the more features we pile into the Podcasting client app, the more difficult it becomes to write and maintain. Previously an excellent programmer, come podcaster, come audiophile like Marco Arment, could create Overcast. With lightning network integration, plus crowd-sourced chapters, shared document support (notes etc) and a text chat client (IRC) the application is quickly becoming much heavier and complex, with fewer developers with the knowledge in each dimension to create an all-in-one app client.
The need for better frameworks to make feature integration easier for developers is obvious. There may well be the need to two classes of app or at least two views: the listener view and the podcaster view, or simply multiple apps for different purposes. Either way it’s interesting to see where the Tag + Use Case + Tool-chain can lead us.
Podcasting 2.0
I’ve been podcasting from close to a decade and whilst I’m not what some might refer to as the “Old Guard” I’ve come across someone that definitely qualifies as such: Adam Curry.
Interestingly when I visited Houston in late 2019 pre-COVID19 my long-time podfriend Vic Hudson suggested I catch up with Adam as he lived nearby and referred to him as the “Podfather.” I had no idea who Adam was at that point and thought nothing of it at the time and although I caught up with Manton Reece at the IndieWeb Meetup in Austin I ran out of time for much else. Since then a lot has happened and I’ve come across Podcasting 2.0 and thus began my somewhat belated self-education of my pre-podcast-involvement podcasting history of which I had clearly been ignorant until recently.
In the first episode of Podcasting 2.0, “Episode 1: We are upgrading podcasting” on the 29th of August, 2020 at about 17 minutes in, Adam regales the story of when Apple and Steve Jobs wooed him with regards to podcasting as he handed over his own Podcast Index as it stood at the time to Apple as the new custodians. He refers to Steve Jobs’ appearance at D3 and at 17:45, Steve defined podcasting as being iPod + Broadcasting = Podcasting, further describing it as “Wayne’s World for Podcasting” and even plays a clip of Adam Curry complaining about the unreliability of his Mac.
The approximate turn of events thereafter: Adam hands over podcast index to Apple, Apple builds podcasting into iTunes and their iPod line up and become the largest podcast index, many other services launch but indies and small networks dominate podcasting for the most part but for the longest time Apple didn’t do much at all to extend podcasting. Apple added a few RSS Feed namespace tags here and there but did not attempt to monetise Podcasting even as many others came into the Podcasting space, bringing big names from conventional media and with them many companies starting or attempting to convert podcast content into something that wasn’t as open as it had been with “exclusive” pay-for content.
What Do I Mean About Open?
To be a podcast by its original definition it must contain an RSS Feed, that can be hosted on any machine serving pages to the internet, readable by any other machine on the internet with an audio tag referring to an audio file that can be streamed or downloaded by anyone. A subscription podcast requires login credentials of some kind, usually associated with a payment scheme, in order to listen to the audio of those episodes. Some people draw the line at free = open (and nothing else), others are happy with the occasional authenticated feed that’s still available on any platform/player as that still presents an ‘open’ choice, but much further beyond that (won’t play in any player, not everyone can find/get the audio) and things start becoming a bit more closed.
Due to their open nature, tracking of podcast listeners, demographics and such is difficult. Whilst advertisers see this as a minus, most privacy conscious listeners see this as a plus.
Back To The History Lesson
With big money and big names a new kind of podcast emerged, one behind a paywall with features and functionality that other podcast platforms didn’t or couldn’t have with a traditional open podcast using current namespace tags. With platforms scaling and big money flowing into podcasting, it effectively brought down the average ad-revenue across the board in podcasting and introduced more self-censorship and forced-censorship of content that previously was freely open.
With Spotify and Amazon gaining traction, more multi-million dollar deals and a lack of action from Apple, it’s become quite clear to me that podcasting as I’ve known it in the past decade is in a battle with more traditional, radio-type production companies with money from their traditional radio, movie and music businesses behind them. The larger the more closed podcast eco-systems become, the harder it then becomes for those that aren’t anointed by those companies as being worthy, to be heard amongst them.
Advertisers instead of spending time and energy with highly targeted advertising by carefully selecting shows (and podcasters) individually to attract their target demographic, instead they start dealing only with the bigger companies in the space since they want demographics from user tracking with bigger companies claiming a large slice of the audience they then over-sell their ad-inventory leading to lower-value DAI and less-personal advertising further driving down ad-revenues.
(Is this starting to sound like radio yet? I thought podcasting was supposed to get us away from that…)
Finally another issue emerged: that of controversial content. What one person finds controversial another person finds acceptable. With many countries around the world, each with different laws regarding freedom of speech and with people of many different belief systems, having a way to censor content with a fundamentally open ecosystem (albeit with partly centralised search) was a lever that would inevitably be pulled at some point.
As such many podcasts have been removed from different indexes/directories for different reasons, some more valid than others perhaps, however that is a subjective measure and one I don’t wish to debate here. If podcasts are no longer open then their corporate controller can even more easily remove them in part or in whole as they control both the search and the feed.
To solve the problems above there are a few key angles being tackled: Search, Discoverability and Monetisation.
Search
Quick and easy, the Podcast Index is a complete list of any podcast currently available that’s been submitted. It isn’t censored and is operated and maintained by the support of it’s users. As it’s independent there is no hierarchy to pressure the removal of content from it.
Monetisation
The concept here is ingenuous but requires a leap of faith (of a sort). Bitcoin or rather Lightning, which is a micro-transaction layer that sits aside Bitcoin. If you are already au fait with having a Bitcoin Node, Lightning Node and Wallet then there’s nothing for me to add but the interesting concept is this: by submitting your Node address in your Podcast RSS feed (using the podcast:value tag) a compliant Podcast player can then optionally use the KeySend Lightning command to send a periodic payment “as you listen.” It’s voluntary but it’s seamless.
The podcaster sets a suggested rate in Sats (Satoshis) per minute of podcast played (recorded minute - not played minute if you’re listening at 2x, and the rate is adjustable by the listener) to directly compensate the podcast creator for their work. You can also “Boost” and provide one-off payments via a similar mechanism to support your podcast creator.
The transactions are so small and carry such minimal transaction fees that effectively the entire amount is transferred from listener to podcaster without any significant middle-person skimming off the top in a manner that both reflects the value in time listened vs created and without relying on a single piece of centralised infrastructure.
Beyond this the podcaster can choose additional splits for the listener streaming Sats to go to their co-hosts, to the podcast player app-developer and more. Imagine being able to directly compensate audio editors, artwork contributors, hosting providers all directly and fairly based on listeners actually consuming the content in real time.
This allows a more balanced value distribution and protects against the current non-advertising podcast-funding model via a support platform like Patreon and Patreon (oh I mean Memberful but that’s actually Patreon ). When Patreon goes out of business all of those supportive audiences will be partly crippled as their creators scramble to migrate their users to an alternative. The question is will it be another centralised platform or service, or a decentralised system like this?
That’s what’s so appealing about the Podcasting 2.0 proposition: it’s future proof, balanced and sensible and it avoids the centralisation problems that have stifled creativity in the music and radio industries in the past. There’s only one problem and it’s a rather big one: the lack of adoption of Lightning and Bitcoin. Currently only Sphinx supports podcast KeySend at the time of publishing and adding more client applications to that list of one is an easier problem to solve than listener mass adoption of BitCoin/Lightning.
Adam is betting that Podcasting might be the gateway to mass adoption of BitCoin and Lightning and if he’s going to have a chance of self-realising that bet, he will need the word spread far and wide to drive that outcome.
As of time of writing I have created a Causality Sphinx Tribe for those that wish to contribute by listening or via Boosting. It’s already had a good response and I’m grateful to those that are supporting Causality via that means or any other for that matter.
Discoverability
This is by far the biggest problem to solve and if we don’t improve it dramatically, the only people and content that will be ‘findable’ will be that of the big names with big budgets/networks behind them, leaving the better creators without such backing, left lacking. It should be just as easy to find an independent podcast with amazing content made by one person as it is to find a multi-million dollar podcast made by an entire production company. (And if the independent show has better content, then the Sats should flow to them…)
Current efforts are focussed on the addition of better tags in the Podcasting NameSpace to allow automated and manual searches for relevant content, and to add levers to improve promotability of podcasts.
They are sensibly splitting the namespace into Phases, each Phase containaing a small group of tags and progressively agreeing several tags at a time with the primary focus of closing out one Phase of tags before embarking on too much detail for the next. The first phase (now released) included the following:
- < podcast:locked > (Technically not discoverability) If ‘yes’ the podcast platform is NOT permitted to be imported. This needs to be implemented by all platforms (or as many as possible) to be effective in preventing podcast theft which is rampant on platforms like Anchor aka Spotify
- < podcast:transcript > A link to an episode transcript file
- < podcast:funding > (Technically not discoverability) Link to the approved funding page/method (in my case Patreon)
- < podcast:chapters > A server-side JSON format for chapters that can be static or collaborative (more below)
- < podcast:soundbite > Link to one or more excerpts from the episode for a prospective listener to check out the episode before downloading or streaming the whole episode from the beginning
I’ve implemented those that I see as having a benefit for me, which is all of them (soundbite is a WIP for Causality), with the exception of Chapters. The interesting opportunity that Adam puts forward with chapters is he wants the audience to be able to participate with crowd-sourced chapters as a new vector of audience participation and interaction with podcast creators. They’re working with HyperCatcher’s developer to get this working smoothly but for now at least I’ll watch from a safe distance. I think I’m just too much of a control freak to hand that out on Causality to others to make chapter suggestions. That said it could be a small time saver for me for Pragmatic…maybe.
The second phase (currently a work in progress) is tackling six more:
- < podcast:person > List of people that are on an episode or the show as a whole, along with a canonical reference URL to identify them
- < podcast:location > The location of the focus of the podcast or episodes specific content (for TEN, this only makes sense for Causality)
- < podcast:season > Extension of the iTunes season tag that allows a text string name in addition to the season number integer
- < podcast:episode > Modification of the iTunes episode tag that allows non-integer values including decimal and alpha-numeric
- < podcast:id > Platforms, directories, hosts, apps and services this podcast is listed on
- < podcast:social > List of social media platform/accounts for the podcast/episode
Whilst there are many more in Phase 3 which is still open, the most interesting is the aforementioned < podcast:value > where the podcaster can provide a Lightning Node ID for payment using the KeySend protocol.
TEN Makes It Easy
This is my “that’s fine for John” moment, where I point out that me incorporating these into the fabric of The Engineered Network website hasn’t taken too much effort. TEN runs on GoHugo as a static site generator and whilst it was based on a very old fork of Castanet, I’ve re-written and extended so much of that now that’s not recognisable.
I already had people name tagging, people name files, funding, subscribe-to links on other platforms and social media tags and transcripts (for some episodes) already in the MarkDown YAML front-matter and templates so adding them into the RSS XML template was extremely quick and easy and required very little additional work.
The most intensive tags are those that require additional Meta-Data to make them work. Namely, Location only makes sense to implement on Causality, but it took me about four hours of Open Street Map searching to compile about 40 episode-locations worth of information. The other one is soundbite (WIP) where searching for one or more choice quotes retrospectively is time-consuming.
Not everyone out there is a developer (part or full-time) and hence rely on services to support these tags. There’s a relatively well maintained list at Podcast Index and at time of writing: Castopod, BuzzSprout, Fireside, Podserve and Transistor support one or more tags, with Fireside (thank you Dan!) supporting an impressive six of them: Transcript, Locked, Funding, Chapters, Soundbite and Person.
Moving Forward
I’ve occasionally chatted with the lovely Dave Jones on the Fediverse (Adam’s co-host and the developer working on many aspects of 2.0) and listen to 2.0 via Sphinx when I can (unfortunately I can’t on my mobile/iPad as the app has been banned by my company’s remote device management policy) and I’ve implemented the majority of their proposed tags thus far on my shows. I’m also in the process of setting up my own private BitCoin/Lightning Node.
For the entire time I’ve been involved in the podcasting space, I’ve never seen a concerted effort like this take place. It’s both heartening and exciting and feels a bit like the early days of Twitter (before Jack Dorsey went public, bought some of the apps and effectively killed the rest and pushed the algorithmic timeline thus ruining Twitter to an extent). It’s a coalition of concerned creators, collaborating to create a better outcome for future podcast creators.
They’ve seen where podcasting has come from, where it’s going and if we get involved we can help deliver our own destiny and not leave it in the hands of corporations with questionable agendas to dictate.
Oh My NAS
I’ve been on the receiving end of failing hard drives in the past and lost many of my original podcast source audio files and more importantly a years’ worth of home videos, gone forever.
Not wishing for a repeat of this I purchased an 8TB external USB HardDrive and installed BackBlaze. The problem for me though was that BackBlaze was an ongoing expense, could only be used for a single machine and couldn’t really do anything other than be an offsite backup. I’d been considering a Network Attached Storage for years now and the thinking was, if I had a NAS then I could have backup redundancy1 plus a bunch of other really useful features and functionality.
The trigger was actually a series of crashes and disconnects of the 8TB USB HDD, and with the OS’s limited ability to troubleshoot HDD hardware-specific issues via USB I had some experience from my previous set of HDD failures many years ago, that this is how it all starts. So I gathered together a bunch of smaller HDDs and copied across all the data to them, while I still could, and resolved to get a better solution: hence the NAS.
Looking at both QNAP and Synology and my desire to have as broad a compatibility as possible, I settled on an Intel-based Synology, which in Synology-speak, means a “Plus” model. Specifically the DS918+ presented the best value for money with 4 Bays and the ability to extend with a 5 Bay external enclosure if I really felt the need in future. I waited until the DS920+ was released and noted that the benchmarks on the 920 weren’t particularly impressive and hence I stuck with the DS918+ and got a great deal as it had just become a clearance product to make way for the new model.
My series of external drives I had been using to hold an interim copy of my data were: a 4TB 3.5", a 4TB 2.5" (at that time I thought it was a drive in an enclosure you could extract), and a 2TB 3.5" drive as well as, of course, my 8TB drive which I wasn’t sure was toast yet. The goal was to reuse as many of my existing drives as possible and not spend even more money on more, new HDDs. I’d also given a disused but otherwise healthy 3.5" 4TB drive to my son for his PC earlier in the year and he hadn’t actually used it, so I reclaimed it temporarily for this exercise.
Here’s how it went down:
STEP 1: Insert 8TB Drive and in Storage Manager, Drive Info, run an Extended SMART test…and hours later…hundreds of bad sectors. To be honest, that wasn’t too surprising since the 8TB drive was periodically disconnecting and reconnecting and rebuilding its file tables - but now I had the proof. The Synology refused to let me create a Storage Pool or a Volume or anything so I resigned myself to buying 1 new drive: I saw that SeaGate Barracudas were on sale so I grabbed one from UMart and tried it.
STEP 2: Insert new 4TB Barracuda and in Storage Manager, Drive Info, run an Extended SMART test…and hours later…it worked perfectly! (As you’d expect) Though the test took a VERY long time, I was happy so I created a Storage Pool, Synology Hybrid RAID. Created a Volume, BTRFS because it came highly recommended, and then began copying over the first 4TB’s worth of data to the new Volume. So far, so good.
STEP 3: Insert my son’s 4TB drive and extend the SHR Storage Pool to include it. The Synology allowed me to do this and I did so for some reason without running a SMART Extended test on it first, and it let me so that should be fine right? Turns out, this was a terrible idea.
STEP 4: Once all data was copied off the 4TB data drive and to the Synology Volume, wipe that drive, extract the 3.5" HDD and insert the reclaimed 4TB 3.5" into the Synology and in Storage Manager, Drive Info, run an Extended SMART test…and hours later…hundreds of bad sectors. Um, okay. That’s annoying. So I might be up for yet another HDD since I have 9TB to store.
OH DEAR MOMENT: As I was re-running the drive check the Synology began reporting that the Volume was Bad, and the Storage Pool was unhealthy. I looked into the HDD manager and saw that my sons reclaimed 3.5" drive was also full of bad sectors, as the Synology had run a periodic test while data was still copying. I also attempted to extract the 2.5" drive from the external enclosure only to discover that it was a fully integrated controller/drive/enclosure and couldn’t be extracted without breaking it. (So much for that) Whilst I still had a copy of my 4TB of data in BackBlaze at this point I wasn’t worried about losing data but the penny dropped: Stop trying to save money and just buy the right drives. So I went to Computer Alliance and bought three shiny new 4TB SeaGate IronWolf drives.
STEP 5: Insert all three new 4TB IronWolfs and in Storage Manager, Drive Info, run an Extended SMART test…and hours later…the first drive perfect! The second and third drives however…had bad sectors. Bad sectors. On new drives? And not only that NAS-specific, high reliability drives? John = not impressed. I extended the Storage Pool (Barracuda + 1 IronWolf) and after running a Data Scrub it still threw up errors despite the fact both drives appeared to be fine and were brand new.
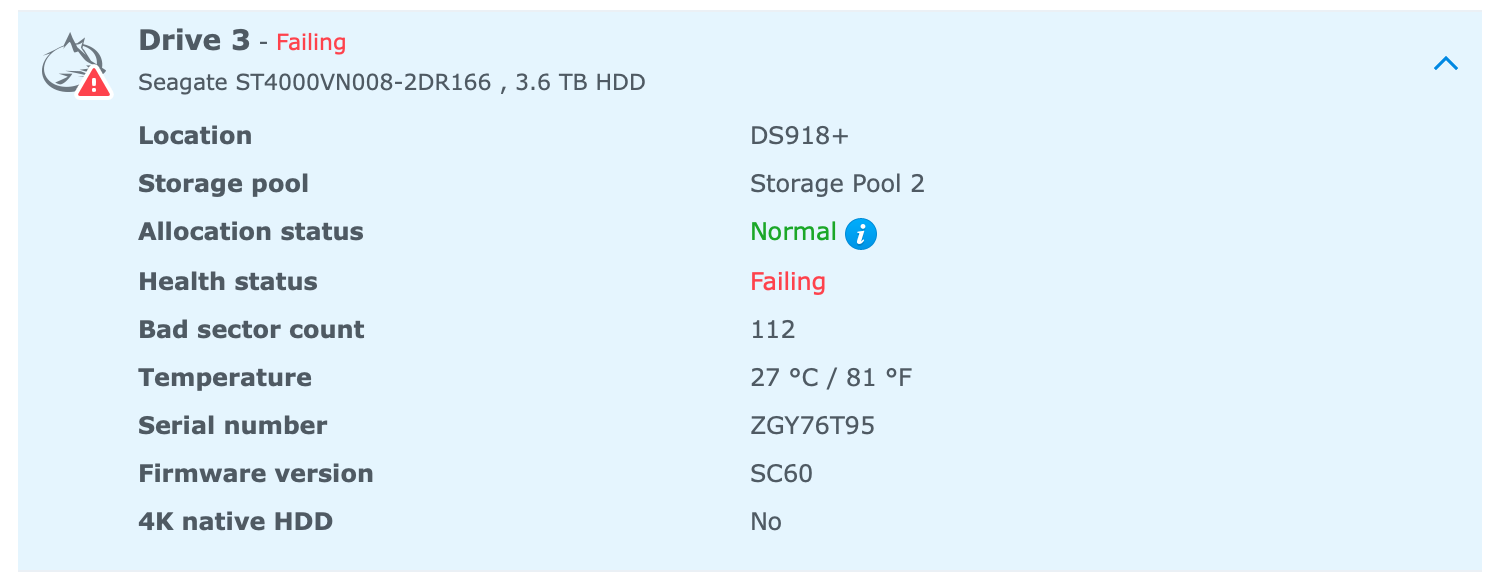 This is not what you want to see on a brand new drive…
TROUBLESHOOTING:
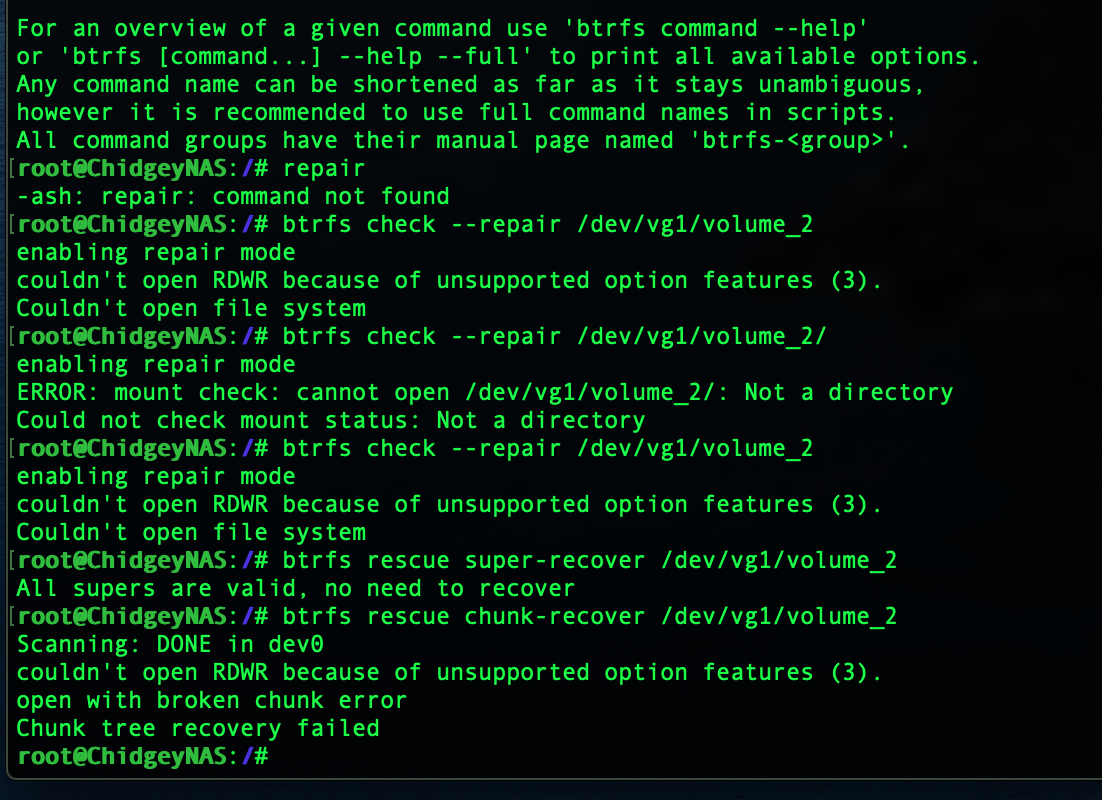
So I did what all good geeks do and got out of the DSM GUI and hit SSH and the Terminal. I ran “btrfs check –repair” and recover, super-recover and chunk-recover and ultimately the chunk tree recovery failed. I read that I had to stop everything running and accessing the Pool so I painstakingly killed every process and re-ran the recovery but ultimately it still failed after a 24 hour long attempt. There was nothing for it - it was time to start copying the data that was on there (what I could read) back on to a 4TB external drive and blow it all away and start over.
STEP 6: In the midst of a delusion that I could still recover the data without having to recopy the lot of it off the NAS (a two day exercise), I submitted a return request for first failed IronWolf, while I re-ran the SMART on the other potentially broken drive. The return policy stated that they needed to test the HDD and that could take a day or two and Computer Alliance is a two hour round trip from my house. Fortunately I met a wonderfully helpful and accomodating support person at CA on that day and he simply handed me a replacement, taking the Synology screenshot of the bad sector count and serial number confirming I wasn’t pulling a switch on him and handed me a replacement IronWolf on the spot! (Such a great guy - give him a raise) I returned home, this time treating the HDD like a delicate egg the whole trip, inserted it and in Storage Manager, Drive Info, run an Extended SMART test…and hours later…perfect!
STEP 7: By this time I’d given up all hope of recovering the data and with three shiny new drives in the NAS, my 4TB of original data restored to my external drive (I had to pluck 5 files that failed to copy back from my BackBlaze backup) I wiped all the NAS drives…and started over. Not taking ANY chances I re-ran the SMART tests on all three and when they were clean (again) recreated the Pool, new Volume, and started copying my precious data back on to the NAS all over again.
STEP 8: I went back to Computer Alliance to return the second drive and this time I met a different support person, someone who was far more “by the book” and accepted the drive and asked me to come back another day once they’d tested it. I’d returned home and hours later they called and said “yeah it’s got bad sectors…” (you don’t say?) and unfortunately due to personal commitments I couldn’t return until the following day. I grabbed the replacement drive, drove on eggshells, added it to the last free bay and in Storage Manager, Drive Info, run an Extended SMART test…and hours later…perfect! (FINALLY)
STEP 9: I copied all of the data across from all of my external drives on to the Synology. The Volume was an SHR with 10.9TB of usable space spread across x4 4TB drives, (x3 IronWolf, and x1 Barracuda). The Data Scrub passed, the SMART Tests passed, and the IronWolf-specific Health Management tests all passed with flying colours (all green, oh yes!) It was time to repurpose the 4TB 2.5" external drive as my offline backup for the fireproof safe. I reformatted it to ExFAT and set up HyperBackup for my critical files (Home Videos, Videos of the Family, my entire photo library), backed them up and put that in the safe.
CONCUSION:
Looking back the mistake was that I never should have extended the storage pool before the Synology had run a SMART test and flagged the bad sectors. In so doing it wrote data to those bad sectors and there were just too many for BTRFS to recover in the end. In addition I never should have tried to do this on the cheap. I should have just bought new drives from the get-go. Not only that, I should have just bought NAS-specific drives from the get-go as well. Despite the bad sectors and bad luck of getting two out of three bad IronWolf drives, in the end they have performed very well and completed their SMARTs faster with online forums suggesting a desktop-class HDD (the Barracuda) is a bad choice for a NAS. I now have my own test example to see if the Barracuda is actually suitable as a long-term NAS drive, since I ended up with both types in the same NAS, same age, same everything else, so I’ll report back in a few years to see which starts failing first.
Ultimately I also stopped using BackBlaze. It was slowing down my MacBook Pro, I found video compression on data recovery that was frustrating, and even with my 512GB SSD on the MBP with everything on it, I would often get errors about a lack of space for backups to BackBlaze. Whilst financially the total lifecycle cost of the NAS and the drives is far more than BackBlaze (or an equivalent backup service) would cost me, the NAS can also do so many more things, than just to backup my data via TimeMachine.
But that’s another story for another article. In the end the NAS plus drives cost me $1.5k AUD, 6 trips to two different computer stores and 6 weeks from start to finish, but it’s been running now since August 2020 and hasn’t skipped a beat. Oh…my…NAS.
-
Redundancy against the failure of an individual HDD ↩︎
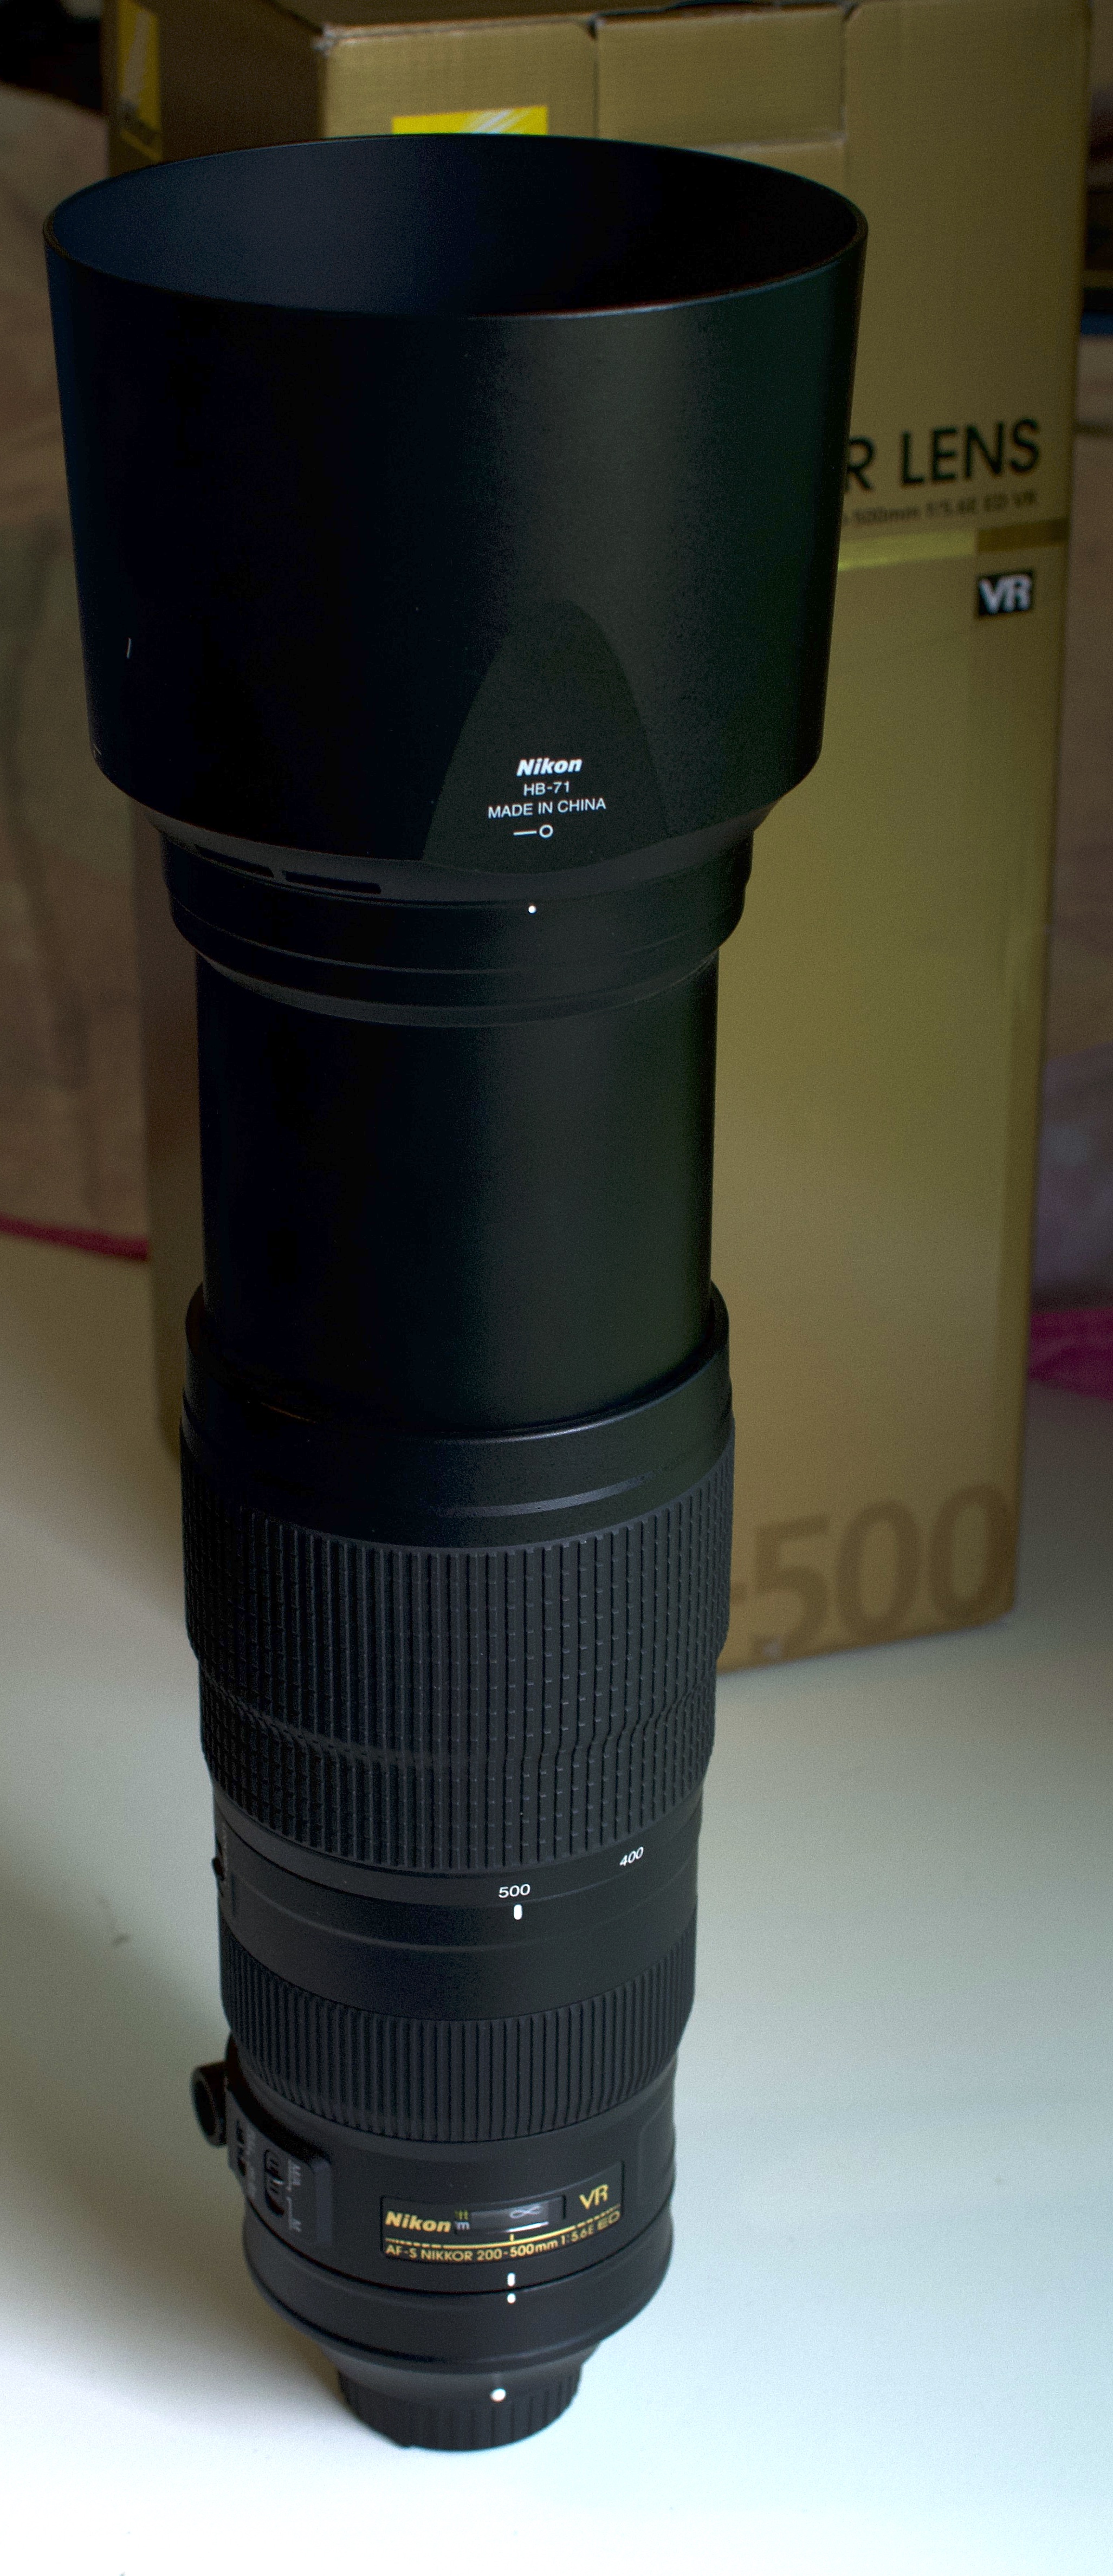
200-500mm Zoom Lens Test
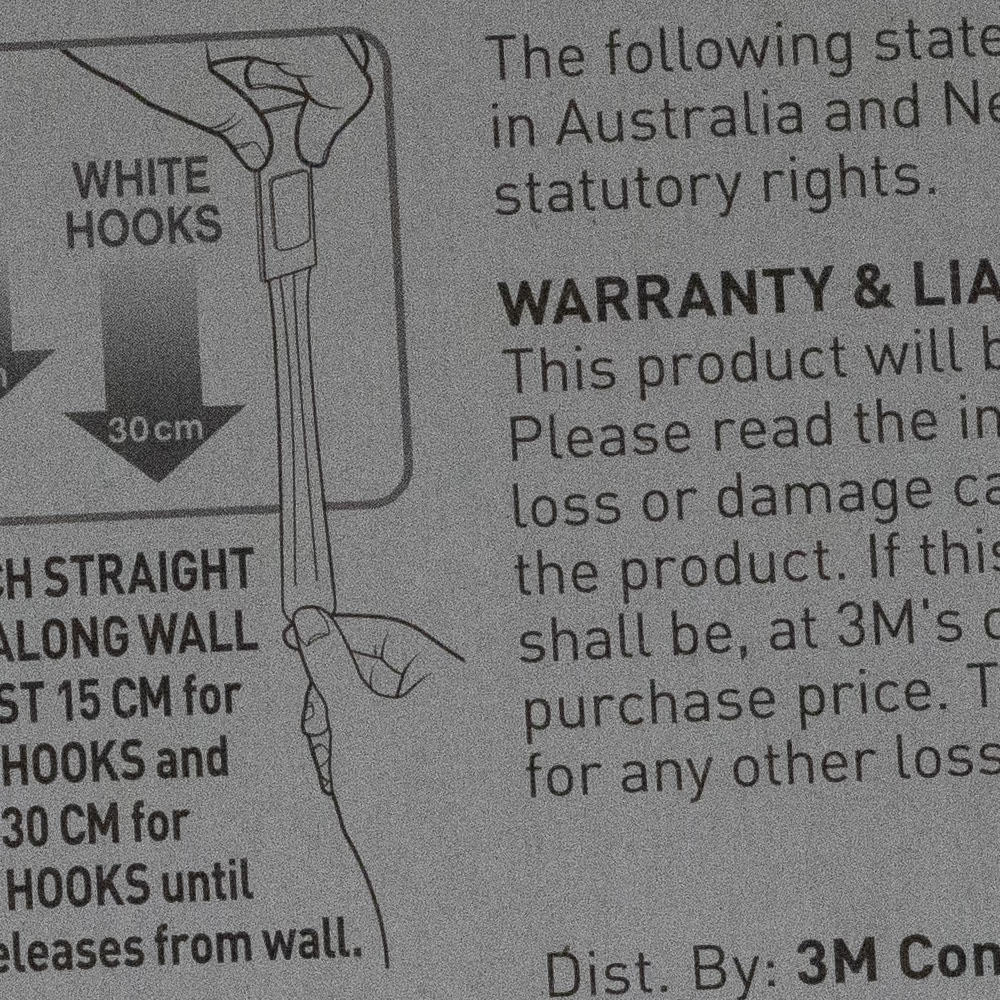
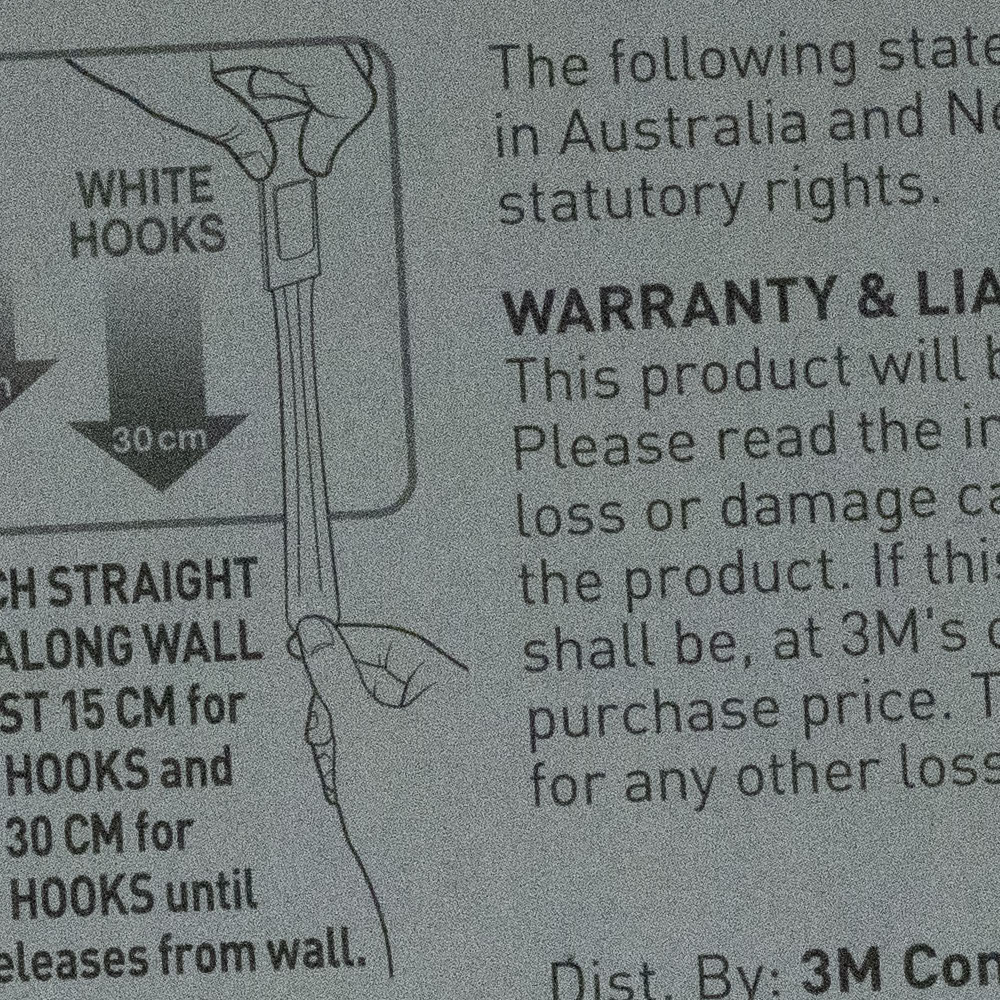
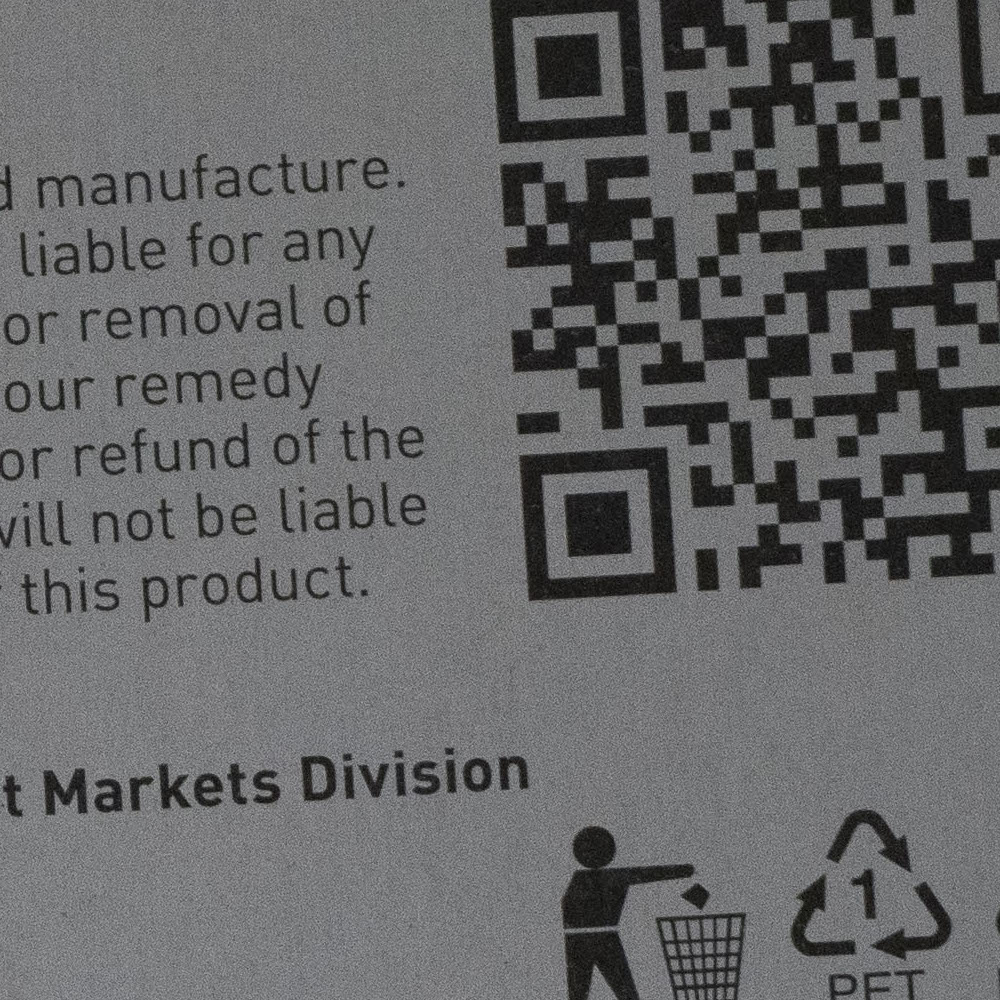
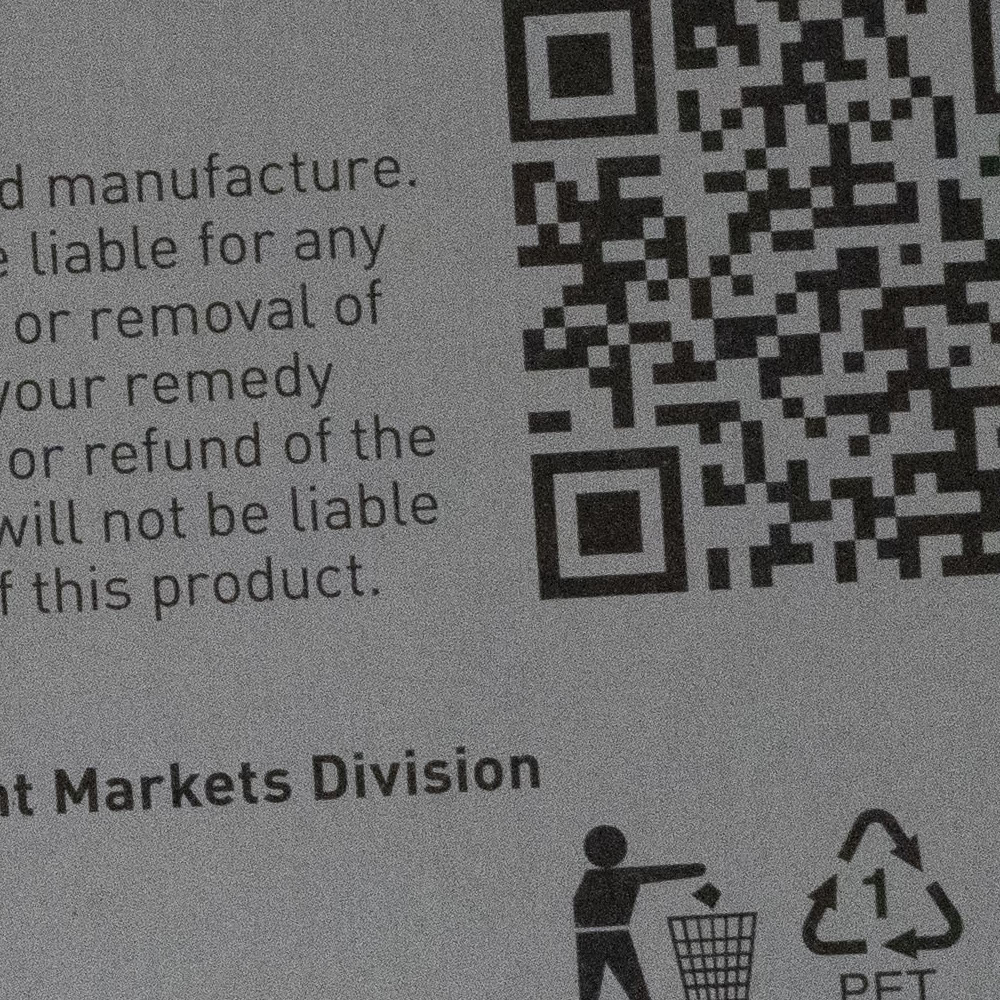
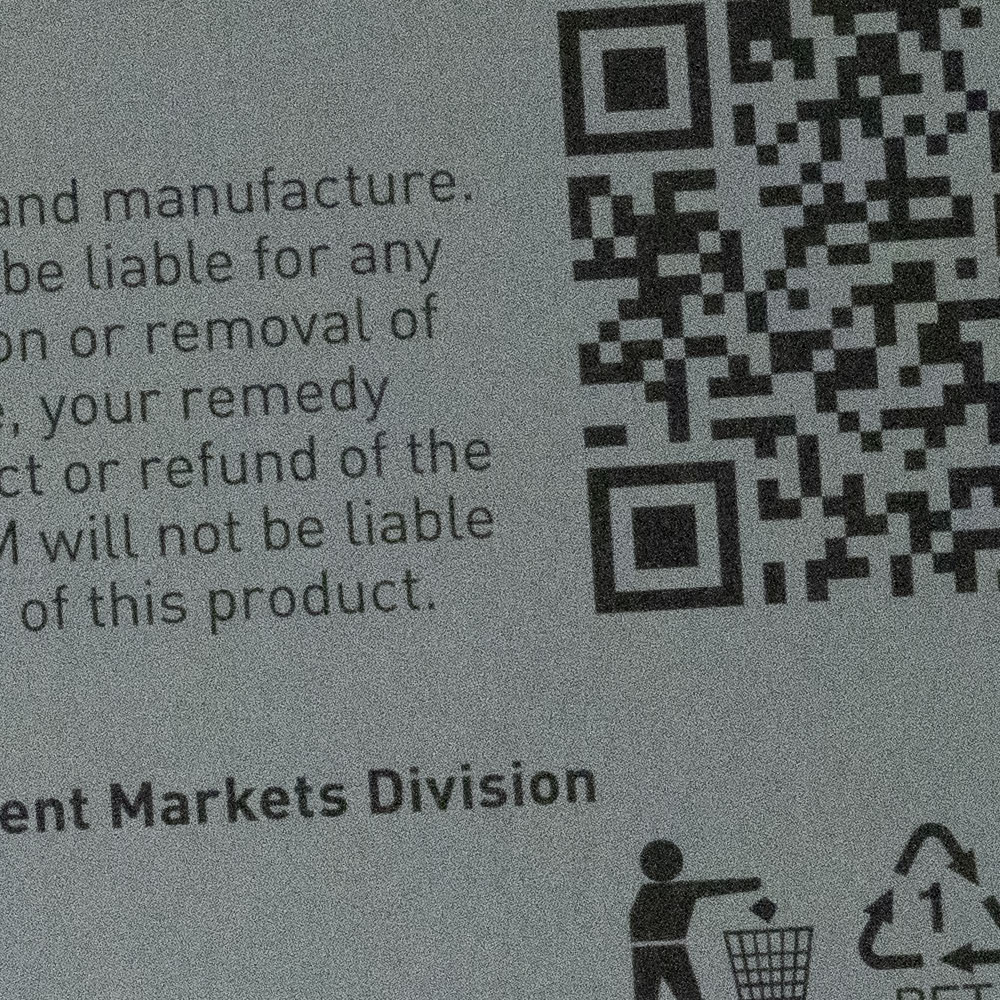
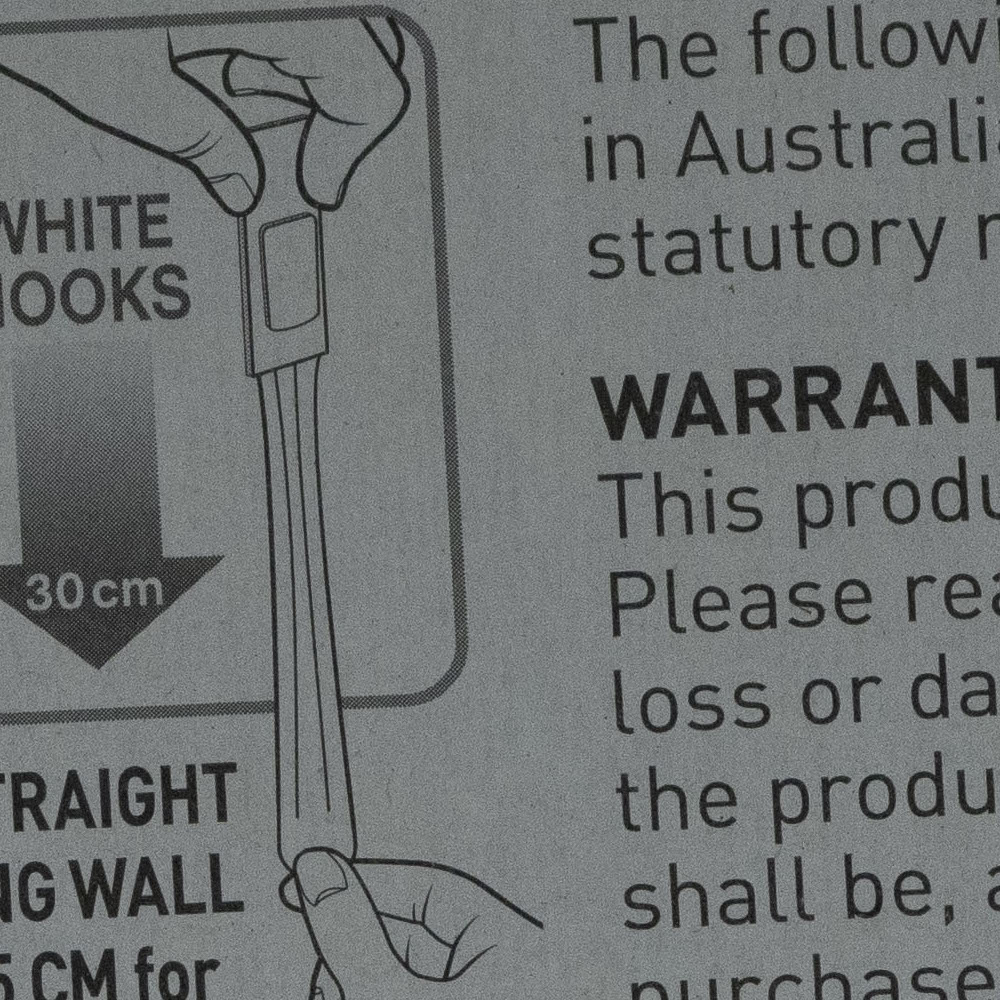
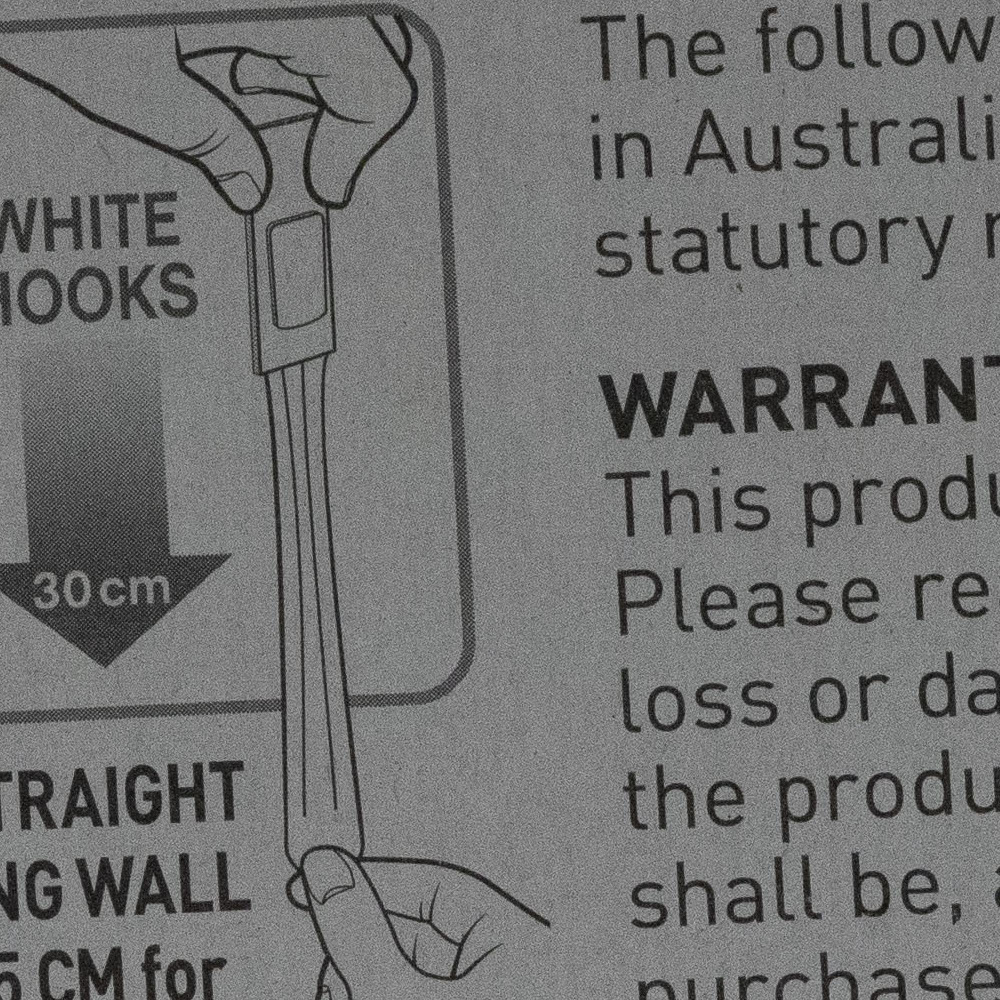
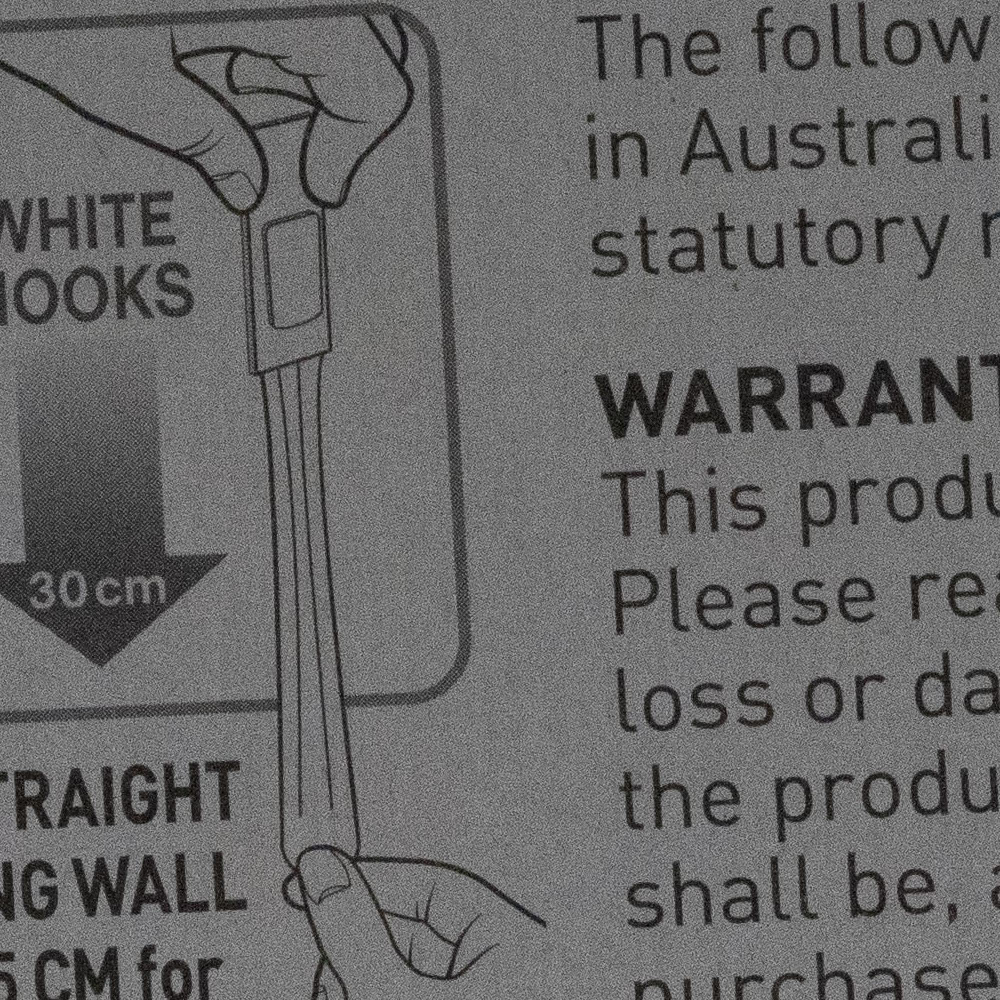
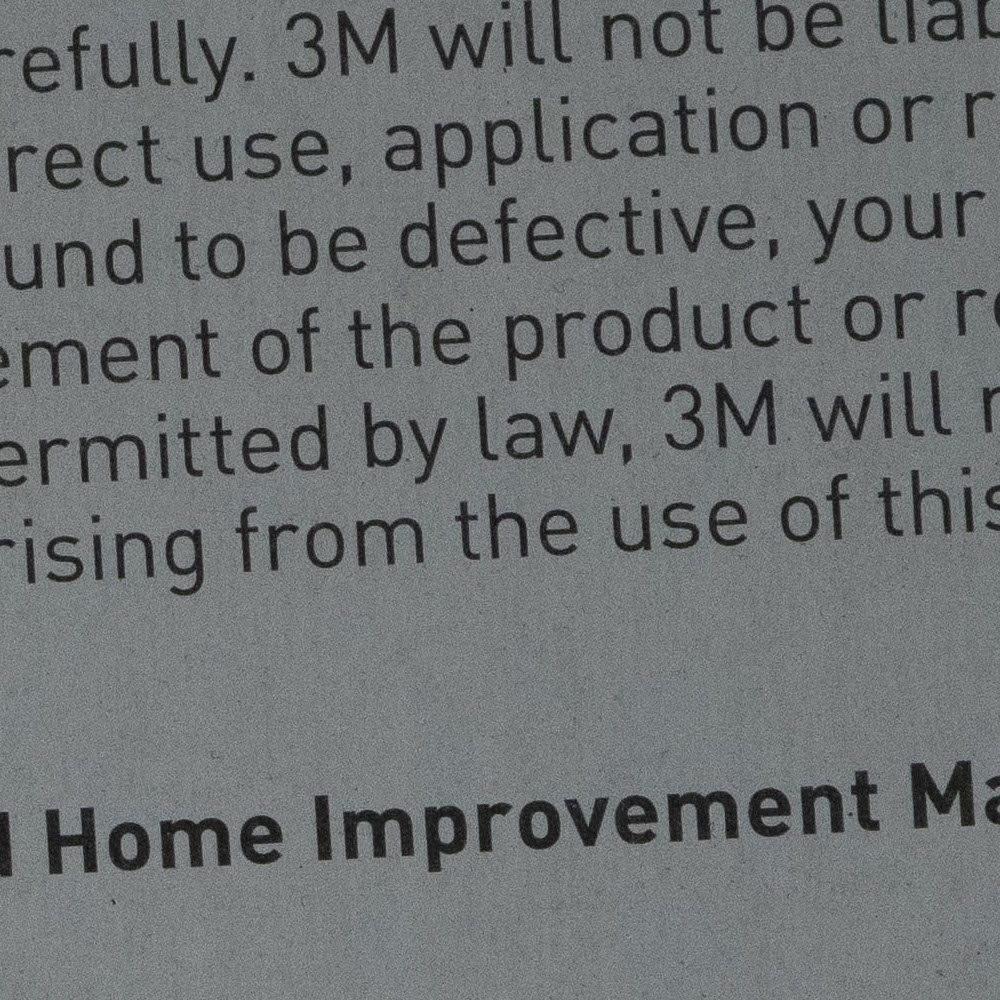
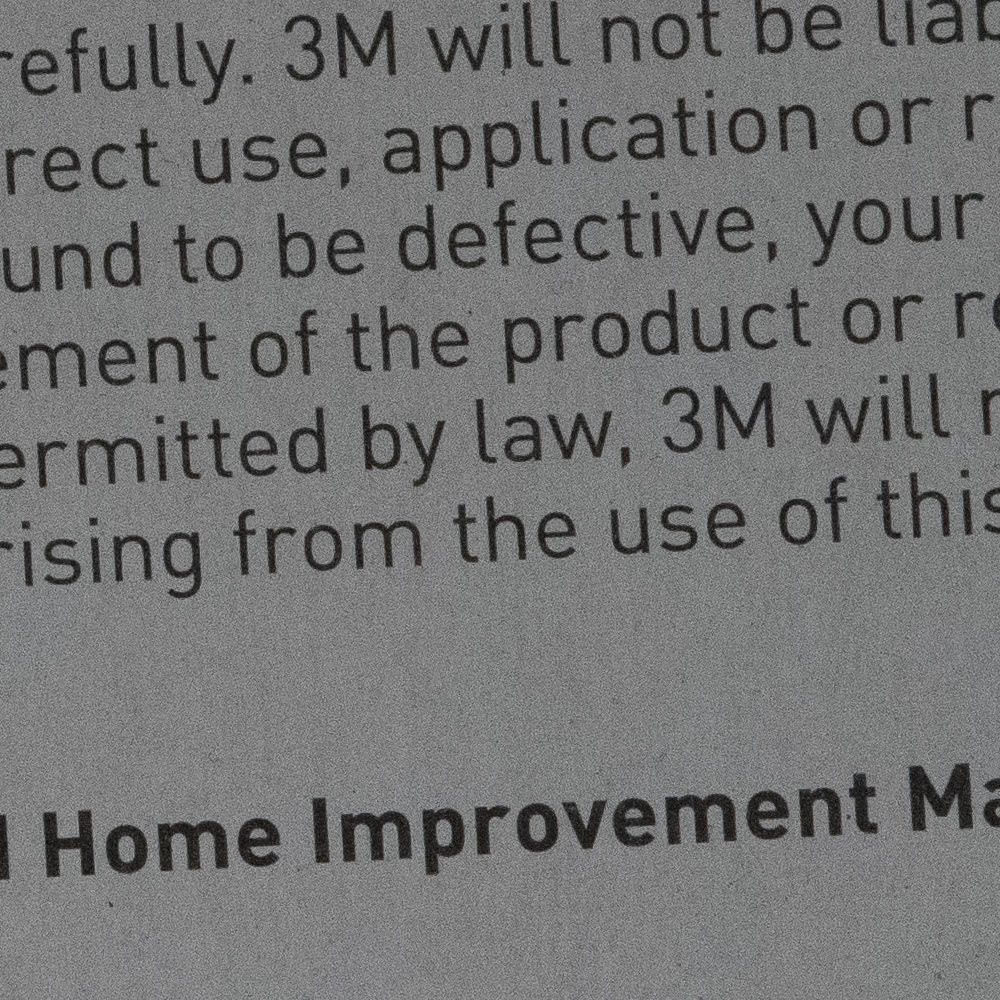
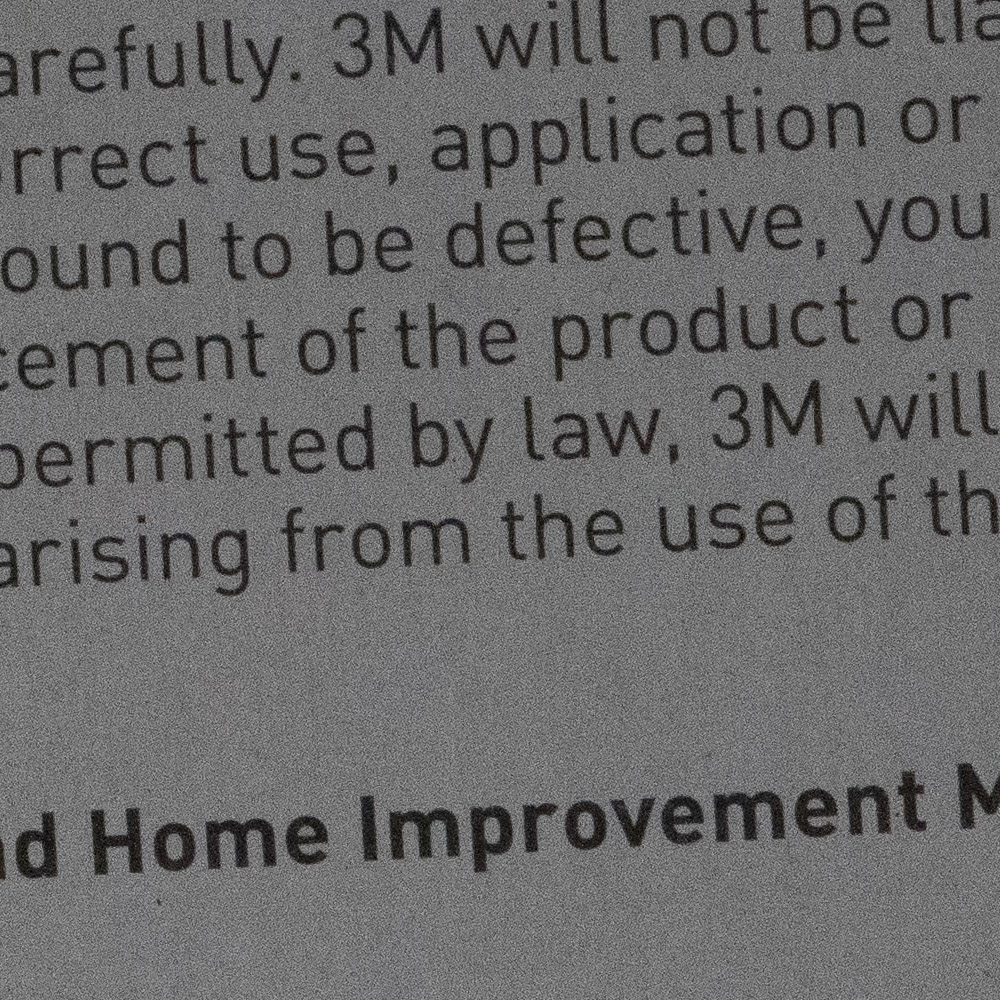
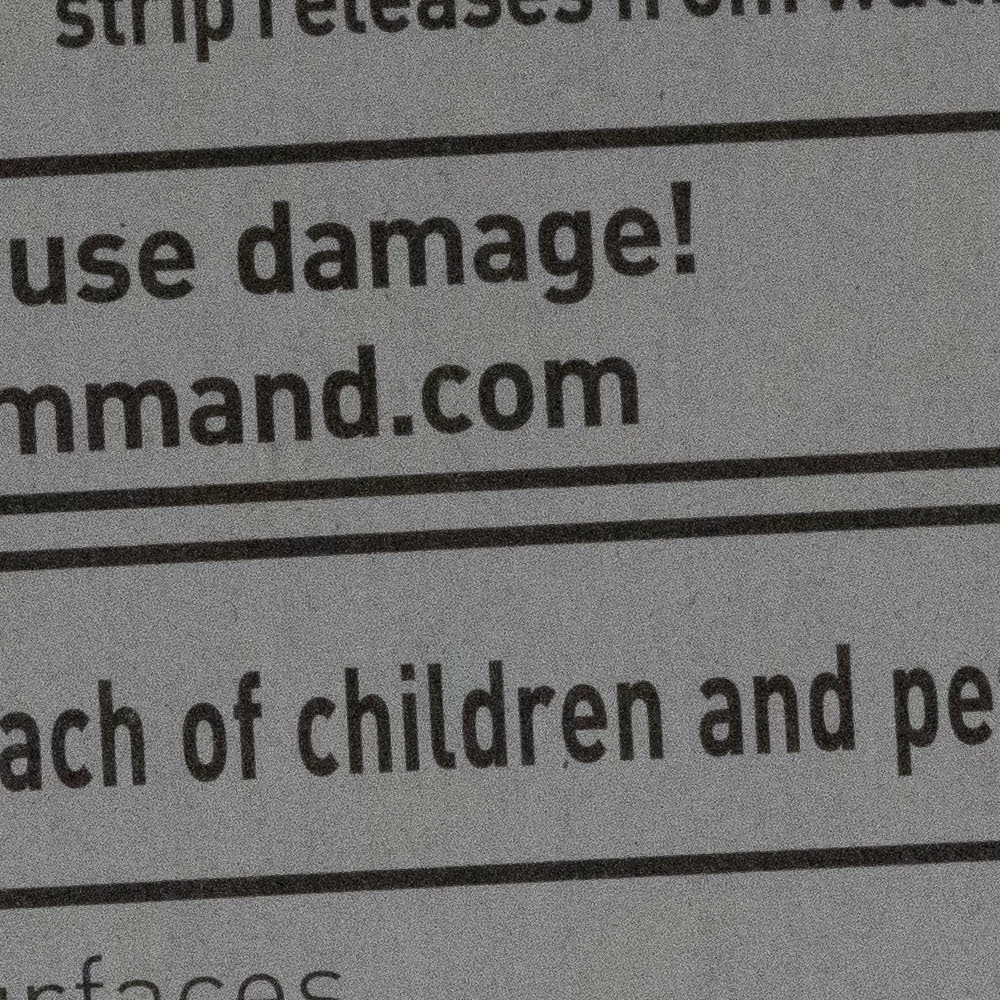
I’ve been exploring my new 200-500mm Nikon f/5.6 Zoom Lens on my D500 and pushing the limits of what it can do. I’ve used it for several weeks taking photos of Soccer and Cricket and I thought I should run a few of my own lens sharpness tests to see how it’s performing in a controlled environment.
As in my previous Lens Shootout I tested sharpness indoors, with controlled lighting conditions setting the D500 on a tripod, set with a Timer and adjusting the shutter speed leaving a constant shutter speed of 1/200th of a second, with Auto ISO and tweaked the Exposure during post to try and equalise the light level between exposures.
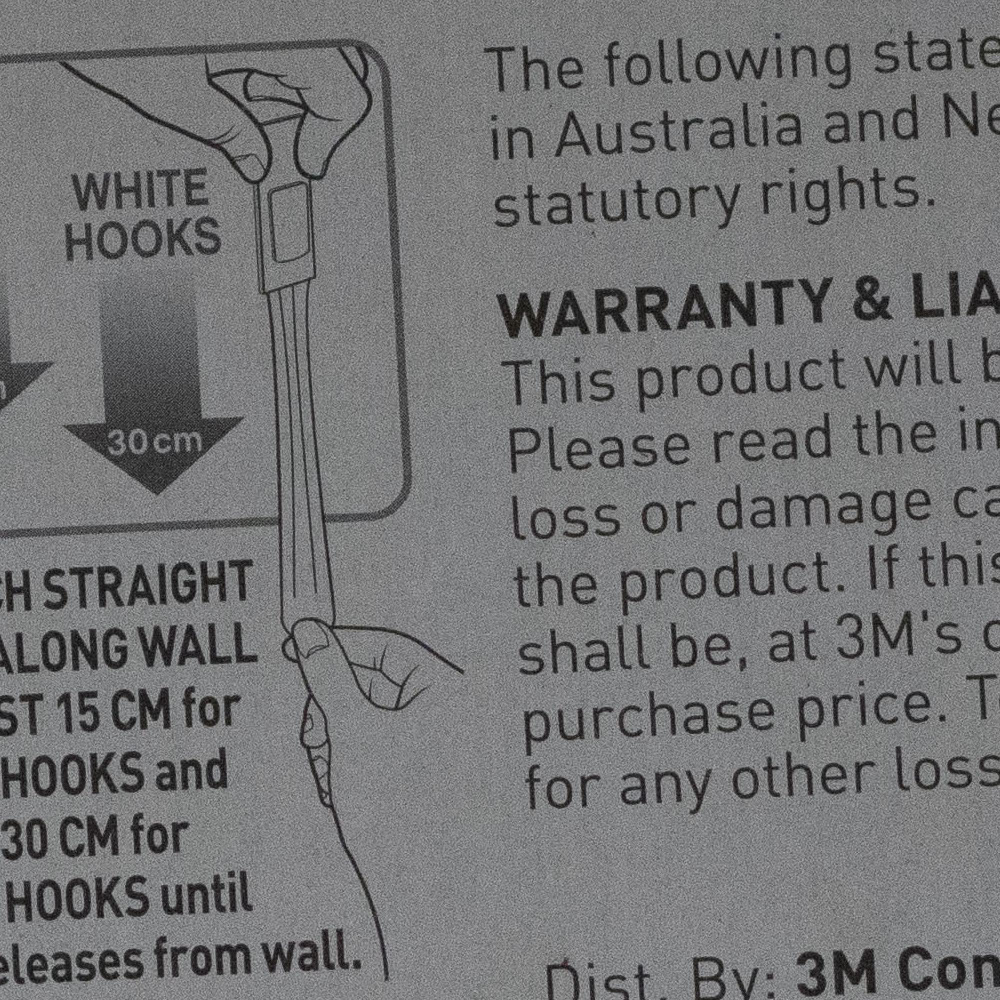
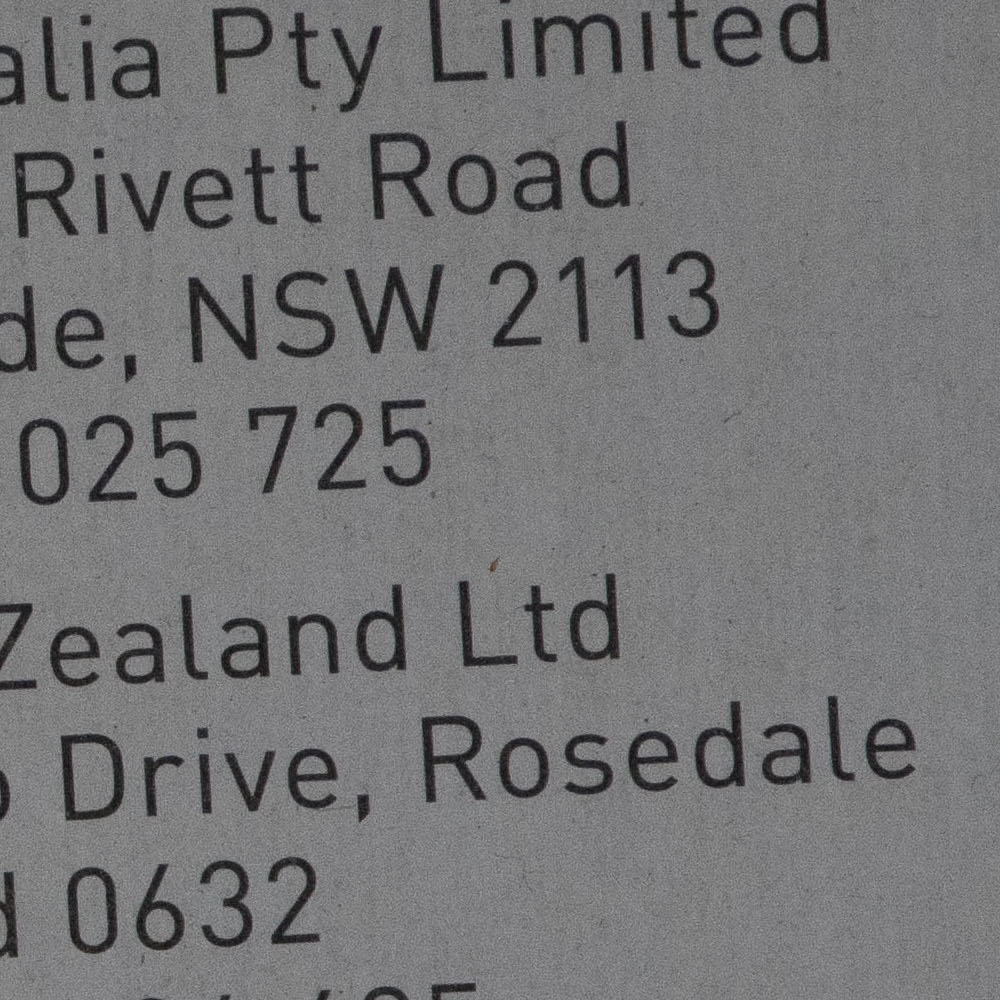
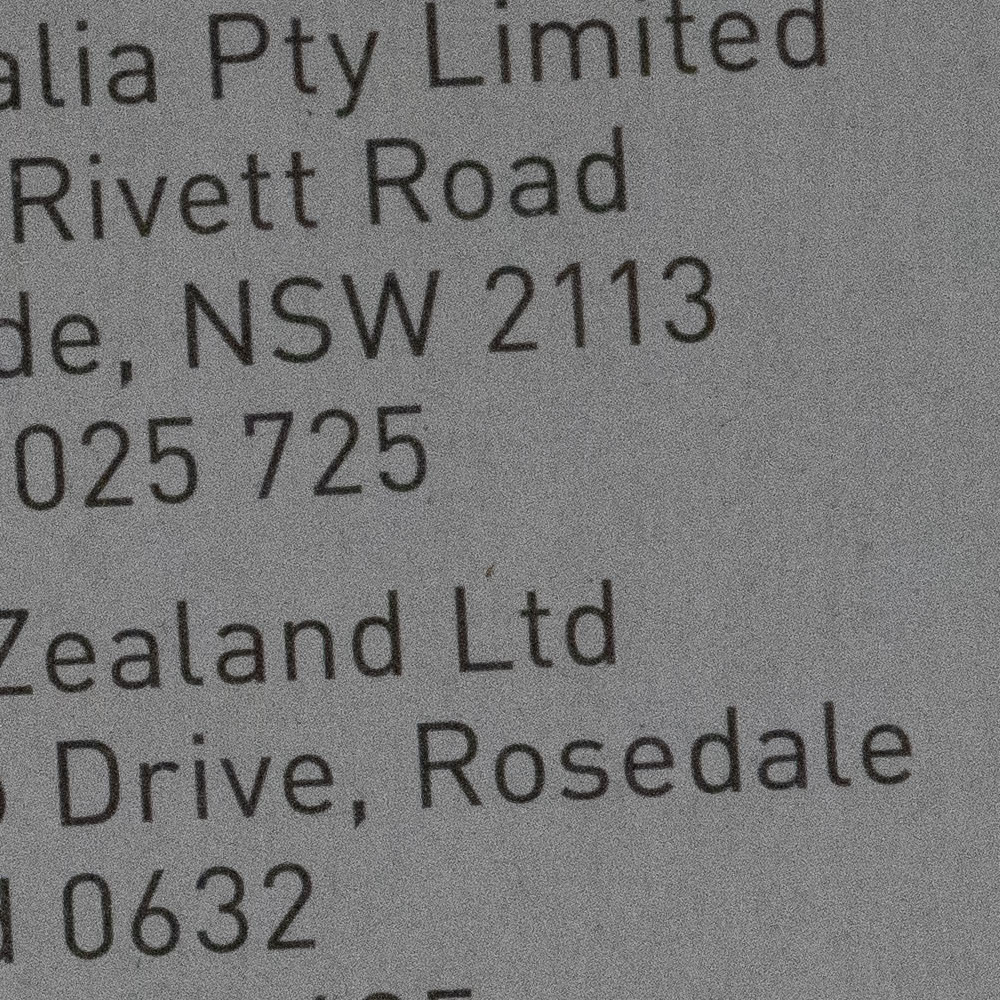
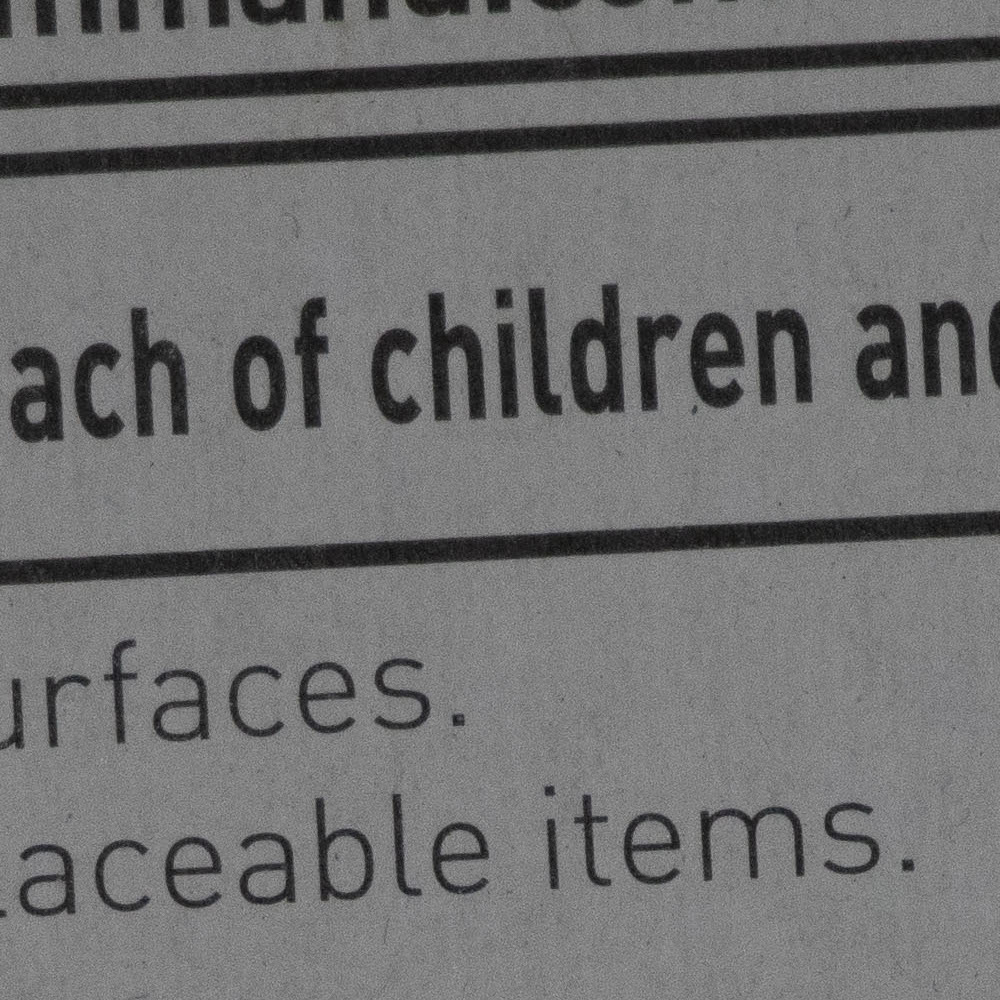
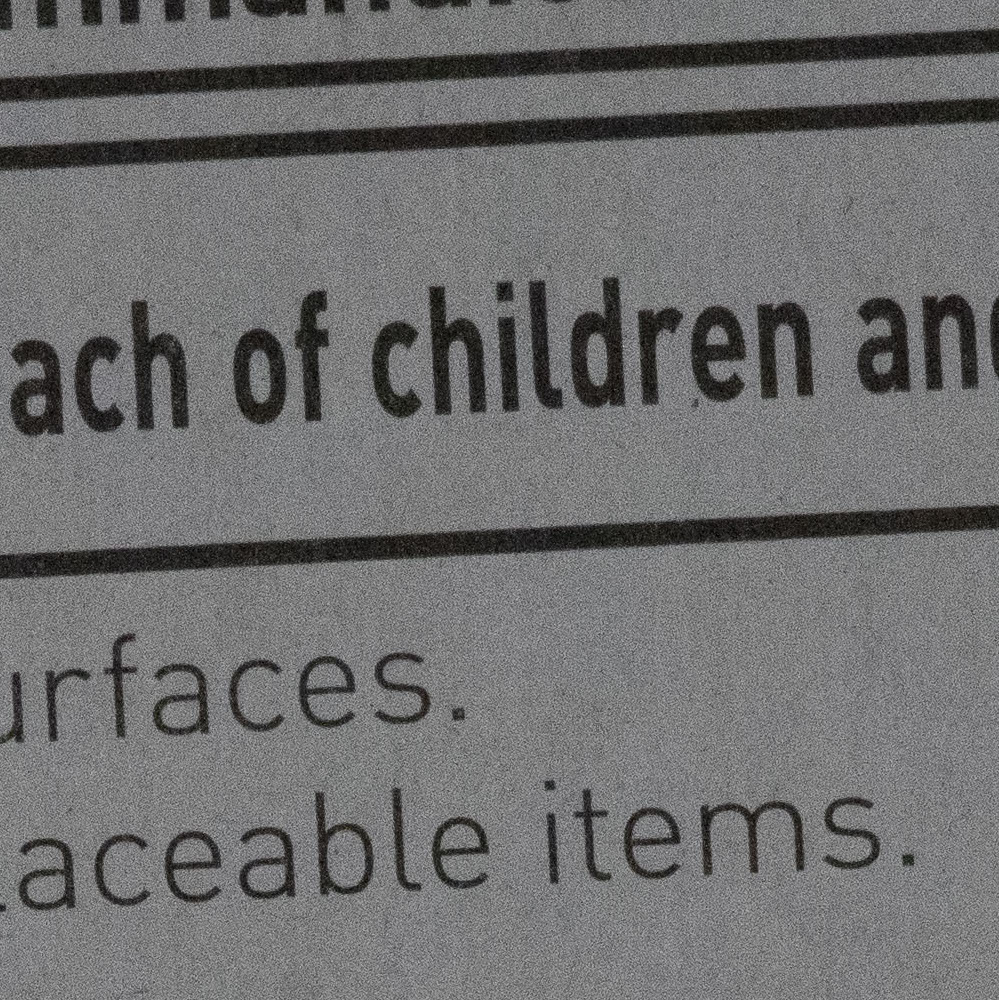
Setting the back of some packaging with a mixture of text and symbols as the target with the tripod at the same physical distance for each test photo.
I took photos across the aperture range at f/5.6, f/8 and f/11, cropped to 1,000 x 1,000 pixels in both the dead-center of the frame and the bottom-right edge of the frame.
200mm
 200mm Center Crop f/5.6
 200mm Center Crop f/8
 200mm Center Crop f/11
 200mm Edge Crop f/5.6
 200mm Edge Crop f/8
 200mm Edge Crop f/11
300mm
 300mm Center Crop f/5.6
 300mm Center Crop f/8
 300mm Center Crop f/11
 300mm Edge Crop f/5.6
 300mm Edge Crop f/8
 300mm Edge Crop f/11
400mm
 400mm Center Crop f/5.6
 400mm Center Crop f/8
 400mm Center Crop f/11
 400mm Edge Crop f/5.6
 400mm Edge Crop f/8
 400mm Edge Crop f/11
500mm
 500mm Center Crop f/5.6
 500mm Center Crop f/8
 500mm Center Crop f/11
 500mm Edge Crop f/5.6
 500mm Edge Crop f/8
 500mm Edge Crop f/11
What I wanted to test the most was the differences between Edge and Centre sharpness as well as the the effect of different Apertures. For me I think the sensor is starting to battle ISO grain at f/11 and this is impacting the apparent sharpness. In the field I’ve tried stopping down the Aperture to try and get a wider focus across the zoom area but it’s tough the further out you zoom and the images above support this observation.
My conclusions in terms of the questions I was seeking answers to though, is firstly there’s no noticable change in sharpness from the center to the edge at the closest zoom, irrespective of aperture. The edge starts to softens only slightly as you zoom in towards 500mm, and is independent of aperture.
The thing I didn’t expect was the sharpness at f/5.6 being so consistent, throughout the zoom range. If you’re isolating a subject at the extremes of zoom then it’s probably not worth stopping down the aperture and in future when I’m shooting I’ll just keep that aperture as wide open as I can unless I’m at the 200mm end of the zoom spectrum.
It’s a truly amazing lens for the money and whilst I realise there are many other factors to consider, I at least answered my own questions.