I wrote previously about why I invested in a Mac Pro and I realised I didn’t describe how I’d connected everything up, in case anyone cares. (They probably don’t but whatever…)
The Mac Pro 2013 has three Thunderbolt 2 buses and due to the bandwidth restrictions for 4K UHD 60Hz displays, you can only fully drive one 60Hz display per Thunderbolt 2 bus. Hence I have the two 60Hz monitors connected via Mini-DisplayPort to DisplayPort cables, one to each Bus.
The third monitor is an interesting quandry. I’d read that you can’t use a third monitor unless you connect it to the HDMI port, and it’s only HDMI 1.4 therefore it can only output 30Hz at 4K. However that’s not entirely true. Yes, it is HDMI 1.4 but that’s not the only way you can connect a monitor. By using a spare Mini-DisplayPort to HDMI Cable you can connect a monitor directly to the third Thunderbolt bus and it lights up the display, also at 30Hz.
I suspect that Apple made a design choice with the third Thunderbolt 2 bus, such that it’s also connected to the two Gigabit Ethernet ports and HDMI output. Therefore whatever remaining bandwidth would be available by limiting video output to 30Hz at 4k, allows the other components the bandwidth they require. In my case it’s annoying but not the end of the world, given the next best option was about four times the price.
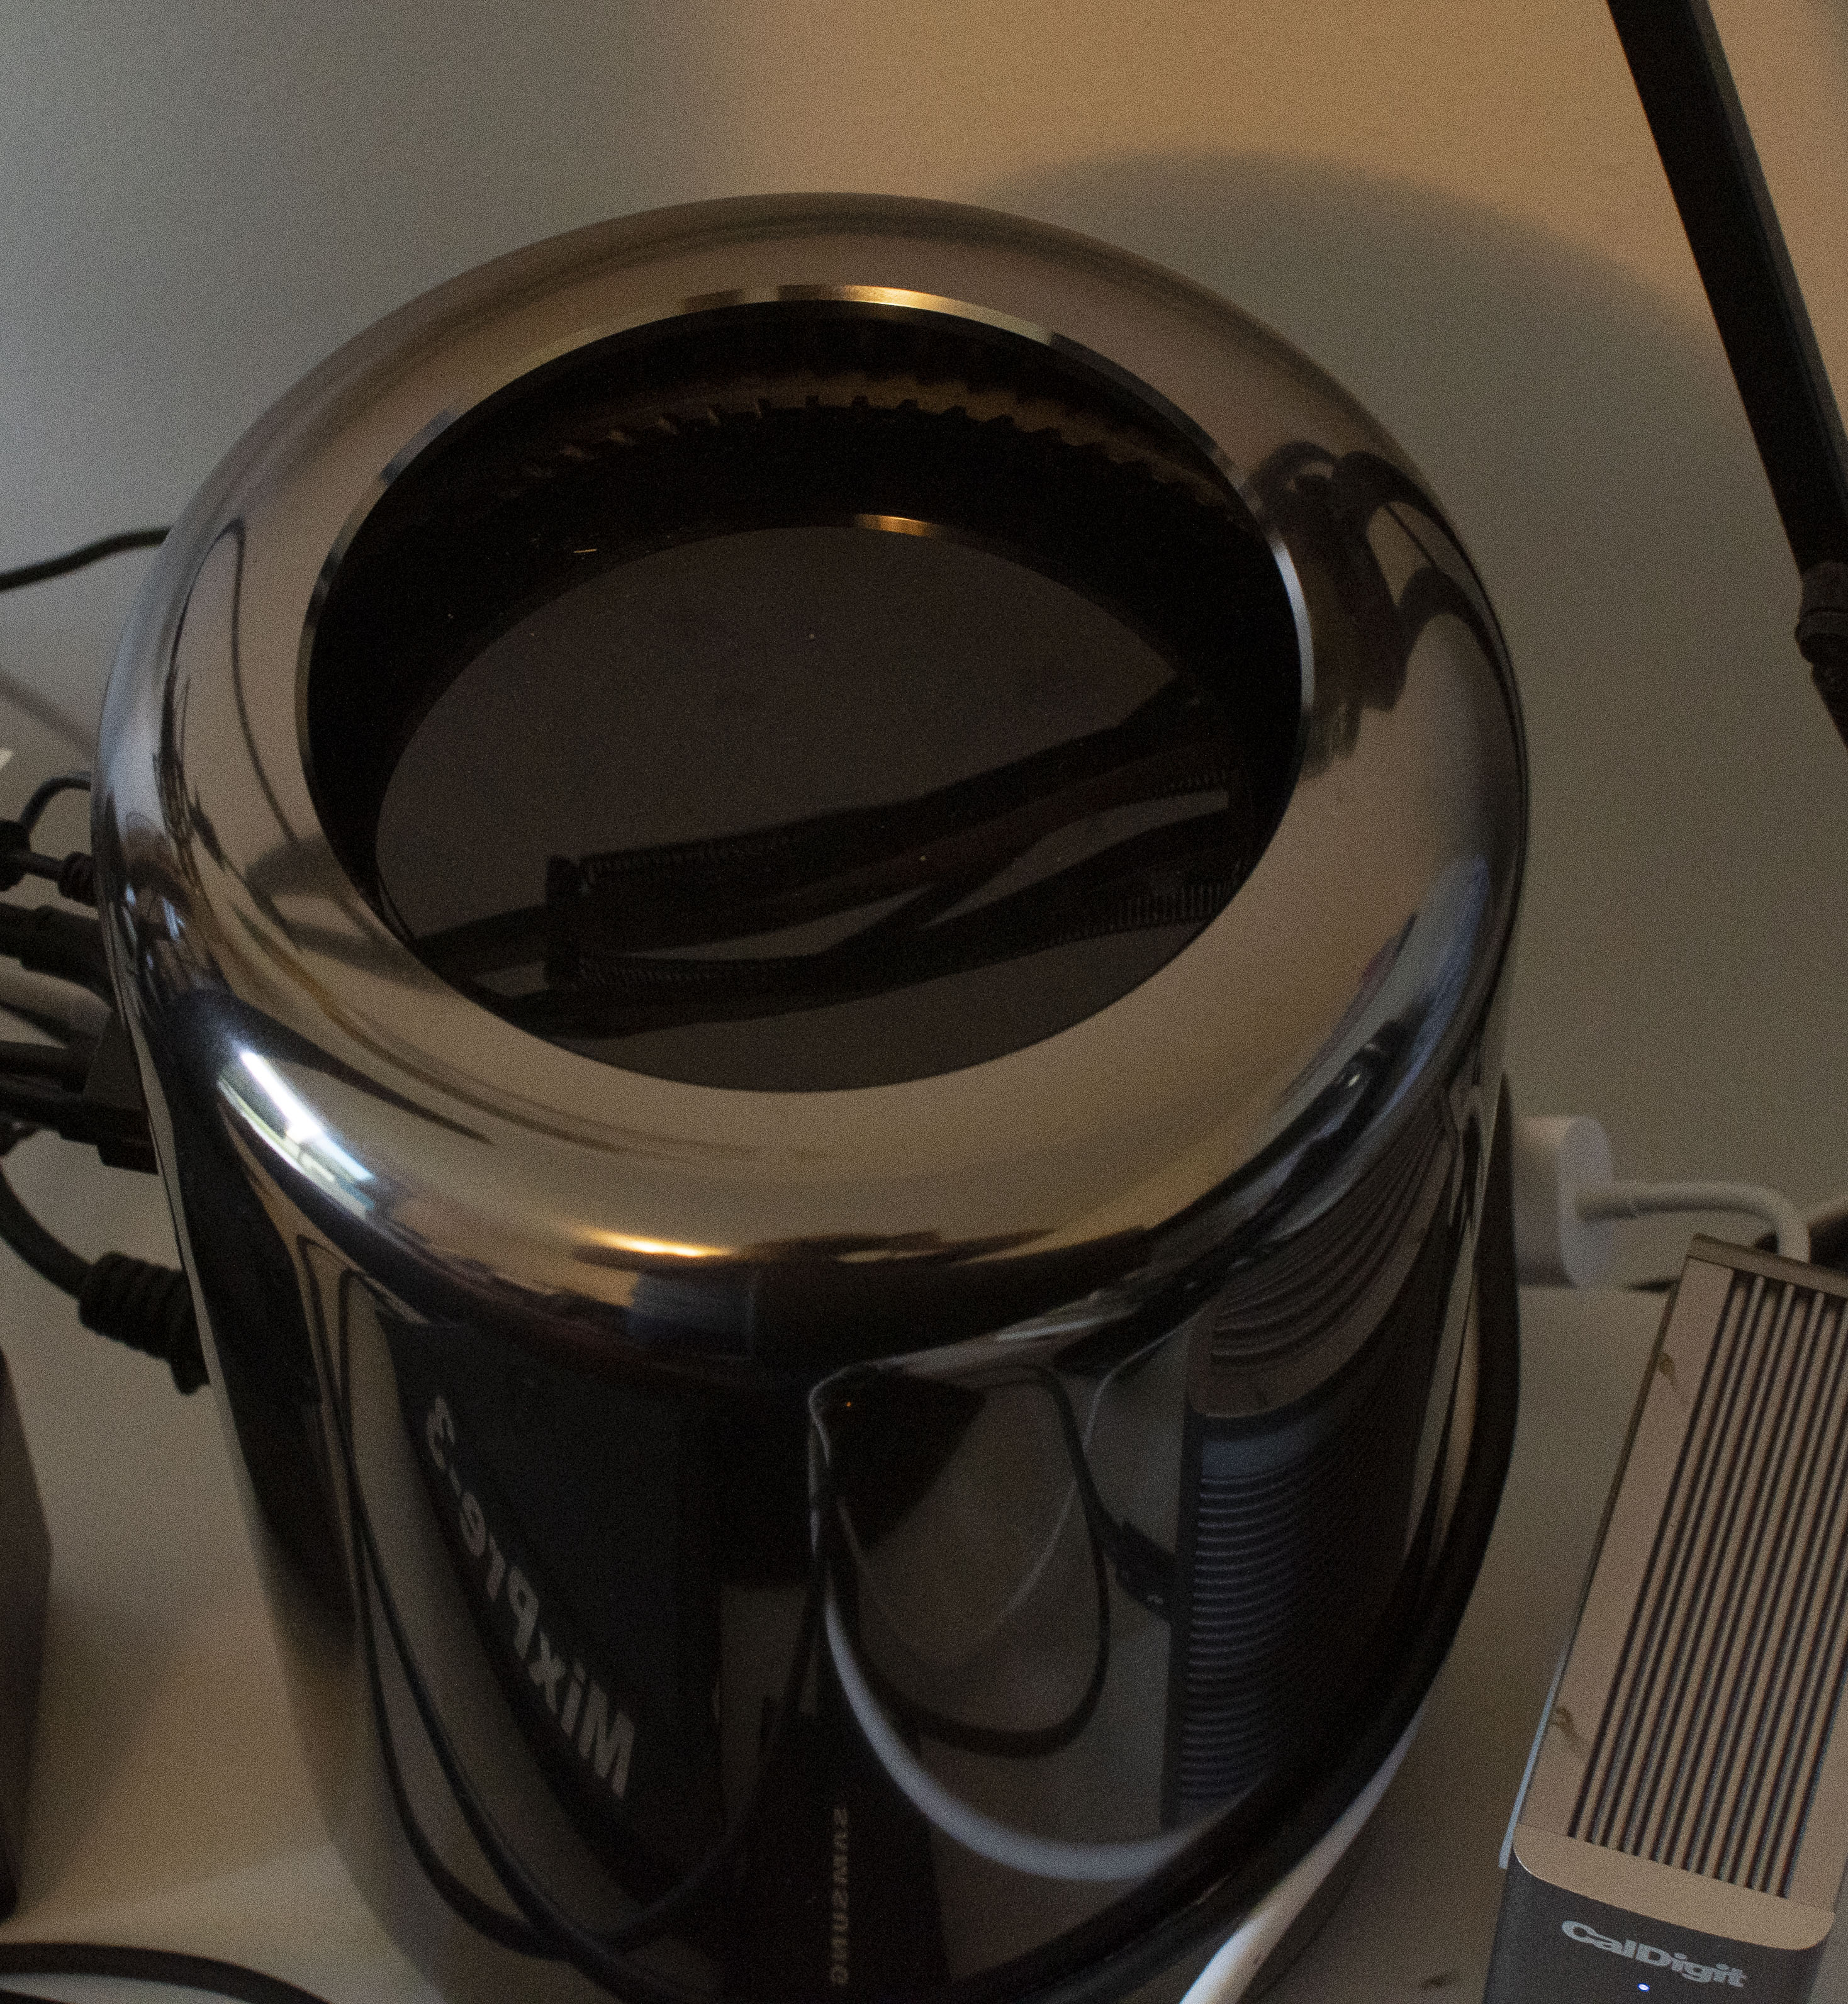
Seeing as how I have a perfectly good TS3+ dock, and that Apple still sell Thunderbolt 2 cables and a bi-directional Thunderbolt 2 to Thunderbolt 3 adaptor, I’ve connected those to that third Thunderbolt 2 bus, then I drive the third monitor using a DisplayPort to DisplayPort cable from the TS3+ instead. This then allows me to connect anything to the TS3+ that’s USB-C to the Mac Pro and adds a much needed SD Card slot as well.
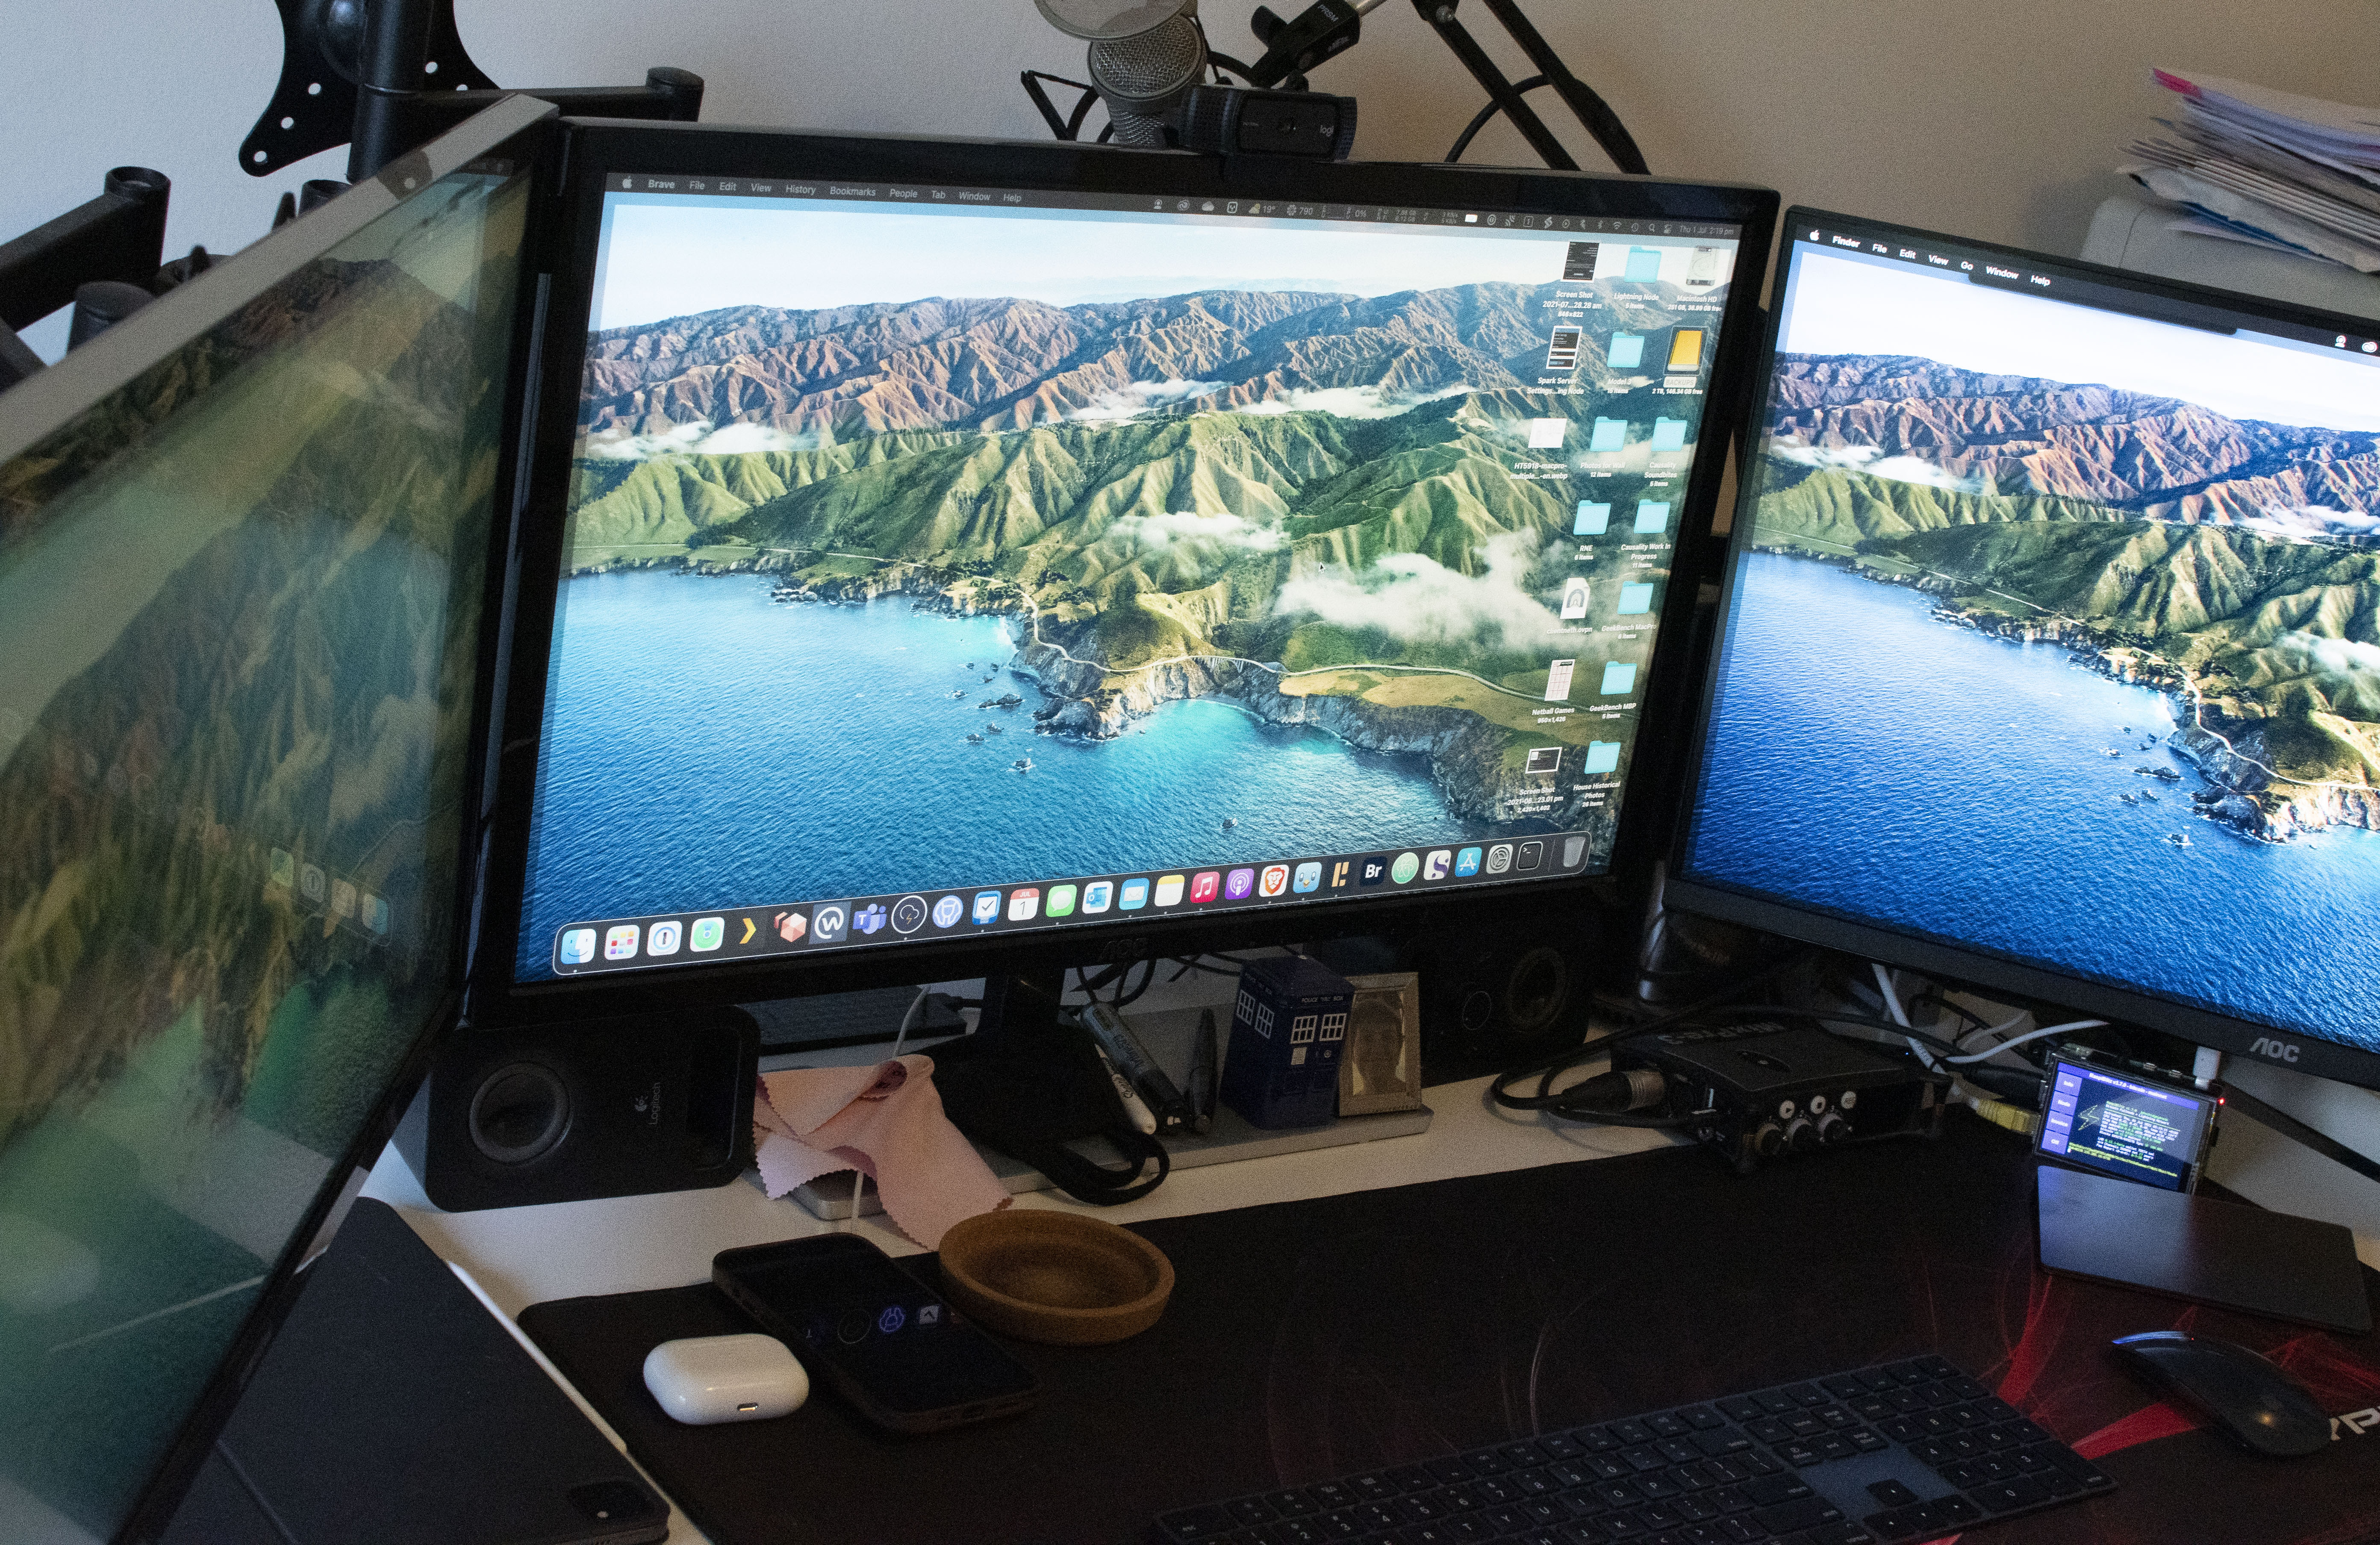
In order to fit everything on my desk I’ve added a monitor arm on each side for the side monitors which overhang the desk, and placed the Mac Pro behind the gap between the middle and right-hand side monitors. If you need access to the Mac Pro or the TS3+ Dock, simply swing the right hand monitor out of the way.
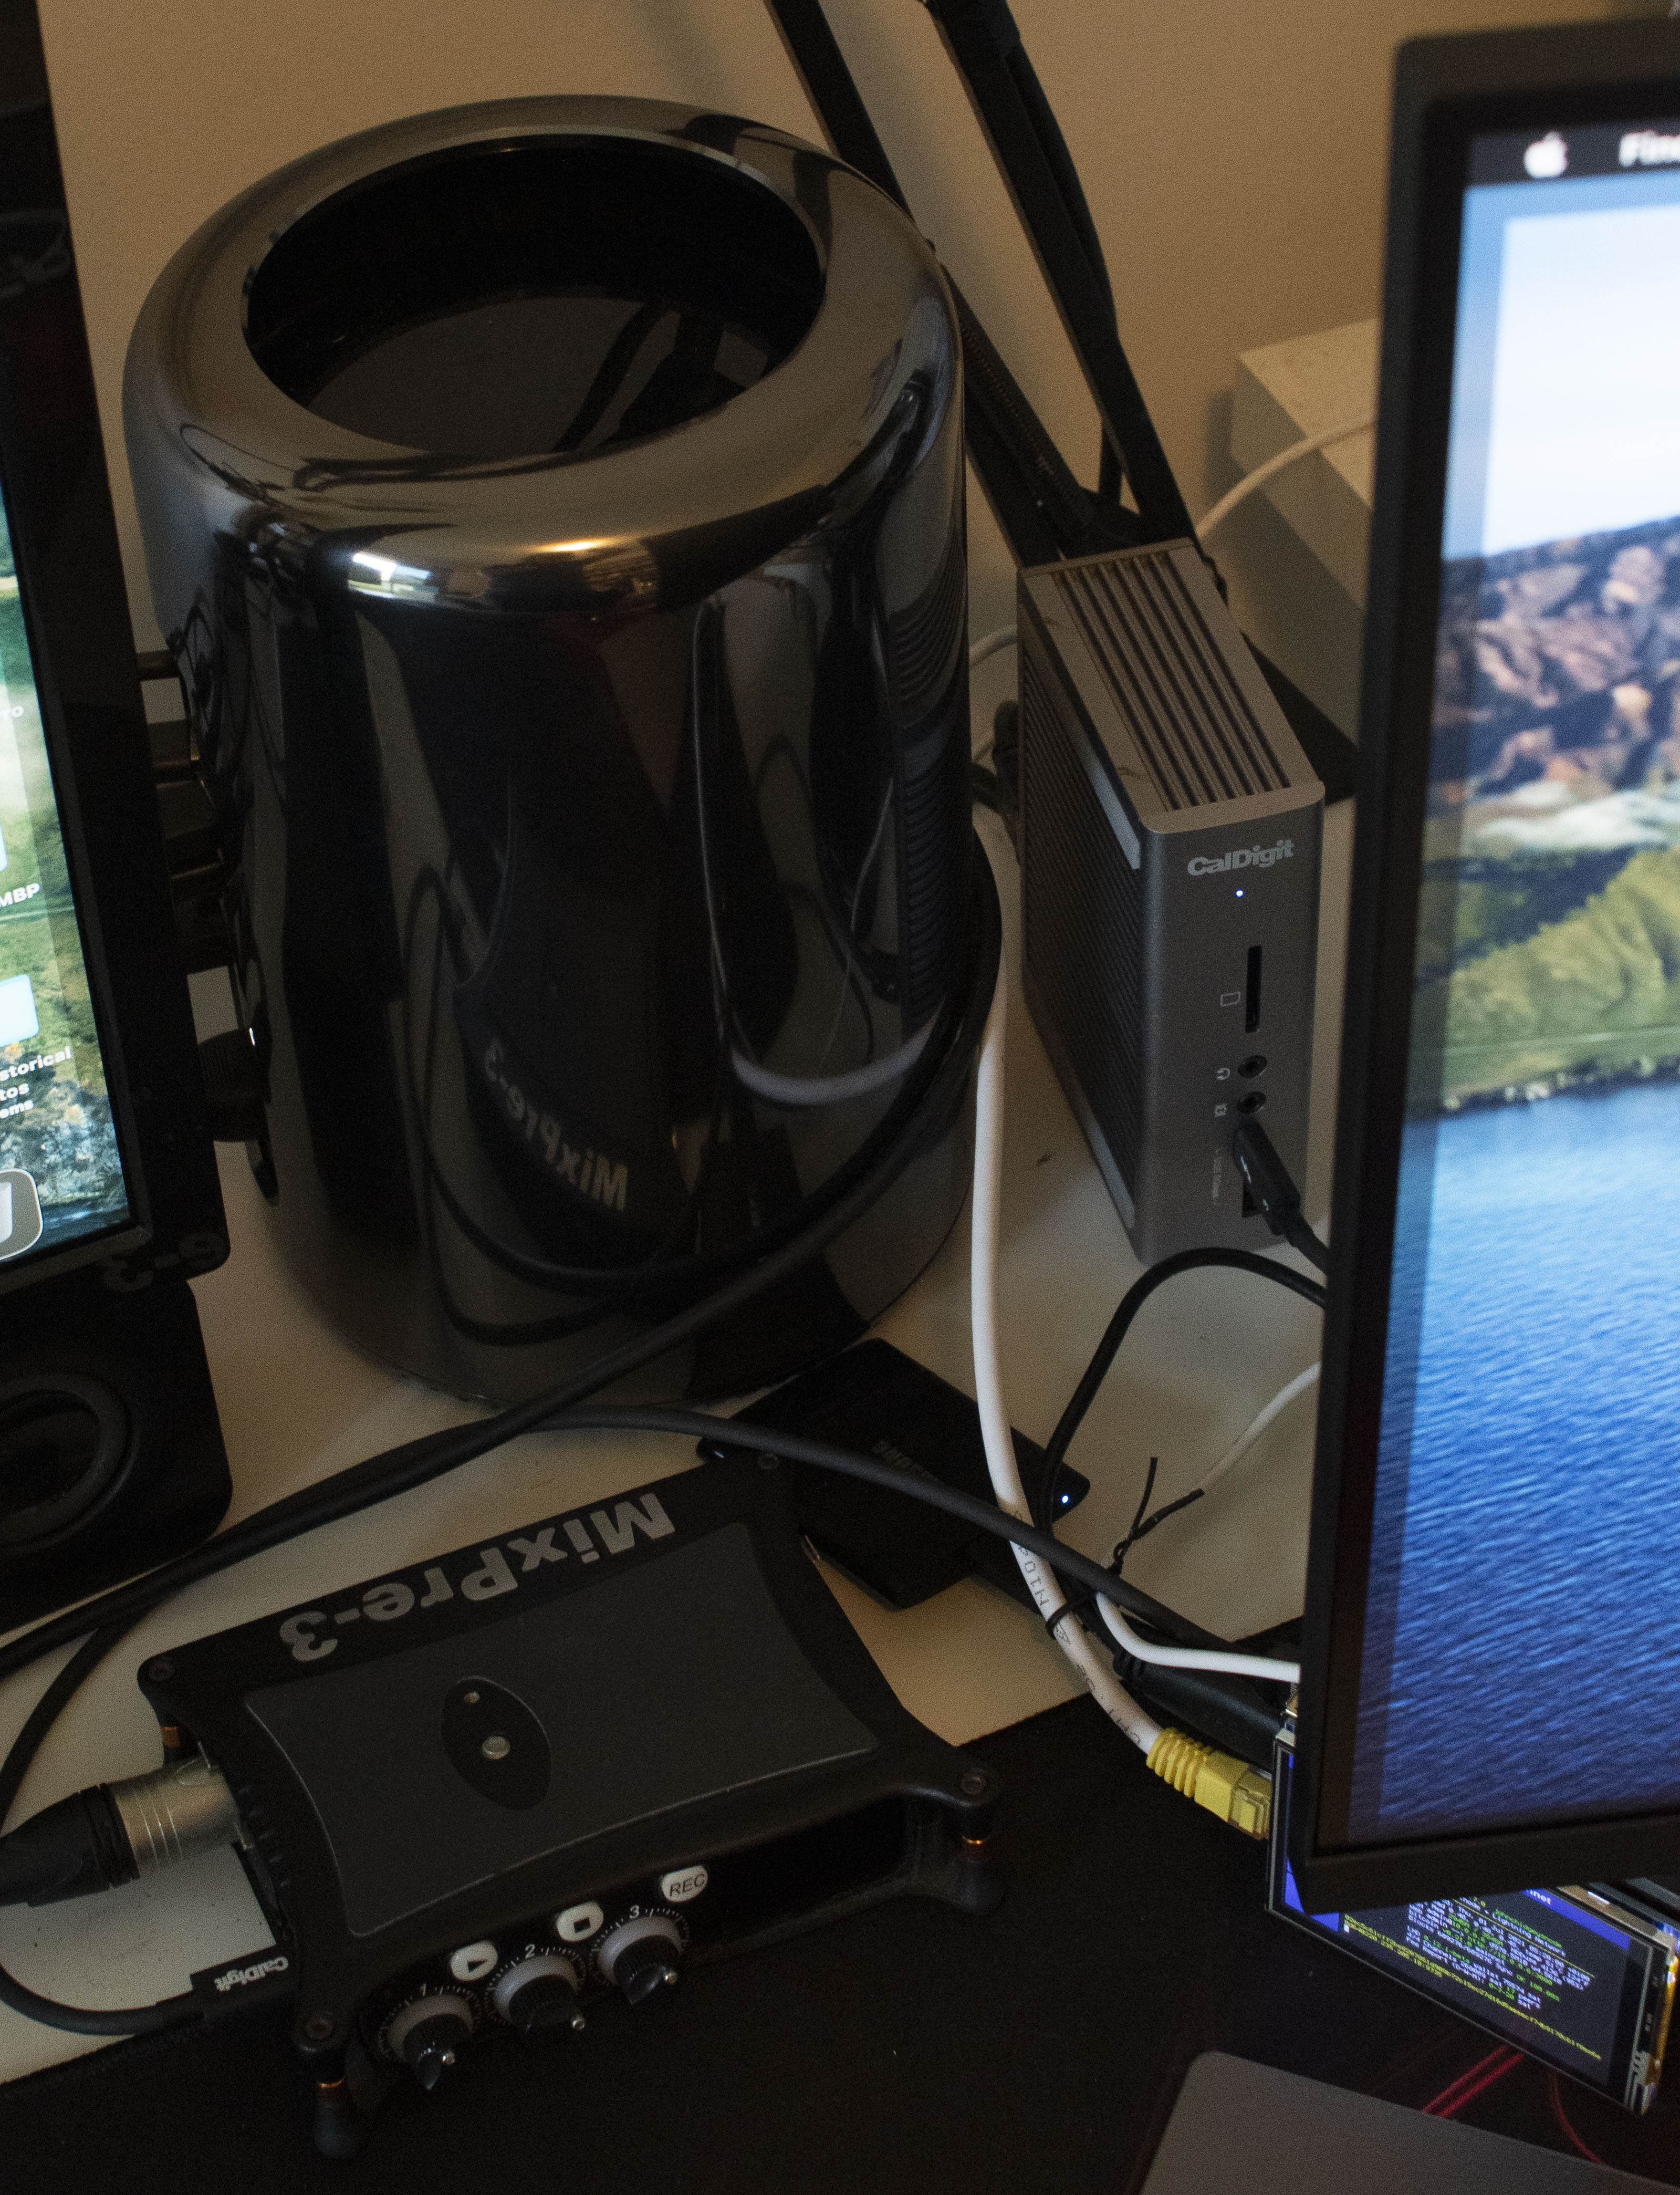
Since I podcast sometimes, I’ve also attached my Boom Arm behind the Dock and the Mix Pre3 is connected via the powered USB-C output on the TS3+ and it works perfectly. Less interesting are the connections to the hardwired Ethernet, speakers and webcam but that’s pretty much it.