Herein you’ll find articles on a very wide variety of topics about technology in the consumer space (mostly) and items of personal interest to me. I have also participated in and created several podcasts most notably Pragmatic and Causality and all of my podcasts can be found at The Engineered Network.
Astronomy With Zoom Lenses
About a month ago I started renting a used Nikon 200-500mm Zoom Lens that was in excellent condition. Initially my intention was to use it for photographing the kids playing outdoor sports, namely Soccer, Netball and Cricket. Having said that the thought occurred to me that it would be excellent for some Wildlife photography, here, here and here, and also…Astrophotography.
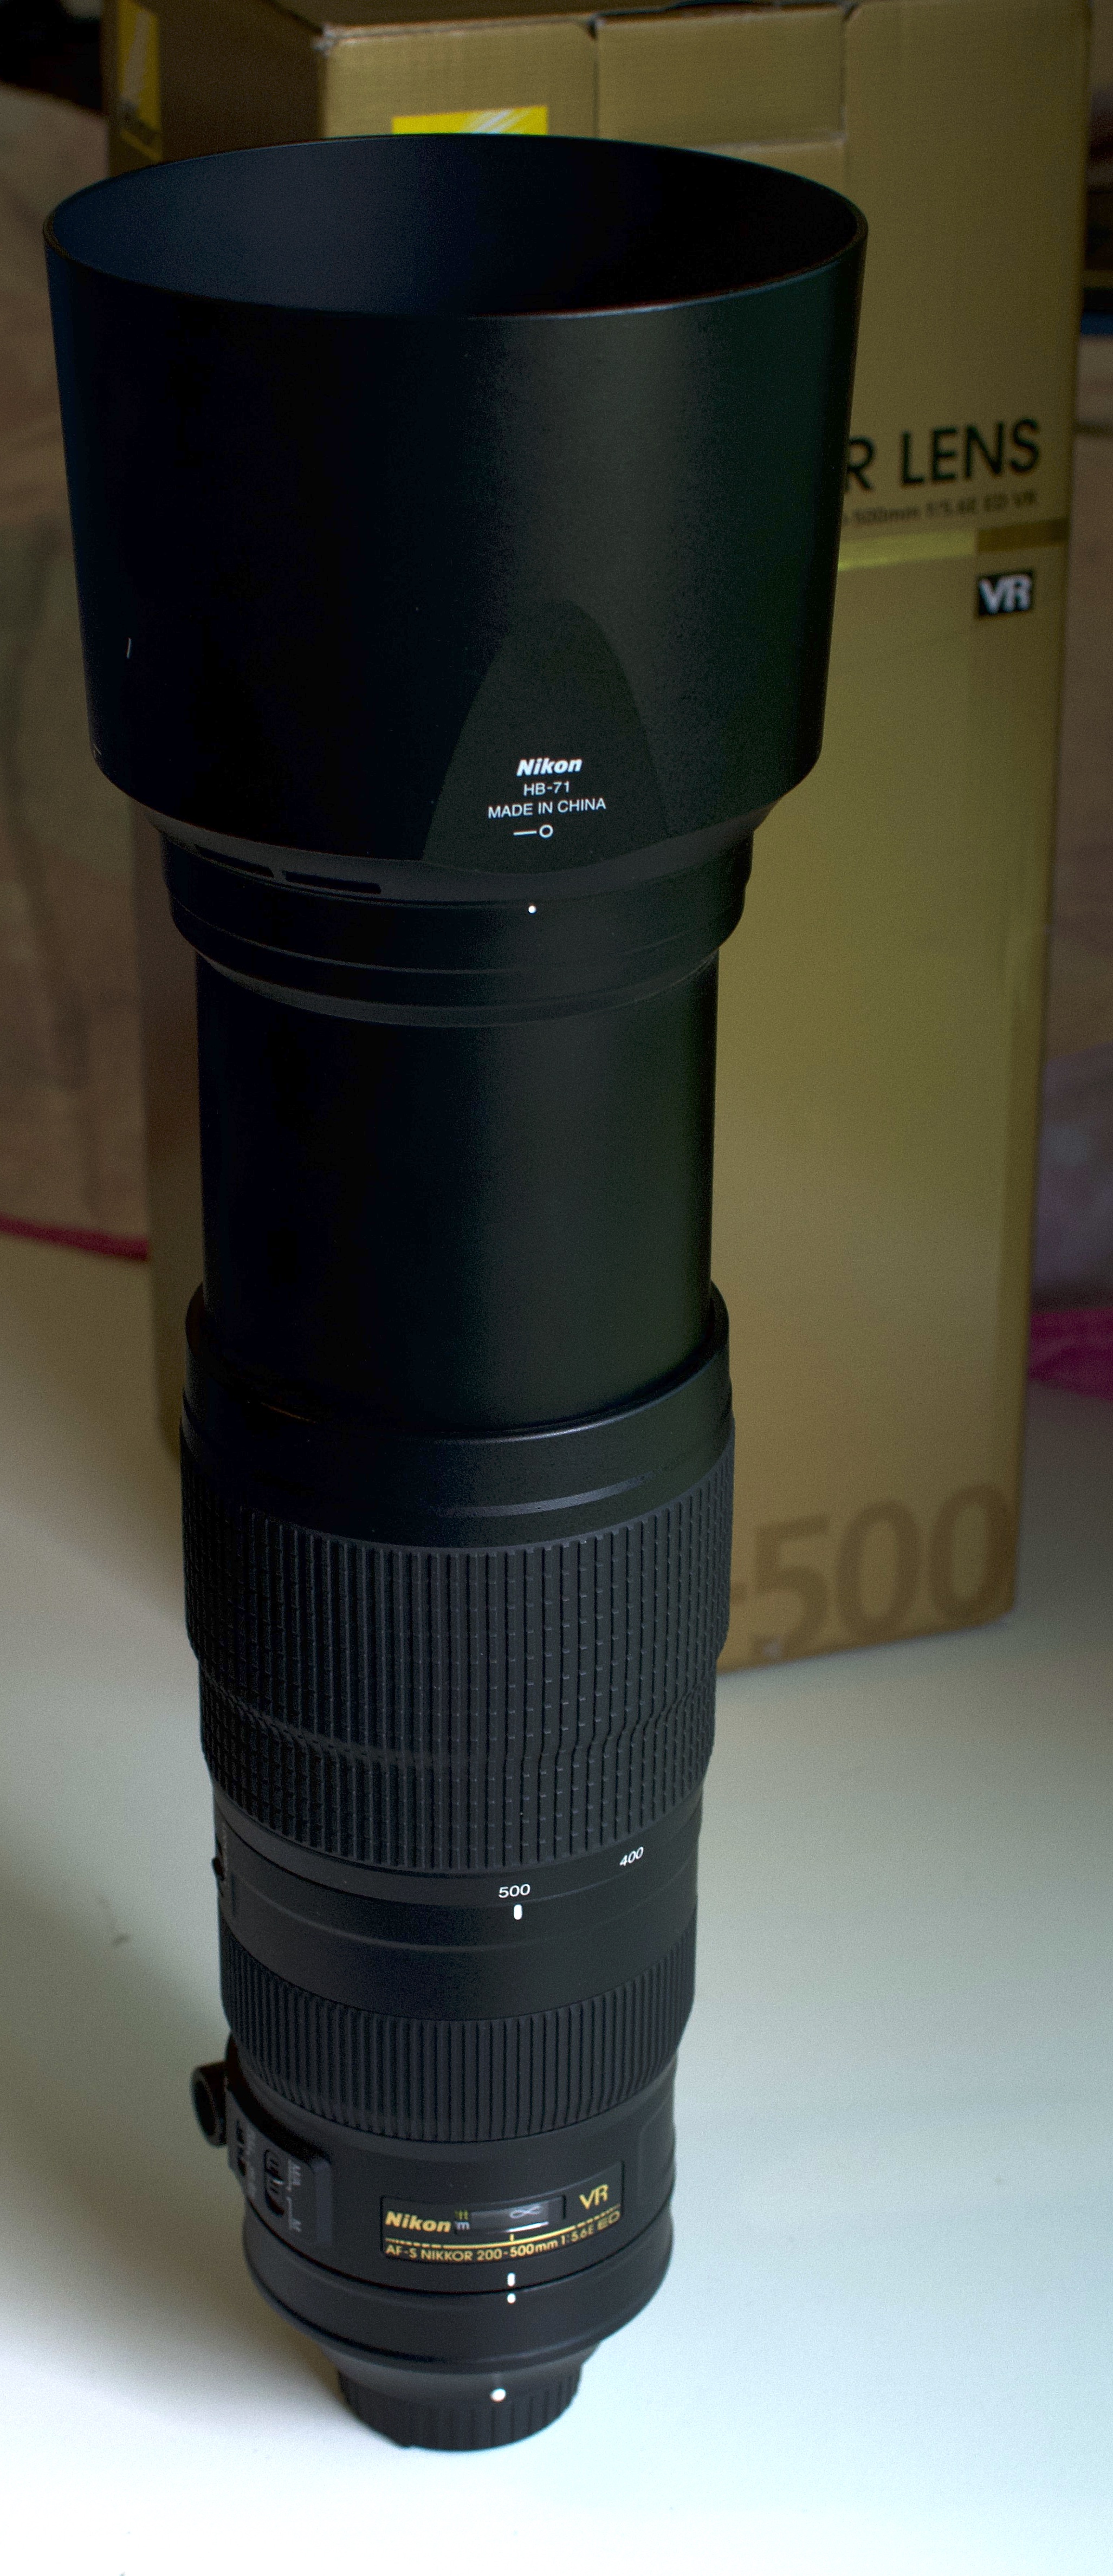
I was curious just how much I could see with my D500 (1.5x as it’s a DX Crop-sensor) using the lens at 500mm maximum (750mm effective). The first step was to mount my kit on my trusty 20 year old, ultra-cheap, aluminium tripod. Guess what happened?
The bracket that holds the camera to the tripod base snapped under the weight of the lens and DSLR and surprising even myself, in the pitch dark, I miraculously caught them before they hit the tiles, by mere inches. Lucky me, in one sense, not so lucky in another - my tripod was now broken.
Not to be defeated, I applied my many years of engineering experience to strap it together with electrical tape…because…why not?
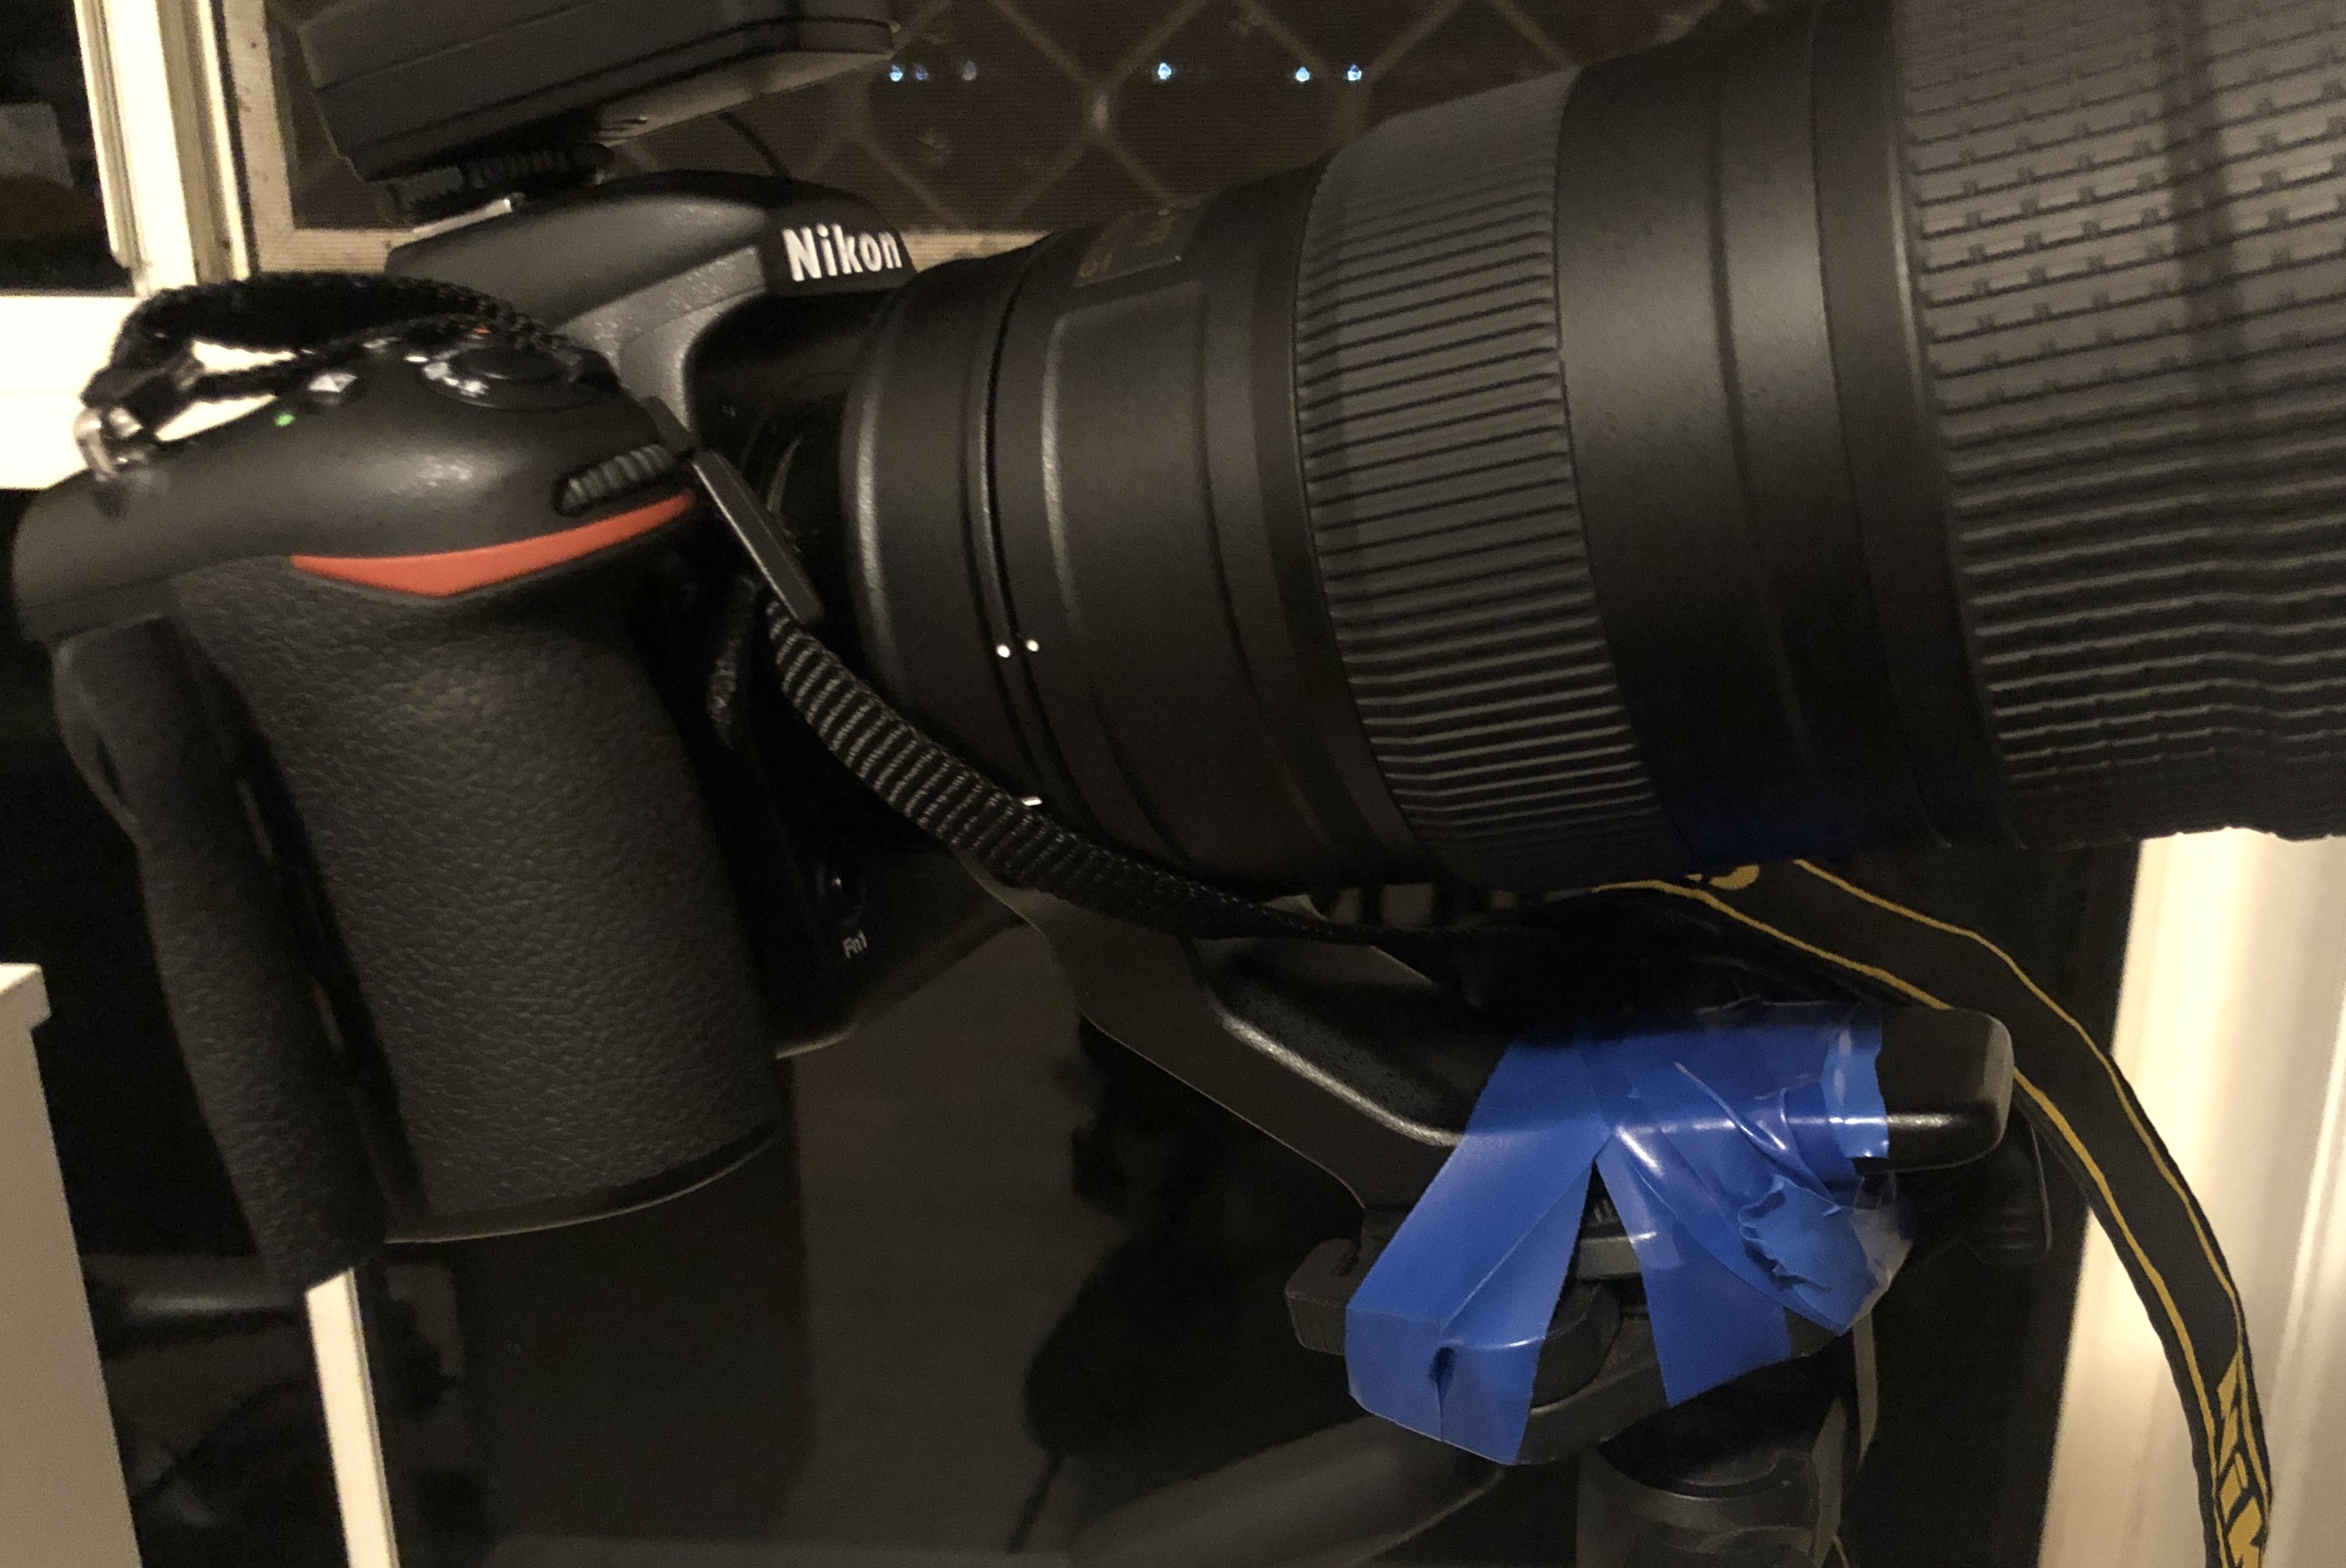
Using this combination I attempted several shots of the heavens and discovered a few interesting things. My PixelPro wireless shutter release did not engage the Image Stabilisation in the zoom lens. I suppose they figured that if you’re using the remote, you’ve probably got a tripod anyhow so who needs IS? Well John does, because his Tripod was a piece of broken junk that was swaying in the breeze - no matter how gentle that breeze was…
Hence I ended up ditching the Tripod and opted instead for handheld, using the IS in the Zoom Lens. The results were (to me at least) pretty amazing!
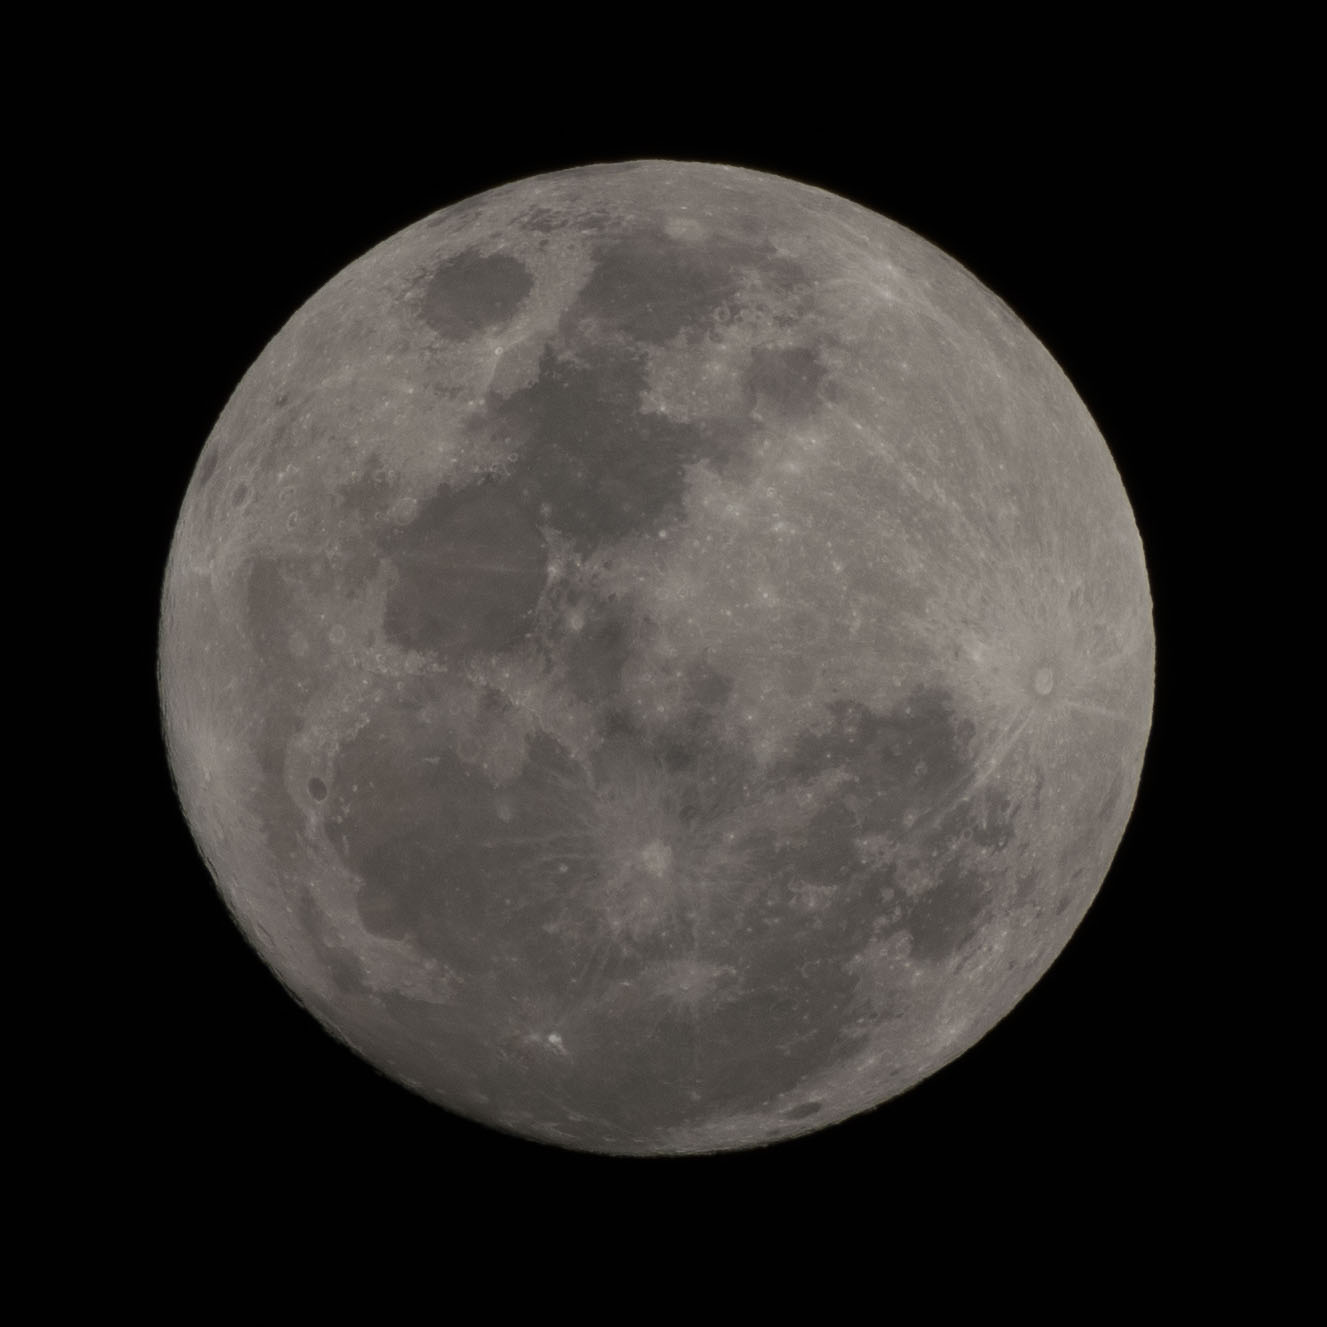
The Moon I photographed through all of its phases culminating in the above Full Moon image. By far the easier thing to take a photo of and in 1.3x crop mode on the D500 it practically filled the frame. Excellent detail and an amazing photograph.
Of course, I didn’t stop there. It was time to turn my attention to the planets and luckily for me several planets are at or near opposition at the moment. (Opposition is one of those astronomy terms I learned recently, where the planet appears at its largest and brightest, and is above the horizon for most of the night)
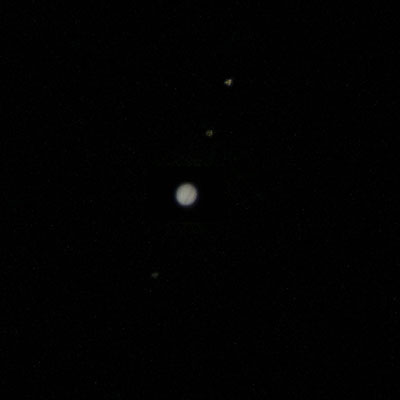
Jupiter and its moons, the cloud band stripes are just visible in this photo. Stacked two images, one exposure of the Moons and one of Jupiter itself. No colour correction applied.

Saturn’s rings are just visible in this image.
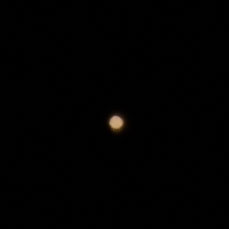
Mars is reddish and not as interesting unfortunately.
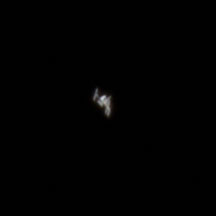
The ISS image above clearly shows the two large solar arrays on the space station.
What’s the problem?
Simple. It’s not a telescope…is the problem. Zoom Lenses are simply designed for a different purpose than maximum reach taking photos of planets. I’ve learned through research that the better option is to use a T-Ring adaptor and connect your DSLR to a telescope. If you’re REALLY serious you shouldn’t use a DSLR either since most have a red-light filter which changes the appearance of nebulae, you need to use a digital camera that’s specifically designed for Astrophotography (or hack your DSLR to remove it from some models if you’re crazy enough).
If you’re REALLY, REALLY interested in the best photos you can take, you need an AltAz or Altitude - Azimuth mount that automatically moves the camera in opposition to Earths rotation to keep the camera pointing in the same spot in the night sky for longer exposures. And if you’re REALLY, REALLY, REALLY serious you want to connect that to a guide scope that further ensures the auto-guided mount is tracking as precisely as possible. And if you’re REALLY, REALLY, REALLY, REALLY serious you’ll take many, many exposures including Bias Frames, Light Frames, Dark Frames, and Frame Frames and image stack them to reduce noise in the photo.
How Much Further Can You Go With a DSLR and Lenses?
Not much further, that’s for sure. I looked at adding Teleconverters, particularly the TC-14E (1.4x) and then a TC-20E (2x) which would give me an effective focal length of 1,050mm and 1,500mm respectively. The problem is that you lose a lot of light in the process and whilst you could get a passable photo at 1,050mm, with 1,500 on this lens you’re down to an aperture of f/11 which is frankly, terrible. Not only that but reports seem to indicate that coma (chromatic aberration) is pretty bad with the 2x Teleconverter coupled with this lens. The truth is that Teleconverters are meant for fast primes (f/4 or better) not a f/5.6 Zoom.
Going to an FX Camera Body wouldn’t help since you’d lose the 1.5x effective zoom from the DX sensor, although you might pick up a few extra pixels, the sensor on my D500 is pretty good in low light, so you’re not going to get a much better low-light sensor for this sort of imaging. (Interestingly the pixel density of the sensor between the D500 DX and D850 FX, leaves my camera with 6.7% more pixels per square cm so it’s still the better choice)
How Many Pixels Can You See?
Because I’m me, I thought let’s count some pixels. Picking Jupiter because it’s big, bright and easy to photograph (as planets go) with my current combination it’s 45 pixels across. Adding 1.4x Teleconverter gets me to an estimated 63 pixels, and 2.0x to 90 pixels diameter. Certainly that would be nicer, but probably still wouldn’t be enough detail to make out the red spot with any real clarity.
Just a Bit of Fun
Ultimately I wanted to see if it was possible to use my existing Camera equipment for Astronomy. The answer was: kinda, but don’t expect more than the Moon to look any good. If you want pictures somewhere between these above and what the Hubble can do, expect to spend somewhere between $10k –> $30k AUD on a large aperture, large focal length telescope, heavy duty AltAz mount, tracking system and specialised camera, and add in a massive dose of patience waiting for the clearest possible night too.
If nothing else for me at least, it’s reawakened a fascination that I haven’t felt since I was a teenager about where we sit in the Universe. With inter-planetary probes and the Hubble Space Telescope capturing amazing images, and CGI making it harder to pick real from not-real planets, suns and solar systems, it’s easy to become disconnected from reality. Looking at images of the planets in ultra-high resolution almost doesn’t feel as real as when you use your own equipment and see them with your own eyes.
So I’ve enjoyed playing around with this but not because I was trying to get amazing photographs. It’s been a chance to push the limits of the gear I have with me to see a bit more of our Solar System, completely and entirely on my own from my own backyard. And that made astronomy feel more real to me than it had for decades.
The stars, the moon, the planets and a huge space station that we humans built, are circling above our heads. All you need to do is look up…I’m really glad I took the time to do just that.
Solo Band
Apple’s new Apple Watch Series 6 was released with several new bands, of which the two most controversial are the Solo Braid and Solo Sport Loop bands. Whilst the braided band might look nice, my instant reaction was “that’s going to catch on everything” and I’ve heard a few anecdotal reports floating around the internet recently of threads being pulled on these bands as some evidence to validate my ultimate choice not to get that one.
Whilst I applaud Apple’s “Create Your Style” watch and band selector, the fact you STILL can’t select a Nike band or a Hermes band with your new watch. (I know right? No Hermes? I guess there’s always a Hermes store for that…the bands are next to the riding helmets I hear…)
Per Apple’s directions when ordering, I dutifully printed out the measuring tape/paper cutout measurement implement to find my wrist size was between 6 and 7 - exactly half way. I opted for a 7 when I ordered, plain white then attended the Chermside Apple Store to pick it up at a scheduled time through their door / COVID19 “window” for pickups.
Once in hand I opened and hastily put it on the watch and my wrist only to find it was too loose. Logic being that this was going to probably stretch over time, I went back to the “window” to swap it for a Size 6, one size down. After attempting to return just the band, and failing, then trying multiple times to return the entire watch, just to swap the band, after nearly 45 minutes I had the right fitting band and was on my way.
I’m not sure I’m complaining exactly as everything is relative. There are other parts of the world where Apple Stores are still closed due to local COVID19 lockdown restrictions, so I had it good…for sure.
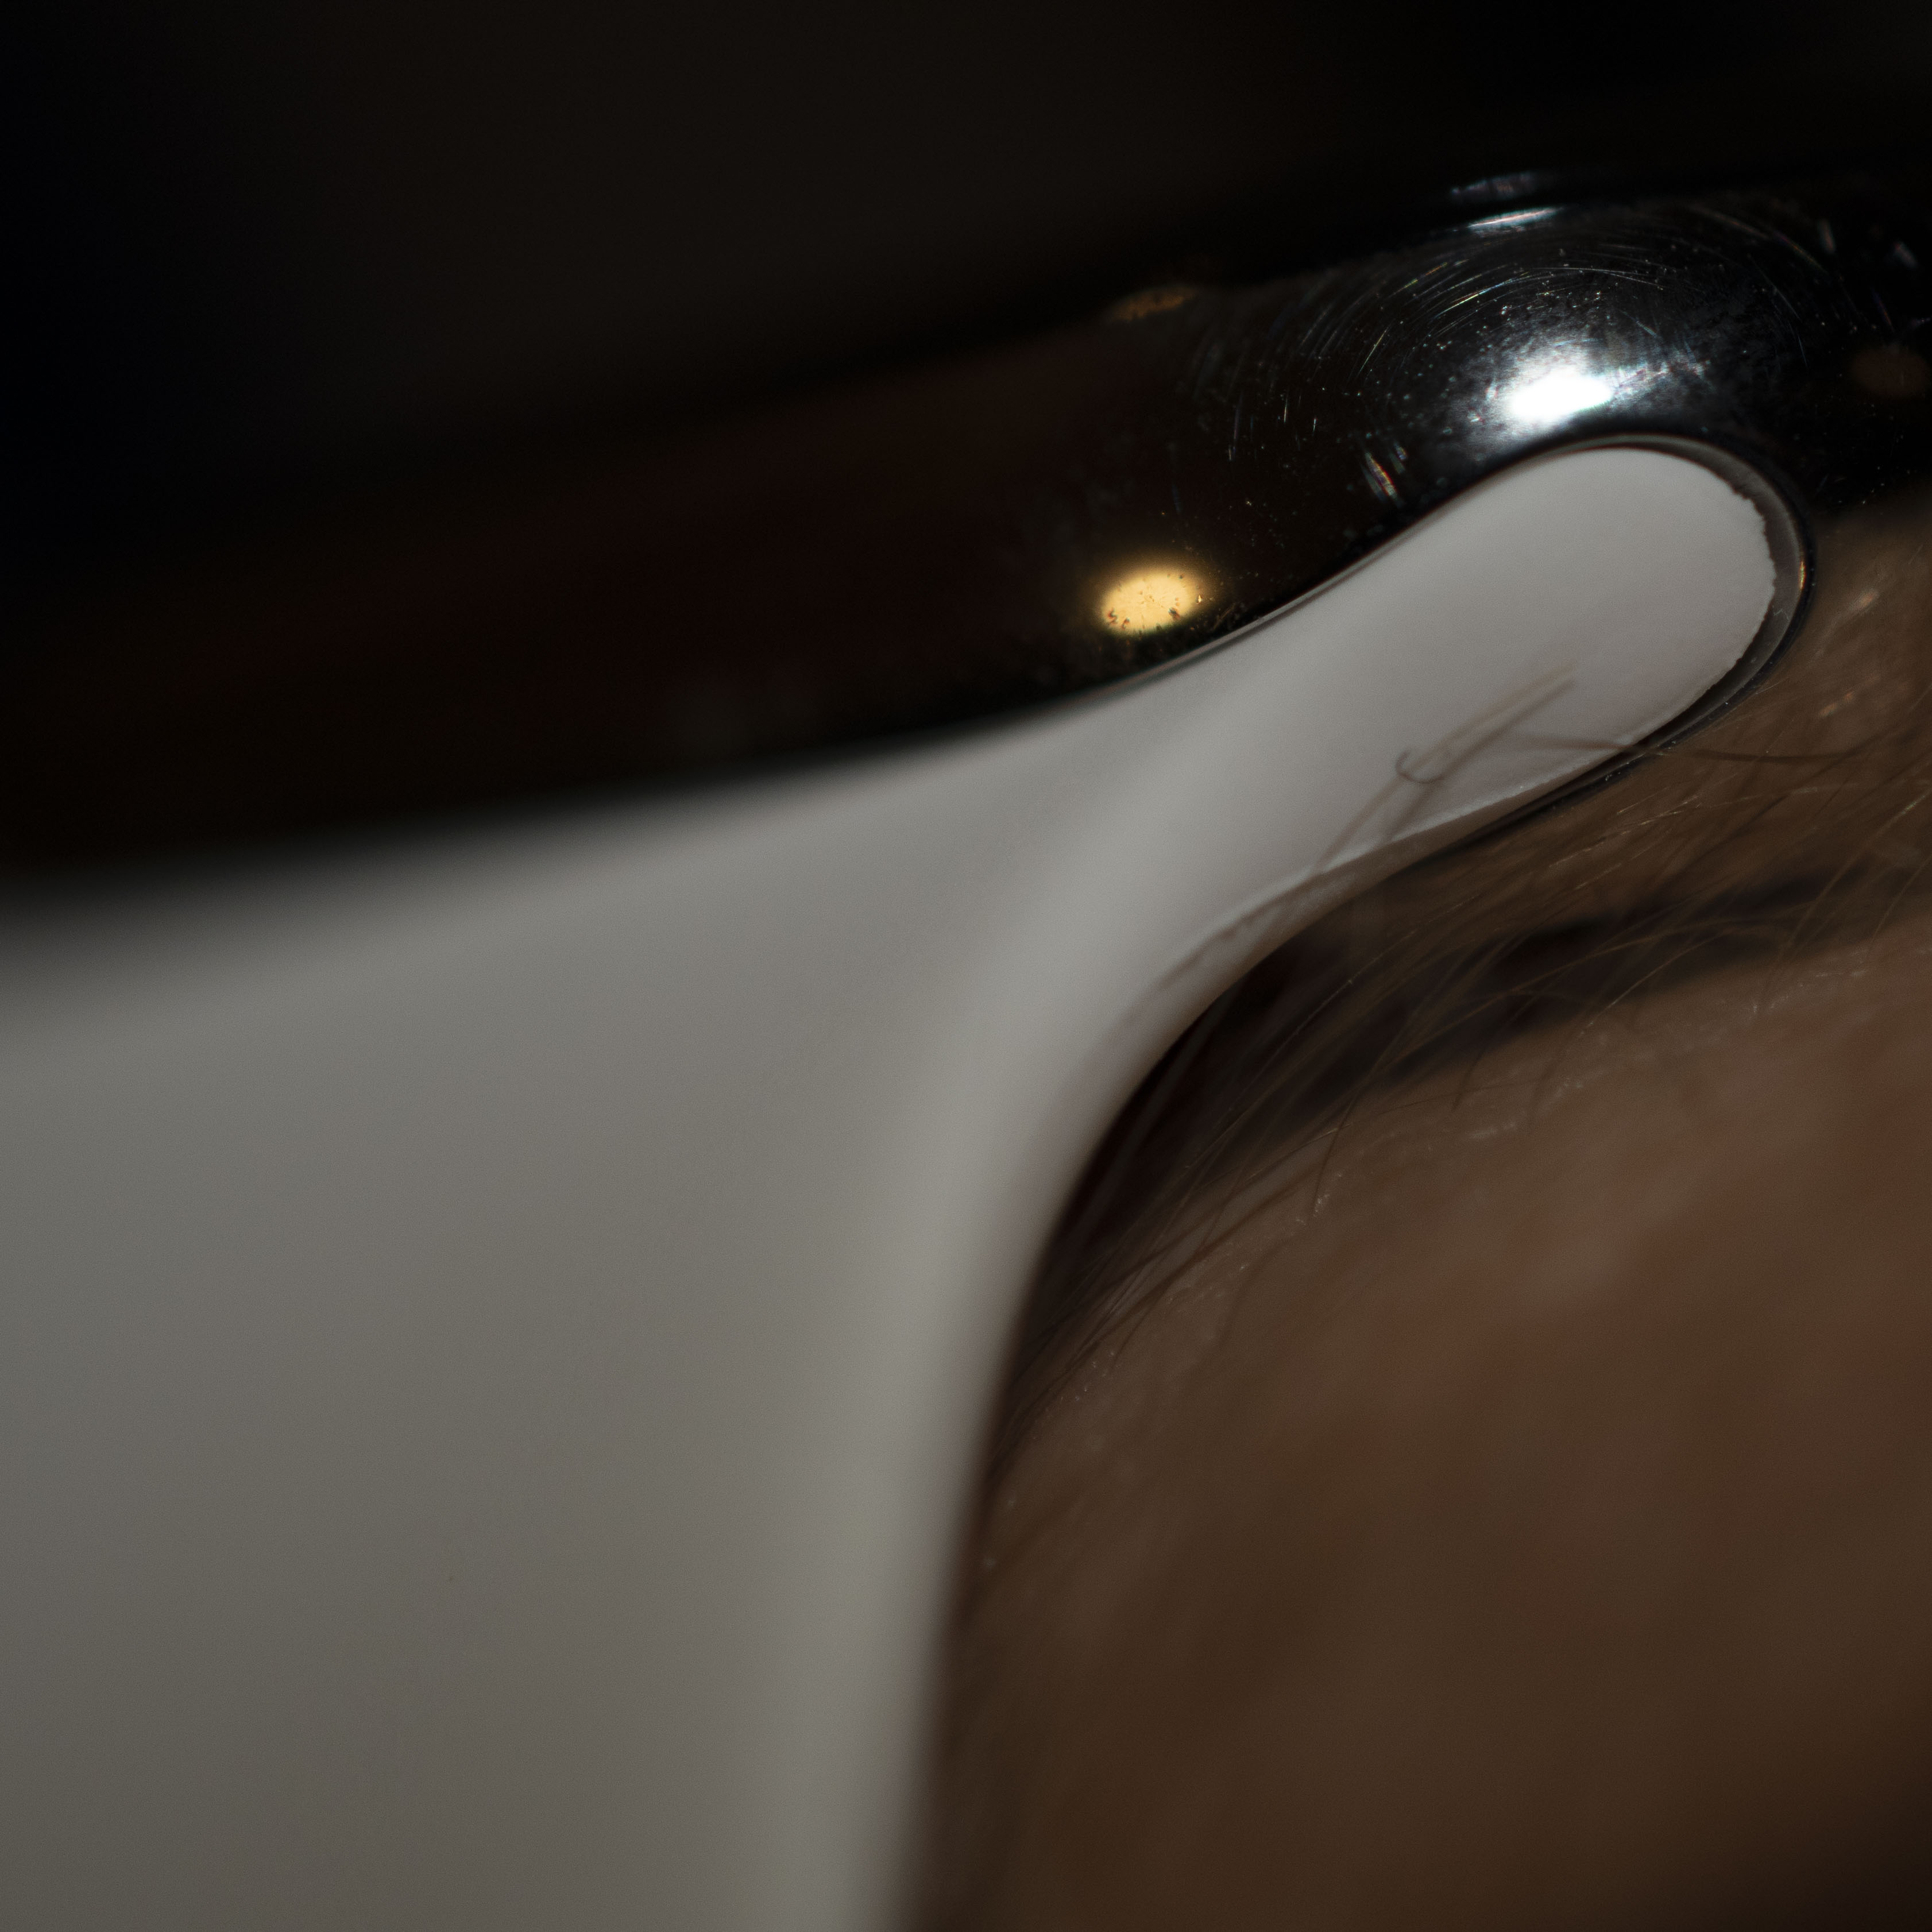
The gap at the edge is quite small and tight, which is how I like to wear my watches. (I hate loose watches)
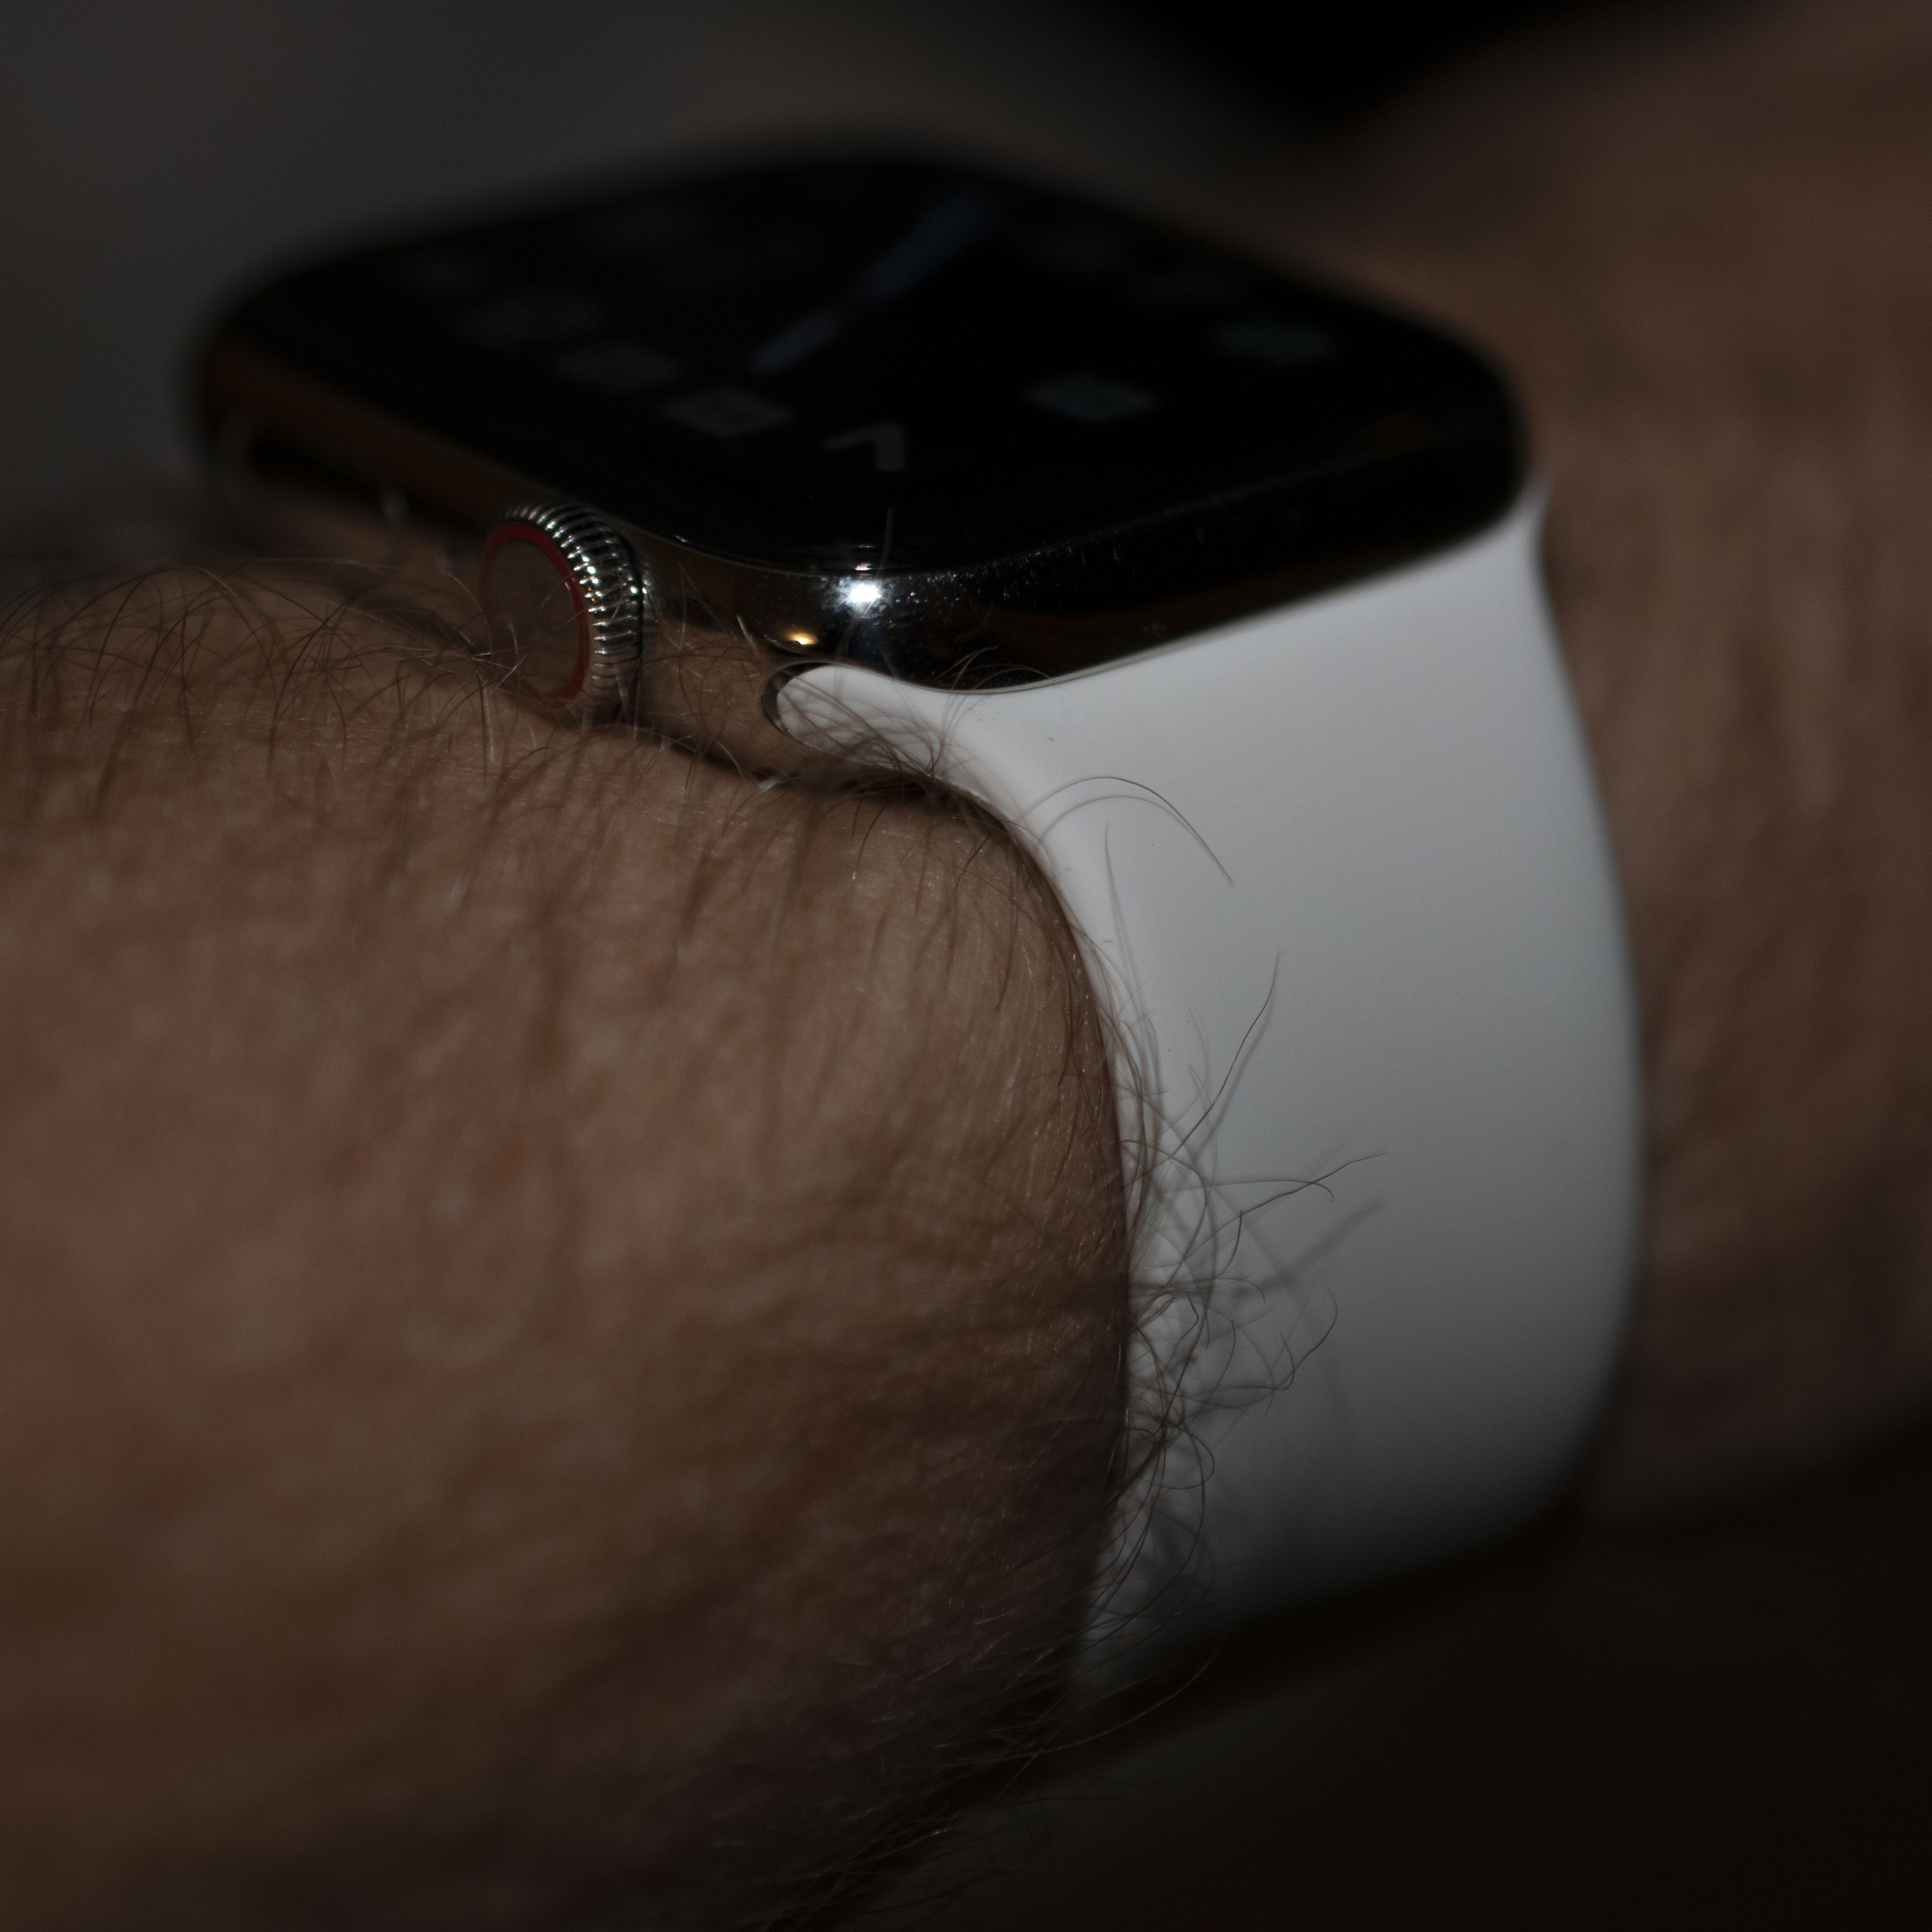
The band to the untrained eye looks just like a traditional White Sport Band.
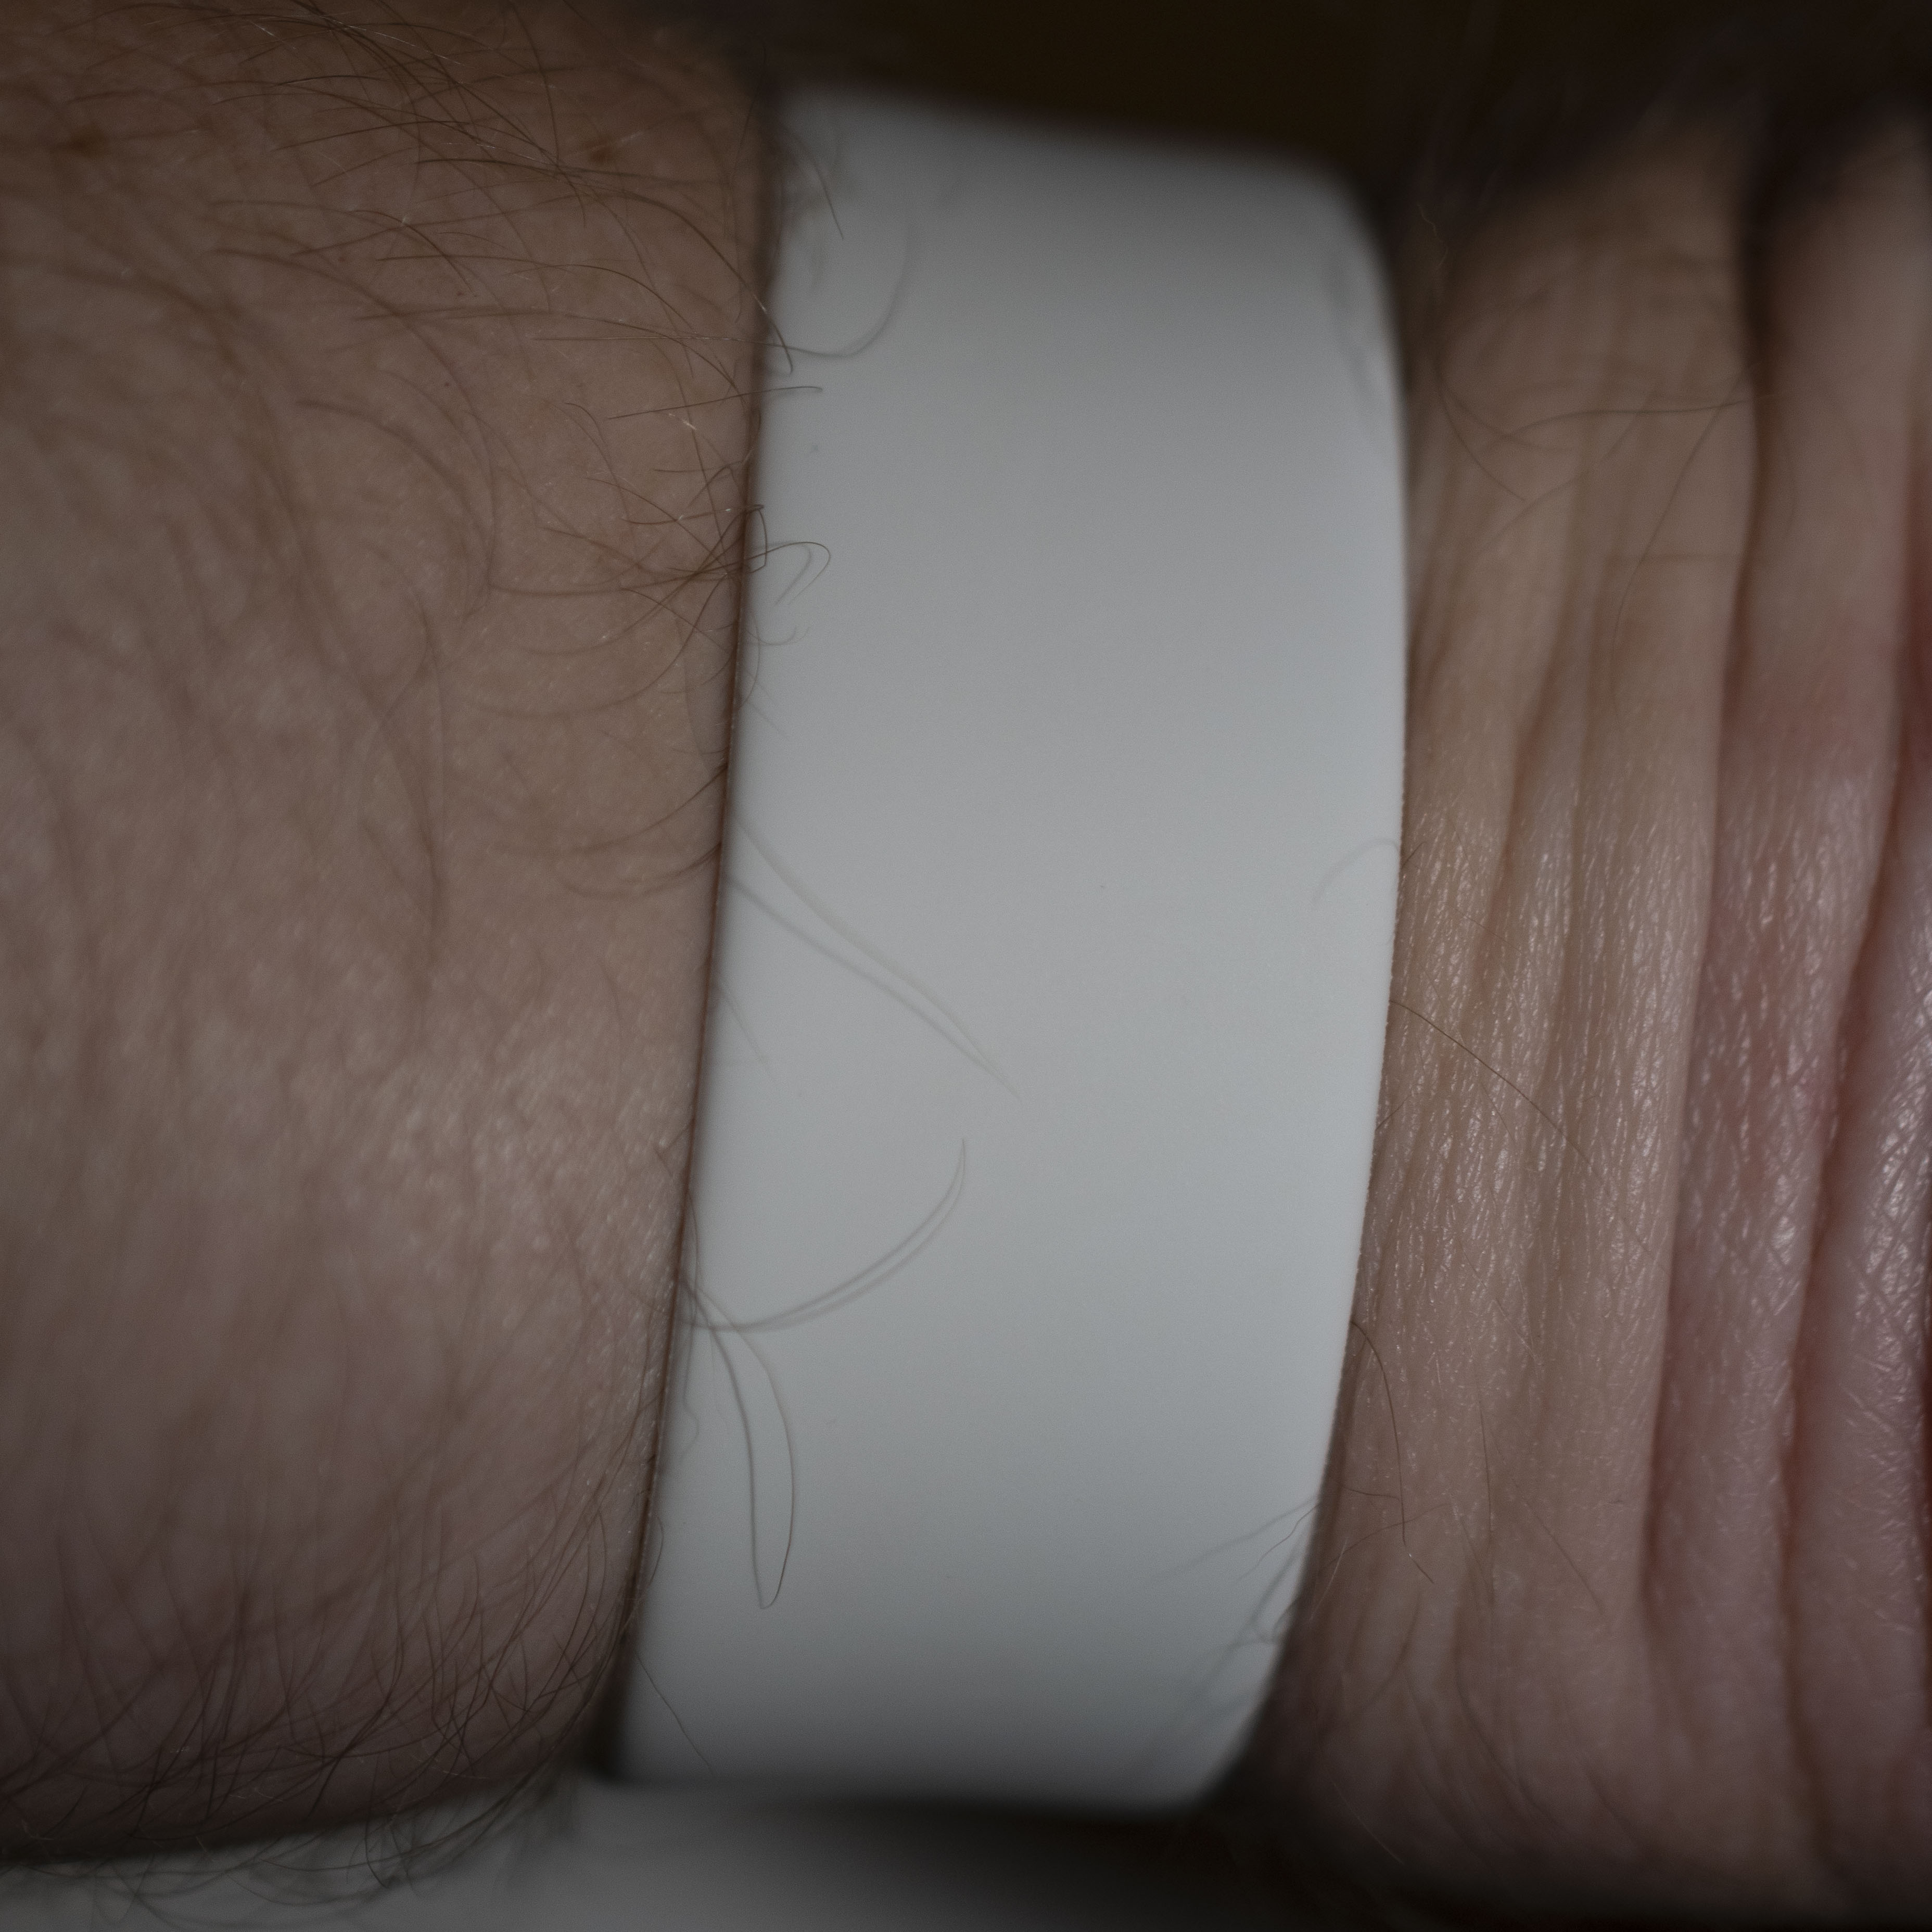
The giveaway is underneath where there is no pin, and ultimately the reason that I like this band so much more than any of the existing sport bands. On standard two-piece sport bands, the pin isn’t so much the issue, it’s the slide-under segment through the hole that pulls out arm hairs on the way and places pressure on my carpel tunnels after many hours of wearing. (Sure I could wear it more loosely, but refer above - I hate doing that)
Feel and Comfort
The solo loop band is softer than my White Sport Band and is elastic but firm. The rubber-like texture is balanced with a smooth finish so it doesn’t grab your arm hairs too much like a rubber-band would when you take it off or put it on.
Beyond this I’ve found that like the other sport bands it’s the best option when you get it wet as it’s quick and easy to dry.
I Really Wanted A Nike Sport Loop Though
I’ve been a huge fan of my nearly two year old Blue Sport Loop band so much so that I’ve worn it more than any other band during that time and it’s frayed at the loop-back buckle and generally a bit worse for wear.
I had secretly hoped that when Apple released the Series 6 they would open up the selector to include Nike bands as options, alas they did not. So after wearing the Solo Loop for a week, I went back to the Apple Store and grabbed the band I actually wanted: the Spruce Aura Sport Loop.
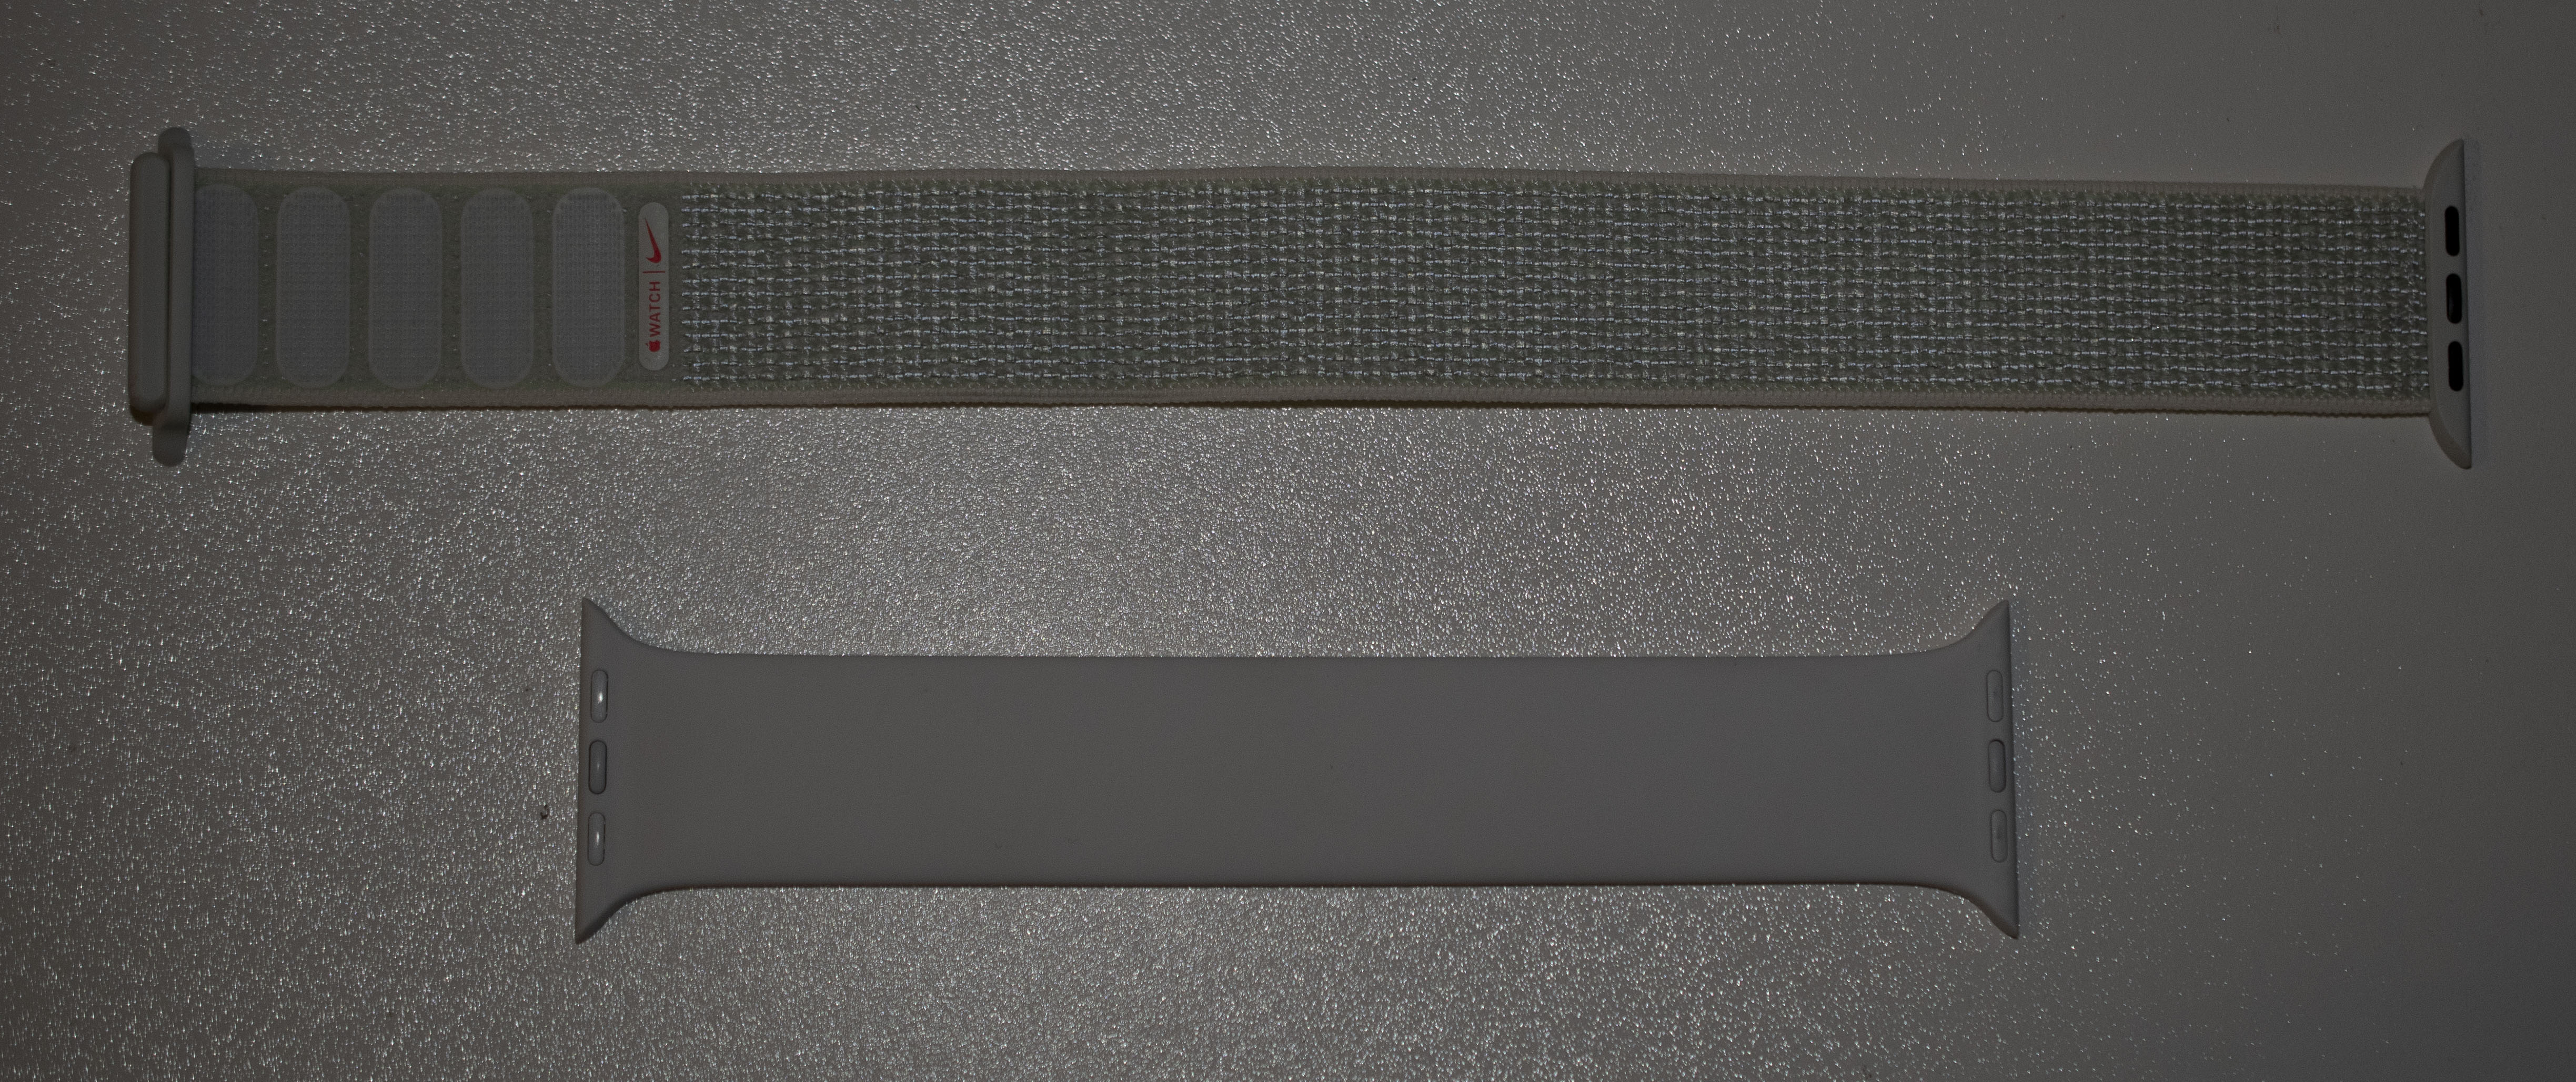
Side by side the Pure White of the Solo Loop contrasts with the subtle Green weave of the Nike Sport Loop.
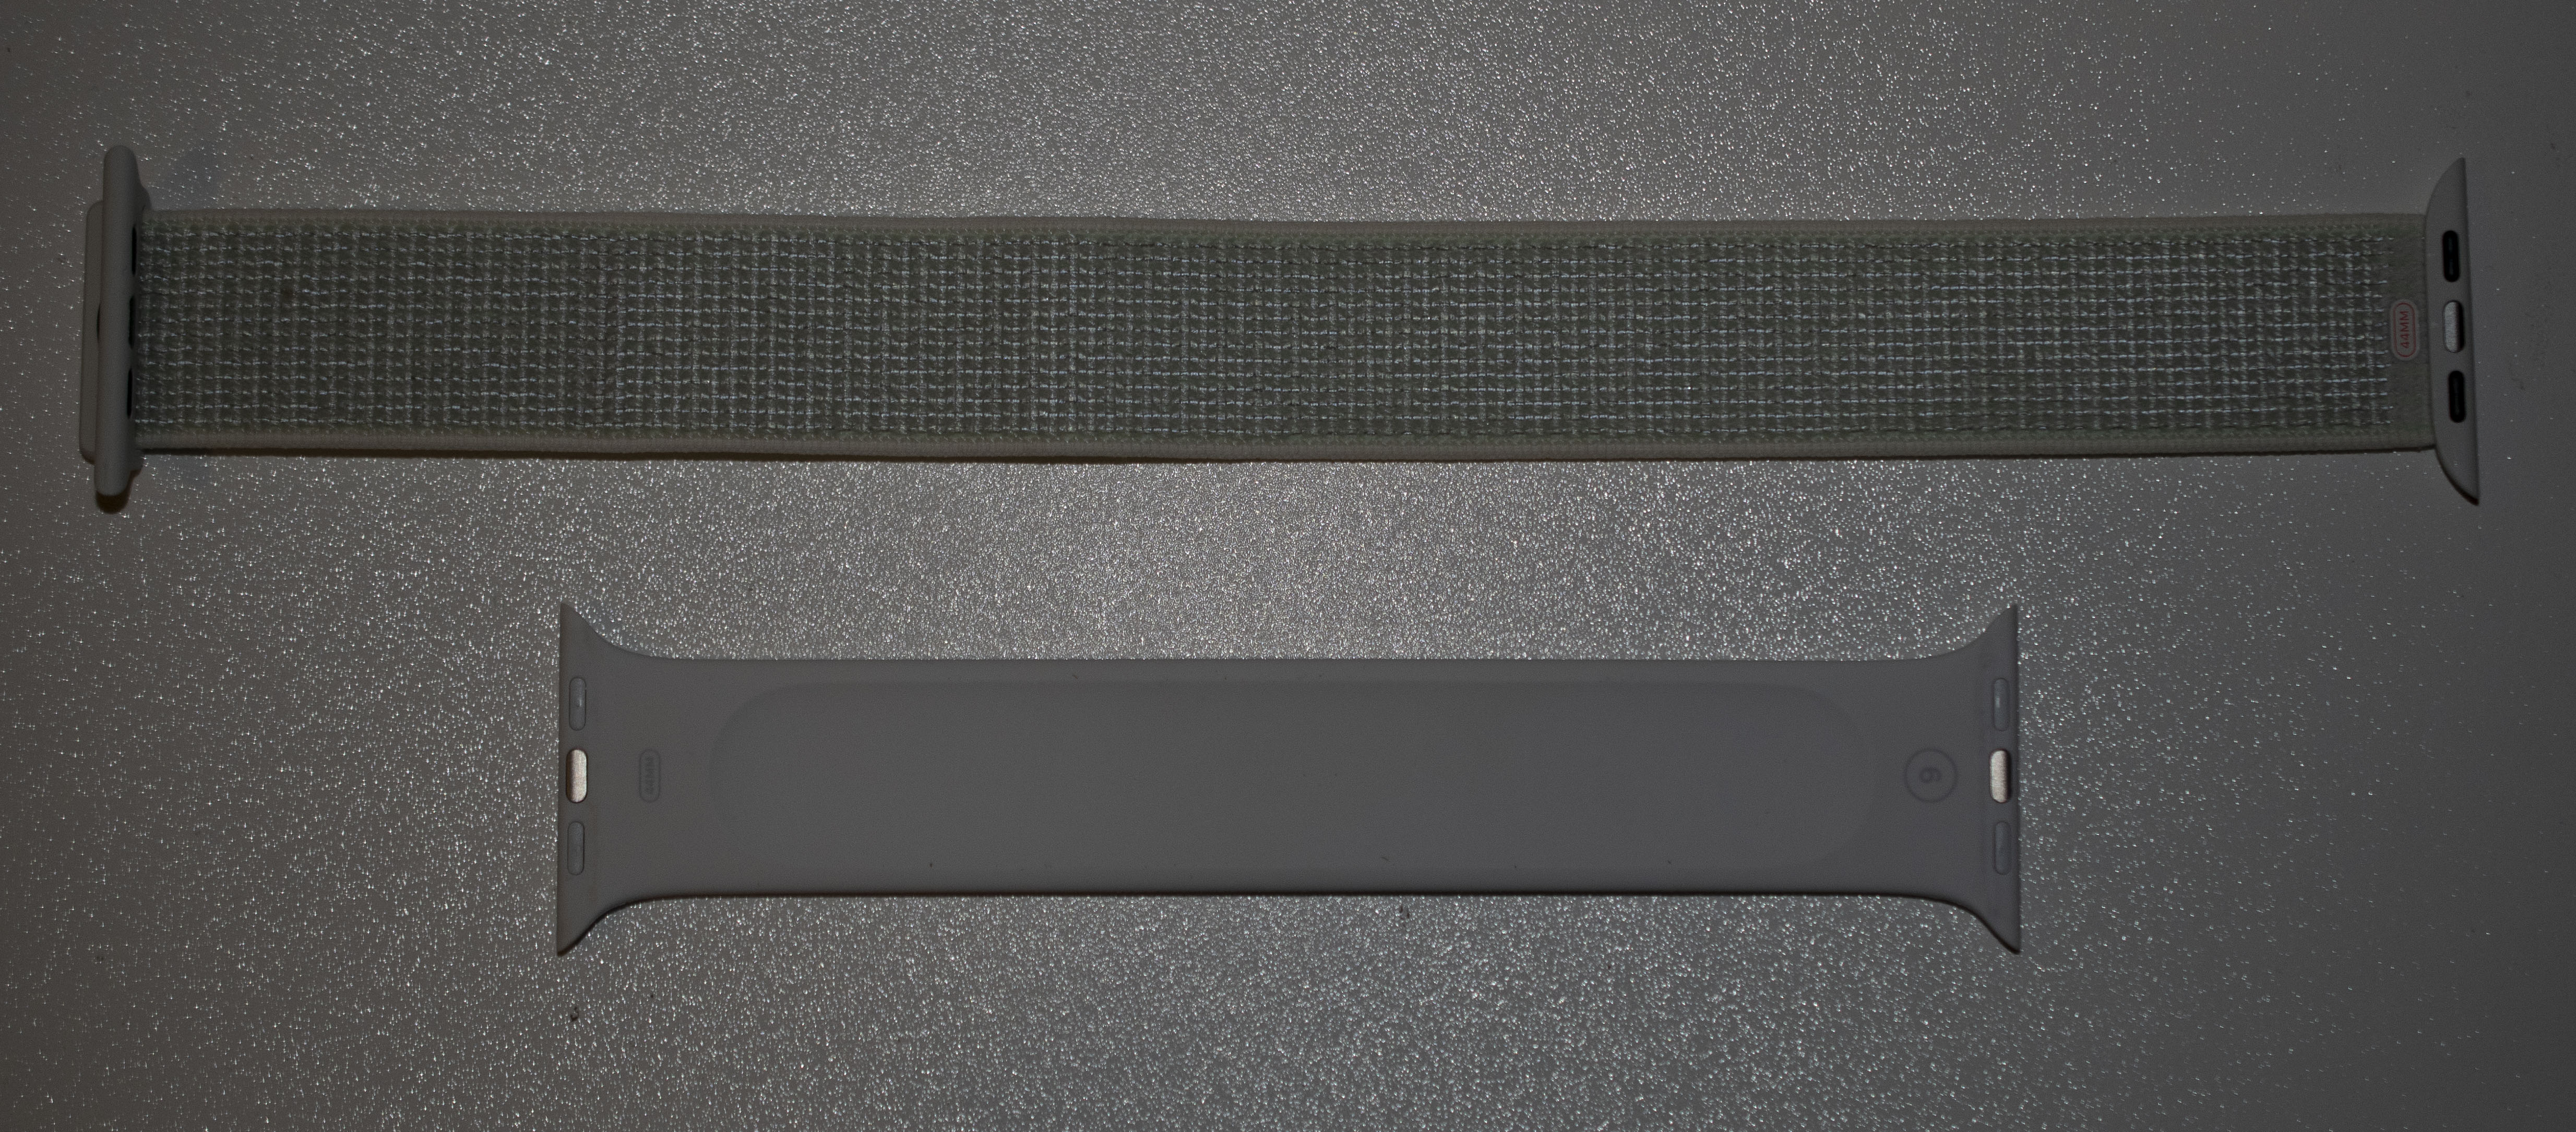
The Nike Loop is made from the same material and is just as comfortable as my previous favourite comfortable band with the bonus of being a pleasant light colour that’s reflective in the dark.
Concerns with the Solo Loops
Much has been written about the Solo Loop being a bad customer experience and certainly with so many Apple Stores not functioning as they used to due to COVID19 restrictions, finding the best fit is more difficult than it otherwise would be. That said, were they open the truly best way to get a feel for the band comfort isn’t wearing it in the store for two minutes - you really need serious time with it in general use for a few days or weeks to know for sure if it will work for you in that size.
Notwithstanding this the other issue is resale. Previously you could sell your Apple Watch or hand it down to other family members but now the variable of “will it fit their wrist” needs to be considered. If not, you’re up for another solo band that fits the recipient or one with flexible sizing that fits anyone.
If you can look past these issues, then the solo sport loop is comfortable, simple and I think better than the other Sport Bands on offer. That said…I’ll be sticking with my recommendation for the Sport Loops as the best all-round band for the Apple Watch.
Kit vs Tamron vs Prime Shoot-out
I’ve been reading and learning, trying and fine-tuning my photography setup (heck, isn’t that what all photography enthusiasts do?) and I’ve been looking at the gaps in my lens arsenal and looking also for duplication and overlap.
I started out loving Zoom lenses with my 55-200mm Nikon providing most of the work for outdoors sports, but with two of the key kinds of sports photography I was being called on happening at night or indoors in poor lighting (Netball and Basketball) then I had to invest in a better zoom with the Tamron 24-70mm f/2.8 being my choice.
It does a fine job and did double-duty for large group shots where I didn’t have space to move back and needed to work in close, and using a DX camera (Nikon D5500 and then D500) the 24mm short end wasn’t quite short enough. I invested in a kit lens second-hand on a lark, thinking it could do fine at the short end (18mm) for those tight situations. Unfortunately I kept having trouble with the sharpness of both the 24-70mm Tamron and the 18-55mm Nikon kit lenses.
A thought occurred to me that I’d become spoilt by my growing prime collection (35mm f/1.8, 50mm f/1.8, 85mm f/1.8) which are sharp as a tack at pretty much every aperture. Then I read many, many semi-professional and professional lens reviews to try and decide if I was imagining things.
Then I thought, “Hey, I could just do my own test…”
…and here it is…
I decided to test their sharpness indoors, with controlled lighting conditions setting the D500 on a tripod, set with a Timer and adjusting the shutter speed leaving a constant ISO160. Setting the back of some packaging with a mixture of text and symbols as the target with the tripod at the same distance for each. The only variable I think I could have done better was the distance from the lens element to the target was slightly different owing to the different lens designs and resulting imprecision of the 50mm mark on each Zoom ensuring the exact same image scale in the frame, but it’s close enough to make the point.
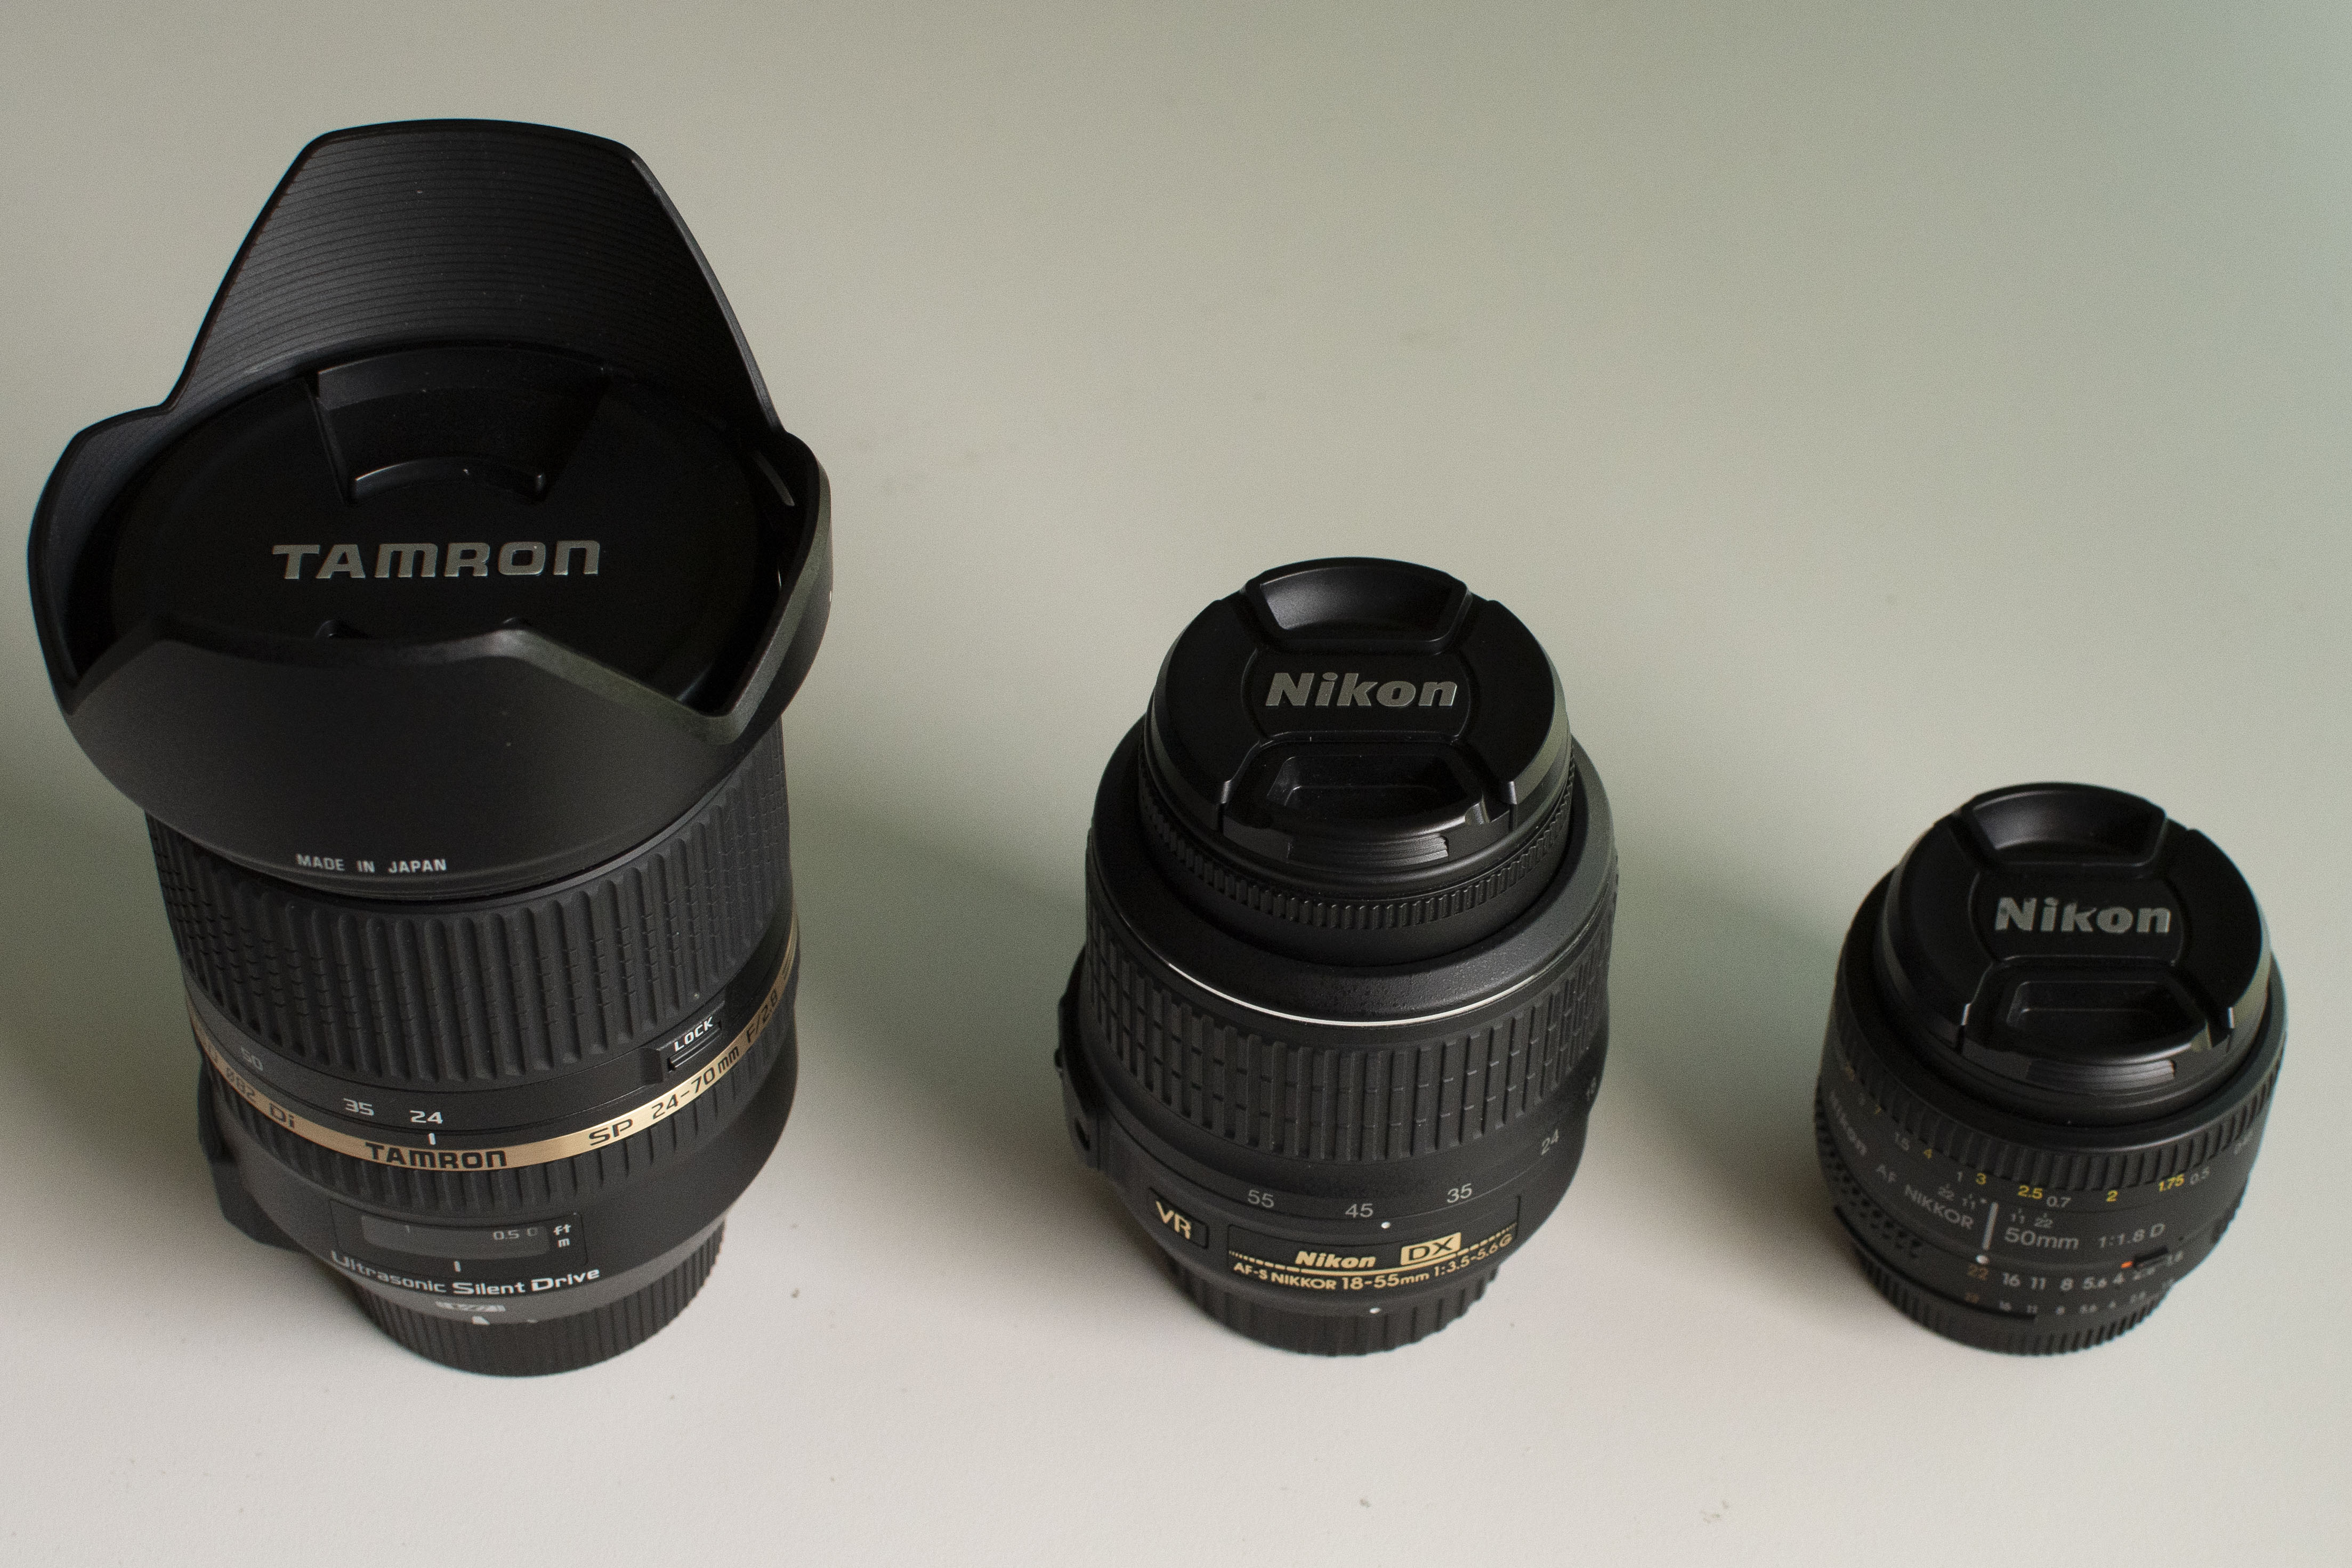 Tamron 24-70mm f/2.8 (Left) | Nikon 18-55mm f/3.5-f/5.6 (Middle) | Nikon 50mm f/1.8 (Right)
Finally to match the apertures I took photos across the range with two equivalence points that were possible on all three lenses, at f/5.6 which is the widest open the 18-55mm Lens could go, and f/8 because…f-8 and be there, or something like that. Additionally I tried out f/2.8 to provide another point of comparison for between the 50mm and the Tamron.
Firstly the f/5.6 Shoot-out…
 18-55mm Nikon at f/5.6
 24-70mm Tamron at f/5.6
 50mm Nikon at f/5.6
Secondly the f/8 Shoot-out…
 18-55mm Nikon at f/8
 24-70mm Tamron at f/8
 50mm Nikon at f/8
There’s no question that the 18-55mm Kit Lens is the worst by an obvious margin than both the other lenses. That shouldn’t be a revelation to anyone, it’s the cheapest lens I tried and honestly…it shows.
What’s more interesting is the colour reproduction and the sharpness between the Tamron and the Prime. At f/8 I think the Tamron has better colour and is marginally sharper, but at f/5.6 it’s almost a wash. It’s easy to take the darker lines on the Tamron as the better representation but the Prime picked up the dust and imperfections in the printed lines and text slightly better, leading to a slightly lighter colour.
Finally the f/2.8 Shoot-out…
 24-70mm Tamron at f/2.8
 50mm Nikon at f/2.8
In the end the Tamron on balance seems slightly sharper than the 50mm Prime at 50mm, but there’s also the amount of light and colour on the Prime is better. So what’s the conclusion? Clearly the Tamron is a fantastic lens, but the 50mm is probably good enough at 50mm, so the question is why do I need both?
For me, personally, what is each lens really for? If I have a 50mm and 85mm Prime, then I don’t really need the Tamron beyond 24mm. What’s clear to me is that I’m well covered between 35mm and 85mm with some great lenses but where I’m lacking in a decent Ultra-wide. The poor quality of the 18-55mm Kit Lens disqualifies it as a contender.
Hence my intention is that I definitely don’t need or want the Kit Lens anymore. It’s just not up the standard I’m looking for in terms of sharpness. Also, as hard as it is for me to part with it, the Tamron doesn’t fit a need I have any more. The gap I need to fill is in the Ultra-Wide category which is difficult with a crop-sensor to achieve, but 24mm isn’t enough. My intention therefore is to replace them both with a sharper Ultra-Wide Lens.
Which lens that is, I’m still uncertain, though the 10-20mm Nikon looks nice.
WhitePapers And Photography
I’ve had two side projects in the past few years I think it’s time to consolidate into TechDistortion. As of today all of my Control System Space whitepapers will be moved here and my PixelFed instance, Chidgey.xyz will be redirected here.
Having looked at the type and volume of traffic it makes sense to consolidate them now rather than let them continue on for another year at their current homes.
The intention is to keep Podcasting over on The Engineered Network and everything else here at TechDistortion.